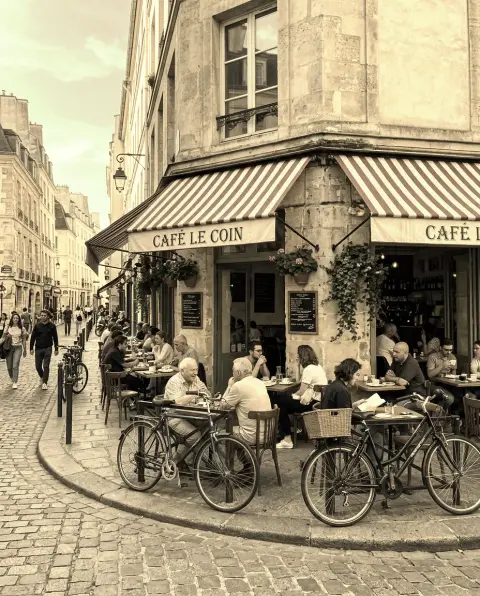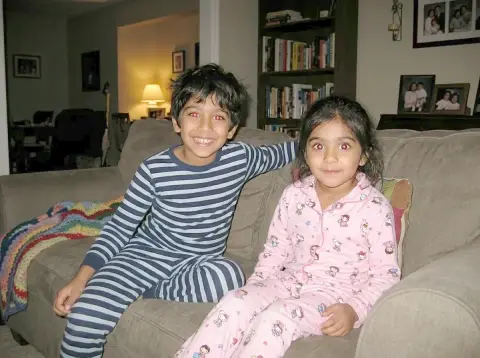




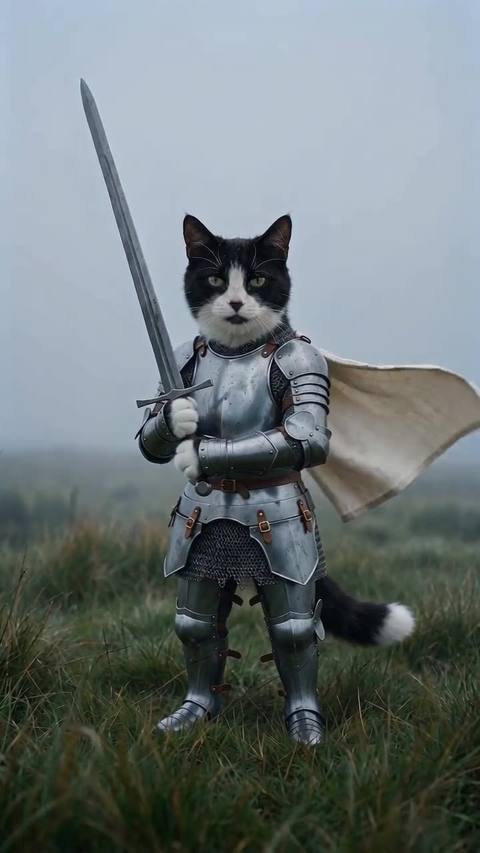


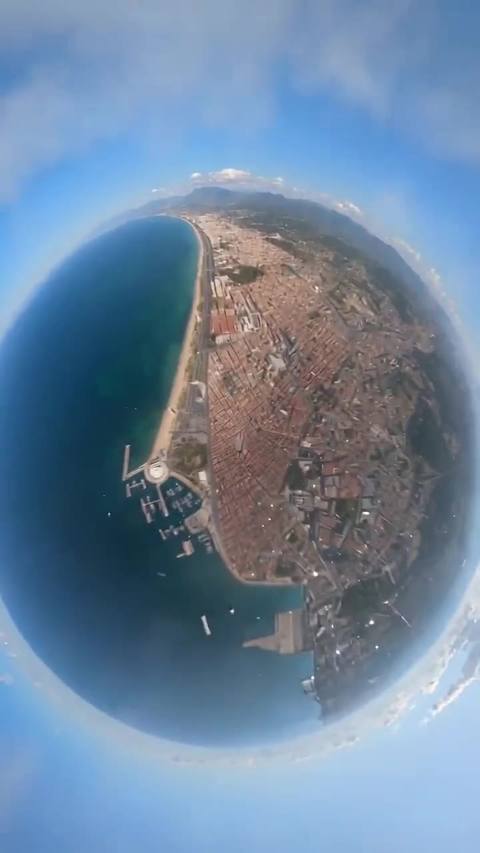

Vignette effect
Darken or fade the edges to pull the eye to the middle.
Drop a photo
or paste with ⌘V · JPG · PNG · WebP, stays on your device
No photo handy? Try one of ours.
 Vintage filter →
Vignette effect examples.
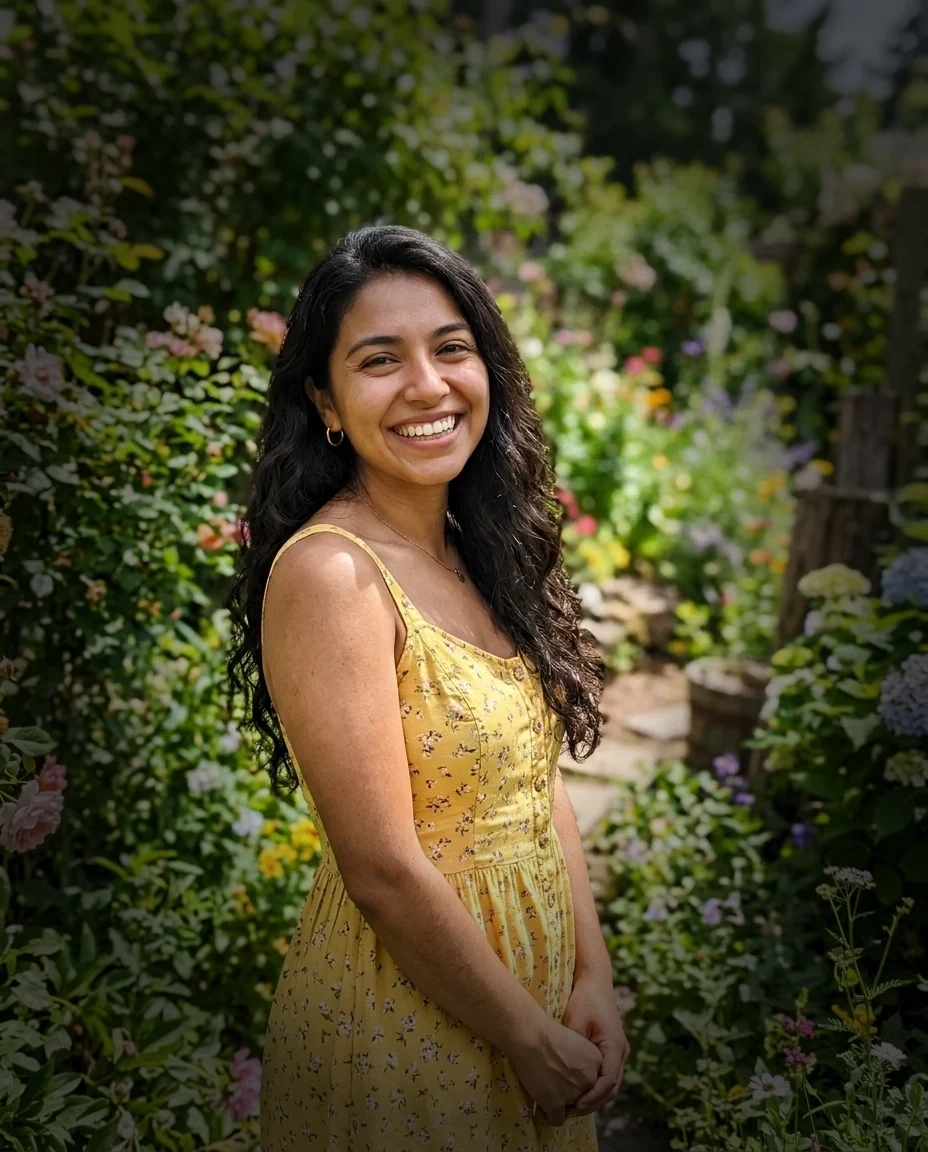
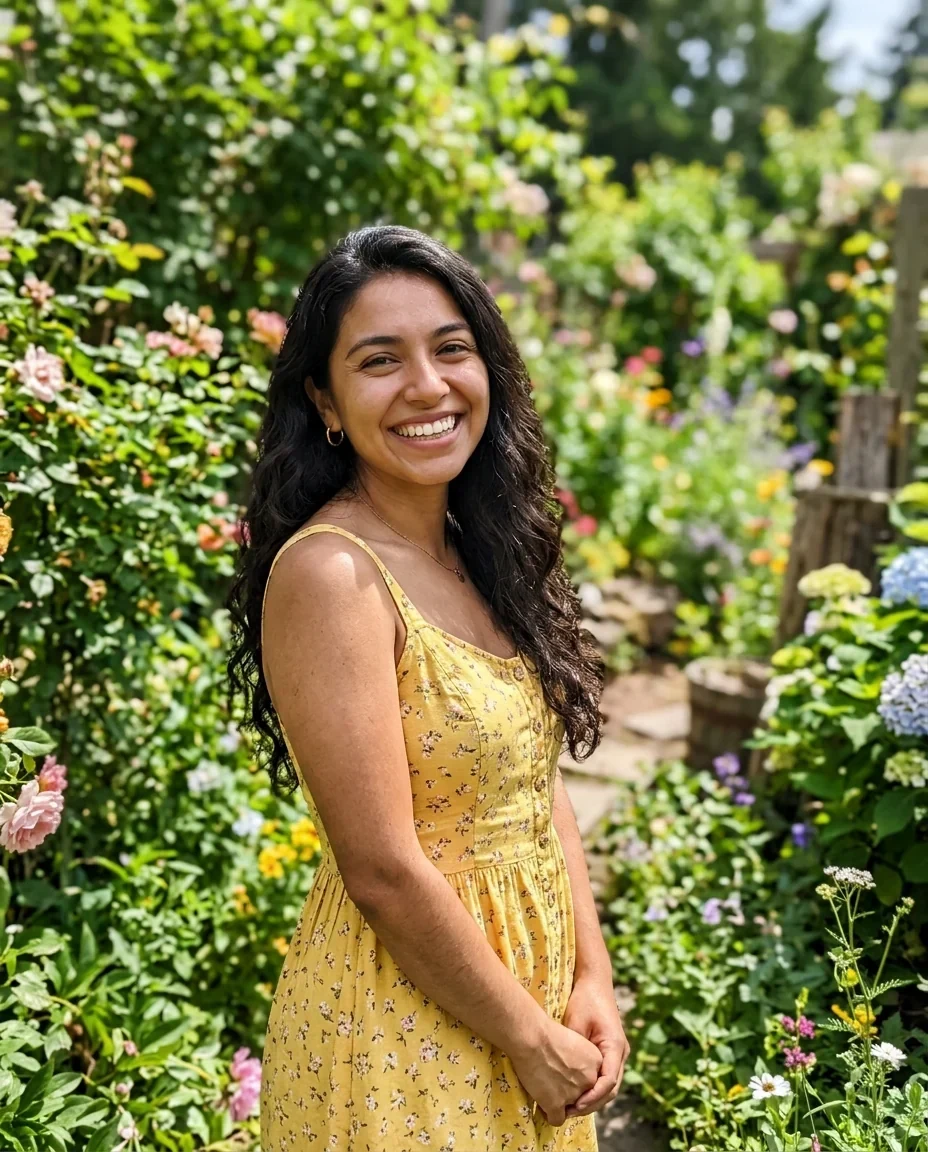
Dark vignette
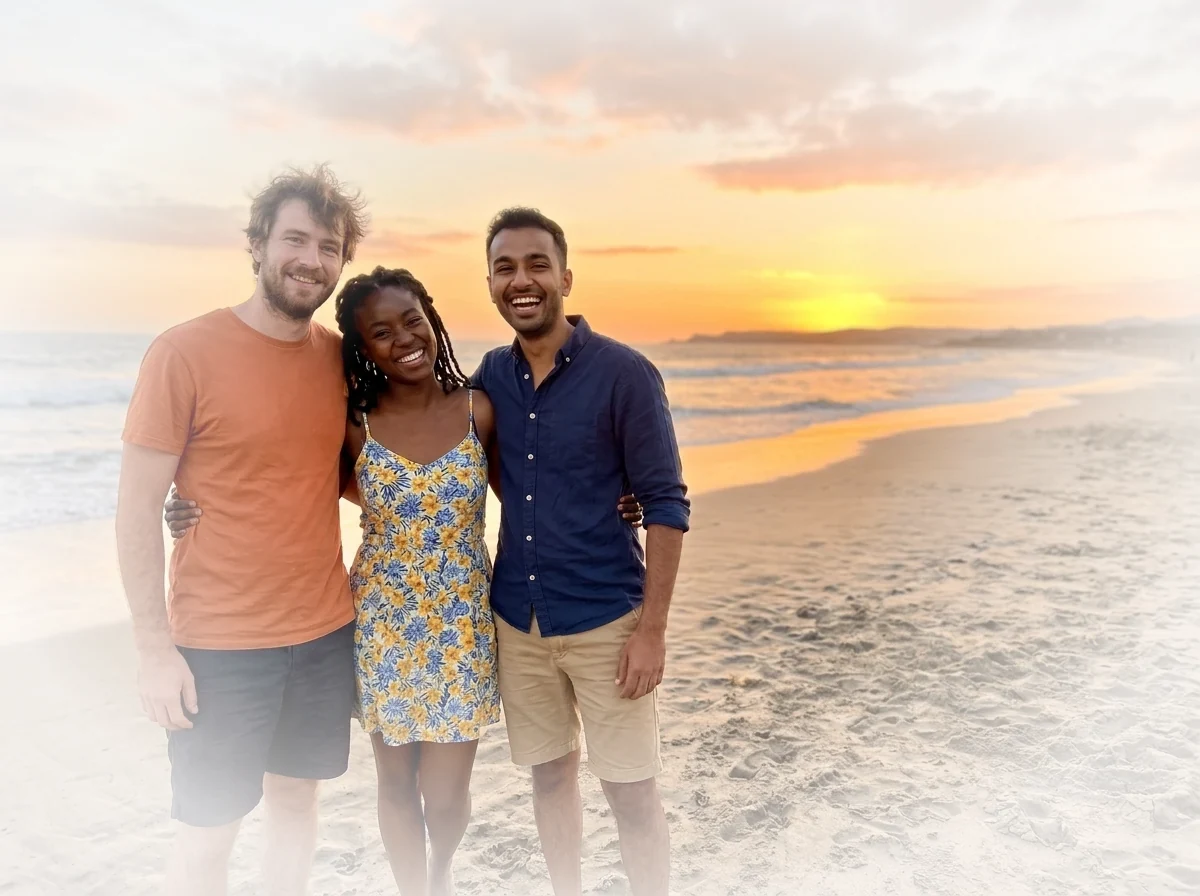
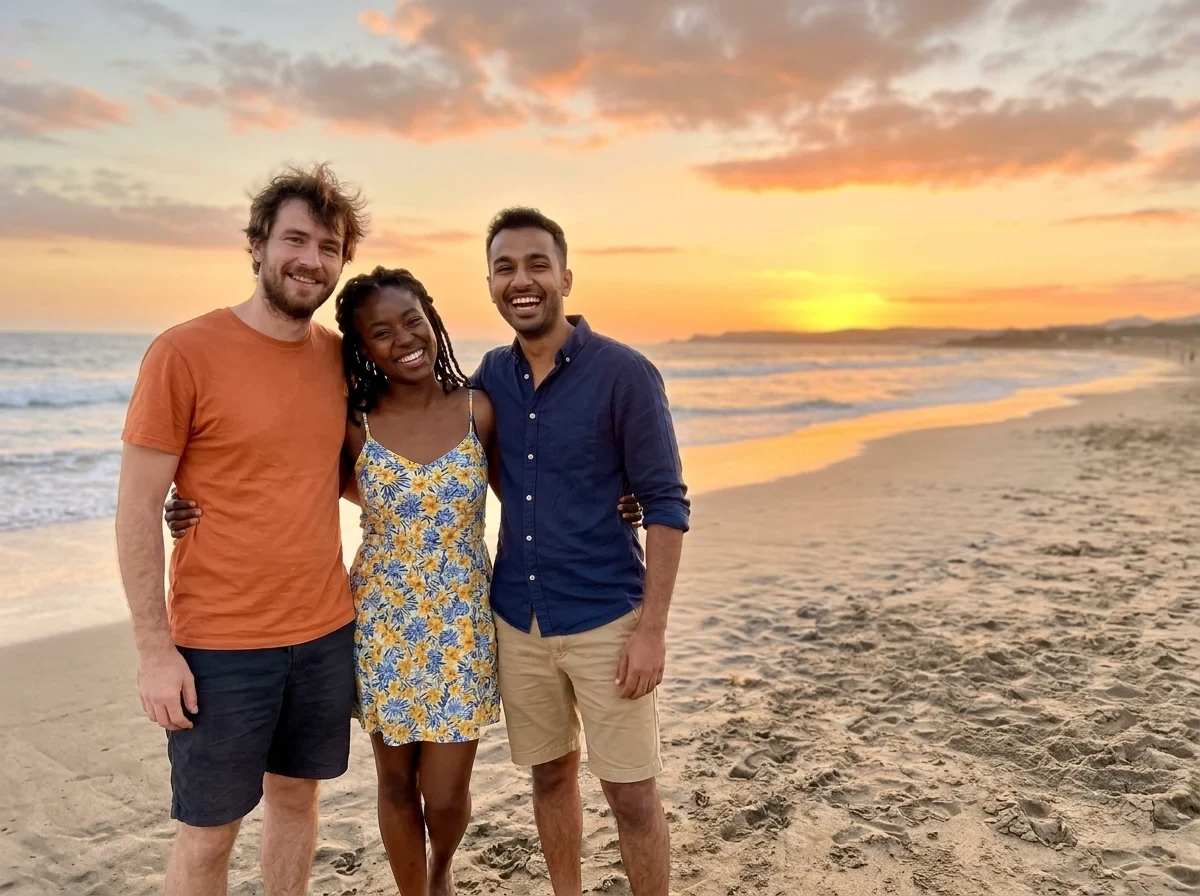
White vignette
Vignette effect features.
Strength, size and softness
Strength sets how dark or light the edges get, from 0 to 100%. Size sets how much of the middle stays clear, 0 to 90%. Softness controls how gradual the fade is.
Black, white or any color
Black gives the classic darkened corners. White gives a soft, dreamy fade. Pick any custom color for a tinted edge.
Follows the photo's shape
The oval matches your photo, so a wide picture gets a wide oval and a tall one gets a tall oval.
Vignette effect, step by step.
01
Add your photo
Paste, drop or choose a photo, or send one from your phone with the QR code.
02
Shape the edges
Move Strength, Size and Softness until the middle feels lit and the corners recede. Choose black, white or a custom color.
03
Download
Save a JPG or PNG.
Vignette effect use cases.
- Portraits
- Draw attention to the face and away from a busy background.
- Landscapes and travel shots
- Darken the corners to add mood to a bright sky or a flat scene.
- Soft, airy photos
- Use a white vignette on wedding, baby or product shots for a gentle fade into a white page.
Vignette effect: best photos and fixes.
What a vignette actually does
A vignette changes brightness toward the edges, so the middle of the picture looks brighter by comparison. The viewer's eye goes to the lit area first. It is a way to guide attention without cropping anything.
How strong should it be?
Start low, around 30 to 40% Strength, and raise it only until you notice it, then back off a little. Some lenses already leave the corners darker, so a photo like that needs less.
Choosing the Size slider
A high Size value keeps more of the middle clear, so only the extreme corners are touched. A low value brings the shading far into the picture. For a portrait with the face near the centre, a high Size keeps the face untouched.
When white works better than black
A white vignette suits bright, high-key photos and anything that will sit on a white page or website. Black on a pale photo looks heavy and dirty. Match the edge color to the mood: black for drama, white for softness, a warm color for a faded-film feel.
Off-centre subjects
The oval is centred on the photo. If your subject sits in a corner, a strong vignette can darken it. Lower Strength or raise Size, or crop the photo so the subject is nearer the middle before you start.
PNG with transparent areas
If you save a PNG, transparent pixels stay transparent, so a cut-out subject keeps its clear background. JPG has no transparency and turns clear areas white.
Vignette effect FAQ.
What is a vignette effect?
It is a gradual darkening or lightening toward the edges of a photo, so the centre stands out.
Can I make a white vignette?
Yes. Choose white for a soft, faded edge, or pick any custom color.
How do I make the vignette less obvious?
Lower Strength and raise Softness. Raise Size so the shading stays in the corners.
Can I use my own edge color?
Yes. Black and white are quick choices, and any custom color works too.
Can I save with transparency?
Yes, choose PNG. Transparent pixels stay transparent. JPG turns them white.
Is it free?
Yes. It is free, needs no sign-in and the photo never leaves your device.