










Straighten Photo
Level a tilted horizon or building, then crop to fill.
Drop a photo
or paste with ⌘V · JPG · PNG · WebP, stays on your device
No photo handy? Try one of ours.
 Remove people →
 Photo restoration →
Straighten Photo examples.

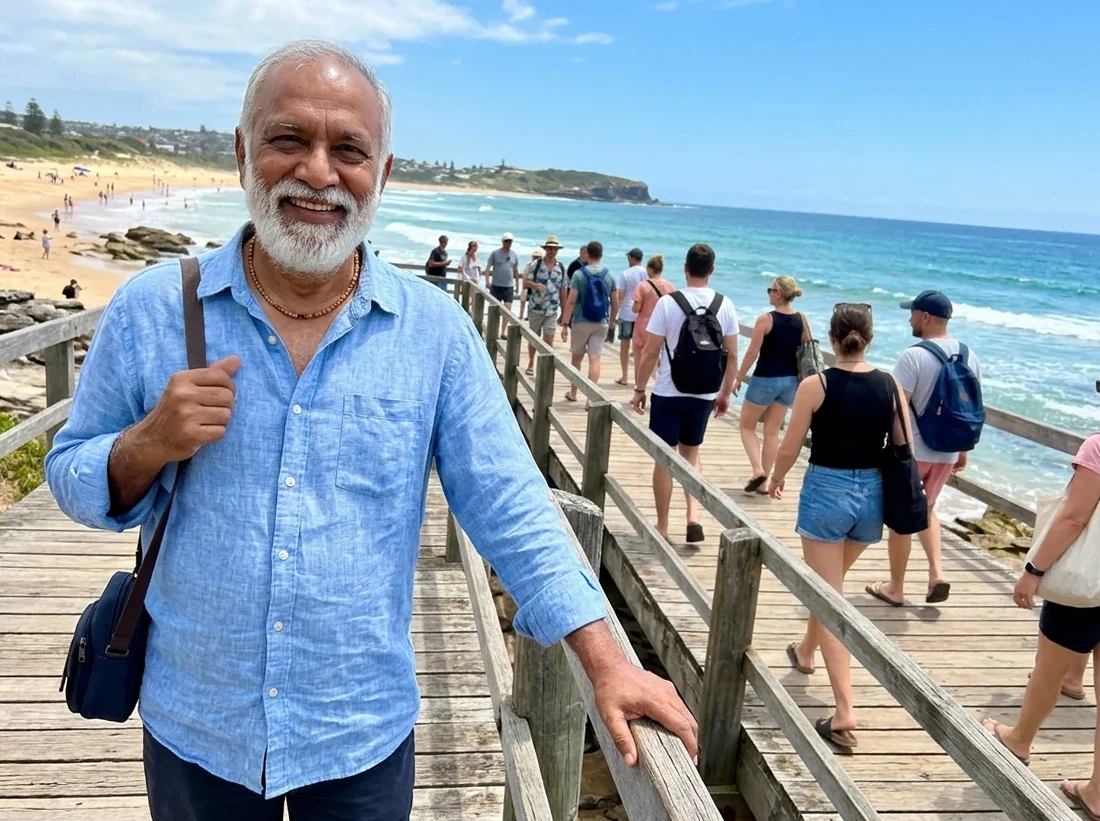
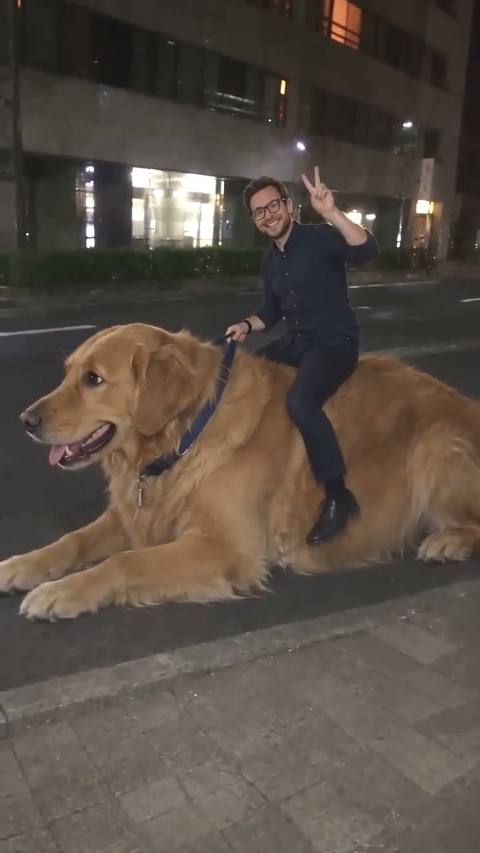
Tilted 4° → level
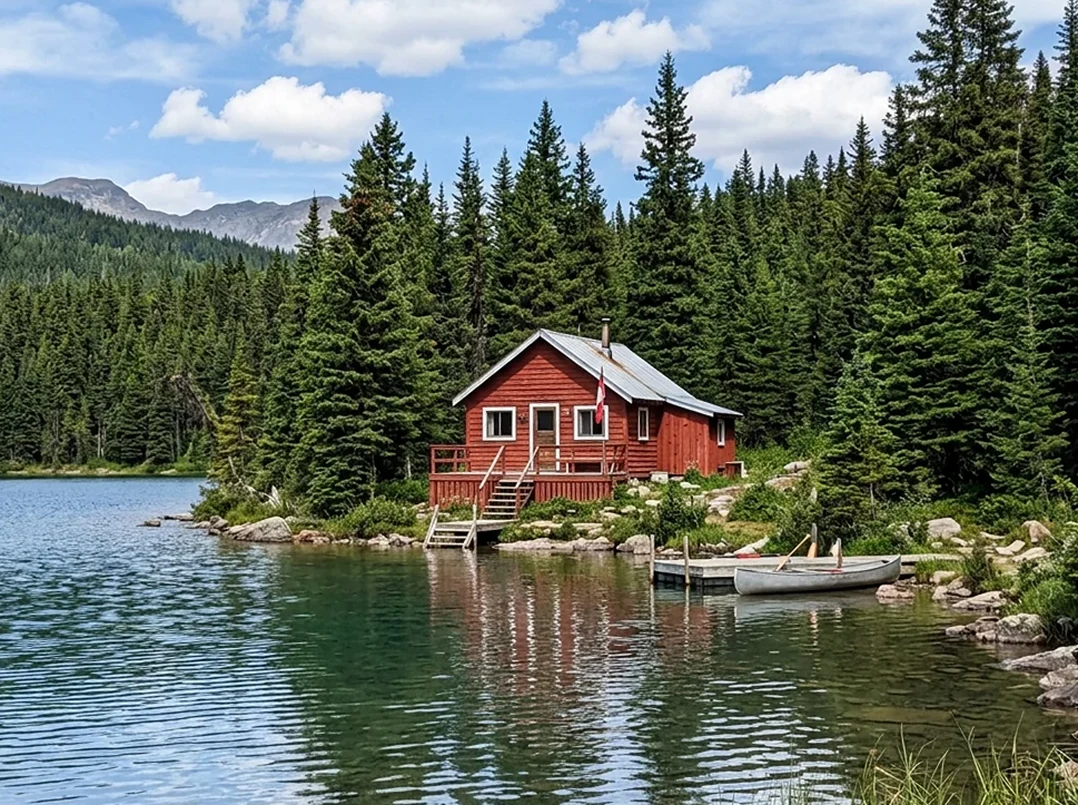
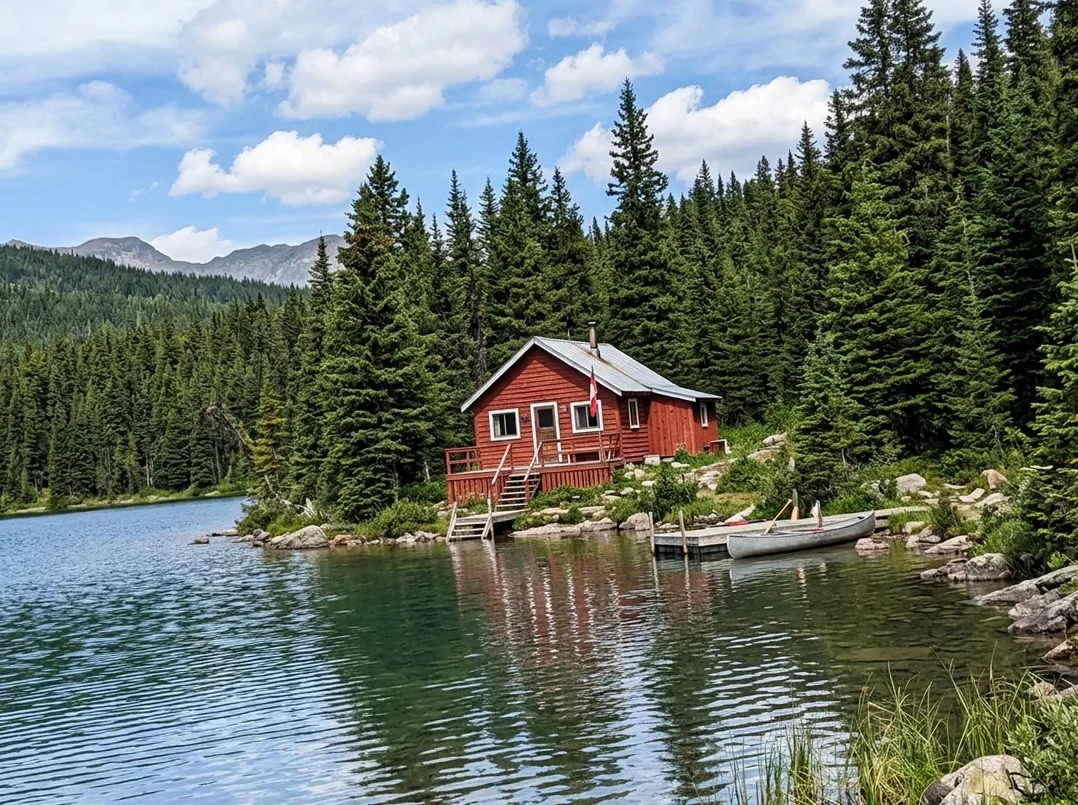
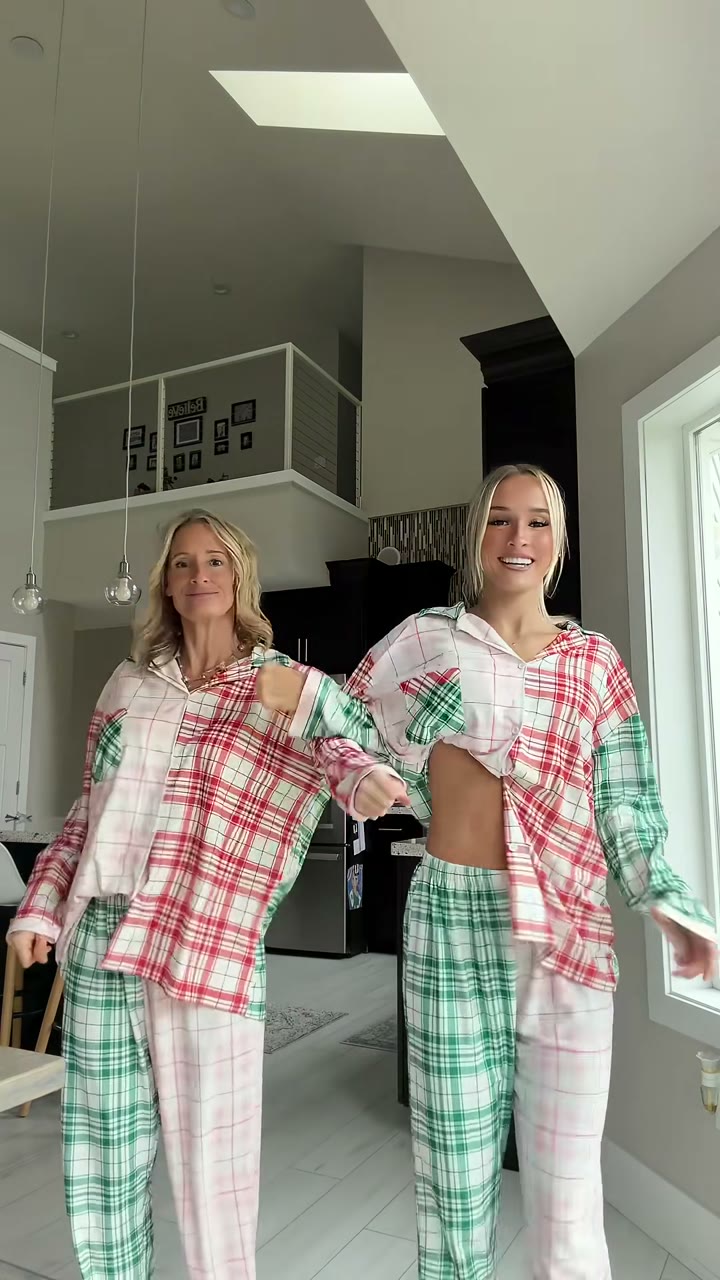
Tilted 5° → level
Straighten Photo features.
Fine angle control
Turn by up to 45° either way in 0.1° steps.
Alignment grid
Grid lines over the photo to line the horizon or a wall up against.
No empty corners
Crop to fill trims the edges so the photo stays a clean rectangle.
Straighten Photo, step by step.
01
Drop a photo
Photos with a horizon or straight walls are easiest.
02
Level it
Drag the angle until the horizon lines up with the grid.
03
Download
JPG or PNG.
Straighten Photo use cases.
- Travel and landscape photos
- A level sea or skyline looks calmer and more professional—straighten the horizon in seconds.
- Real estate and product photos
- Upright walls and shelves make rooms and products look right.
Straighten Photo: best photos and fixes.
Photos that need it most
Horizons in sea and landscape photos, door frames and walls in room photos, shelves and tables in product shots: anything that should be level shows a tilt clearly. Phone photos taken quickly with one hand are often off by one or two degrees, which looks wrong without being obvious. Even a level camera can look off if the subject itself is tilted, so check the background.
Which line to trust
Pick a line that is really level or vertical in the world: a sea horizon, a window frame, a door, the edge of a table. Hills, roads and roofs often slope for real, so lining them up makes the photo look tilted the other way. In portraits, trust the background, not the person's head or shoulders, which are rarely straight.
Tilts that are on purpose
Not every tilt is a mistake. A deliberate angle can make action, street and party photos feel more lively, and straightening them can flatten the moment. Small accidental tilts of one or two degrees are the ones worth fixing; they look wrong without looking intentional. If a strong angle was intended, leave it.
Straighten first, then crop
Straightening trims the edges, so do it before cropping to a social format such as 4:5 or square, not after. Cropping first and then turning cuts off even more. When you take the photo, leave a little space around the subject so that straightening later does not cut into heads, feet or text near the edge.
Scans of prints and documents
A print or a page that went into the scanner at an angle can be straightened by lining its edge up with the grid. Then crop away the scanner bed around it. For documents, straight text lines are the best guide. For best quality, straighten once from the original rather than turning the same file several times.
Product and real estate photos
Listings look more professional when verticals are straight: door frames, shelves, the edges of a box. Straighten using a vertical line close to the centre of the photo, because lines near the edges lean outward with wide lenses. If every vertical leans the same way, the camera was tilted; if they lean apart, that is lens perspective, which needs a different tool.
Straighten Photo FAQ.
Will straightening make my photo smaller?
A little. Turning the photo leaves empty corners, so crop to fill trims the edges. Turn crop to fill off to keep the full size; the empty corners are then white in a JPG and transparent in a PNG.
How do I know when it is level?
Line the horizon, a table edge or a wall up with one of the grid lines over the photo.
Can it fix perspective, like a building leaning back?
No. It turns the whole photo; it doesn't correct converging lines.
Are my images uploaded?
No. The tool runs in your browser and the images never leave your device. Close the tab and they are gone.
Is it free?
Yes. Quick tools are free, need no sign-in and use no credits; your images stay in your browser. The AI tools linked below need an account.
Guides on the blog.
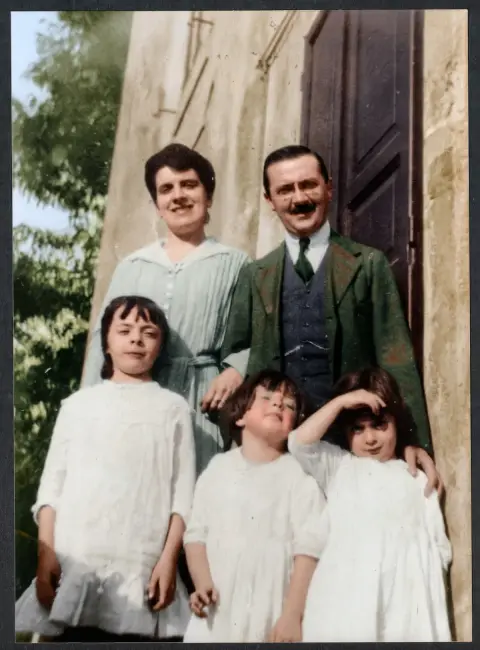 How to scan old photos with your phone, and do it wellA shoebox of prints can be digitized in an afternoon with a phone. The setup for even light and sharp copies, plus naming, backup, repair and color.
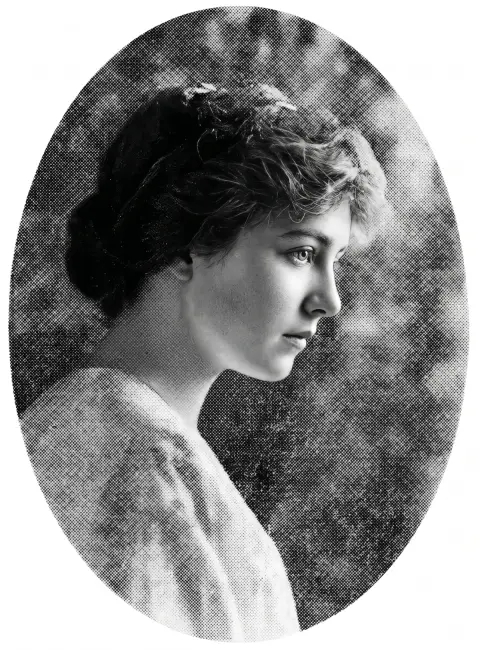 How to photograph a framed picture without glareGlass reflects windows, lamps and you. Where to stand, how to light the frame and which phone settings give a clean copy of a framed photo or print.
 Why are my photos blurry? 8 causes and how to fix themNot all blur is the same. How to recognize camera shake, missed focus, motion blur and a dirty lens, how to prevent each, and how to rescue a blurry photo.
