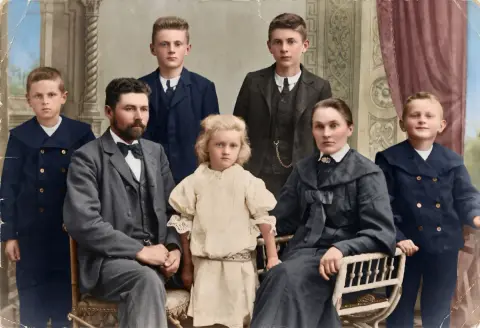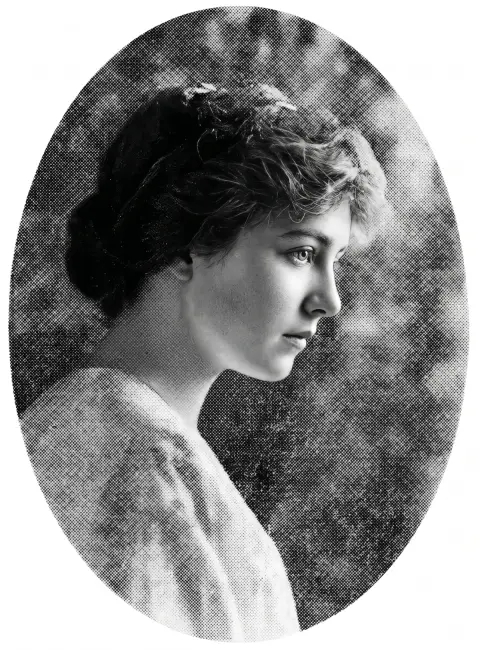










A flatbed scanner gives the best copies, but most people don't have one and won't buy one for a single shoebox. A modern phone does a surprisingly good job if you control the light and the angle. With a simple setup you can copy a hundred prints in an afternoon.
What you need
- A phone with a decent camera (anything from the last five years).
- A table near a window, or two lamps.
- A dark, matte surface to put photos on: a black T-shirt, a sheet of dark card, or a dark tablecloth.
- A soft cloth or brush for dust.
- Optional: a stack of books or a cheap phone stand to hold the phone steady.
1. Set up the light
Even, soft light is everything. Glossy prints reflect lamps and windows, and those reflections are impossible to remove later.
- Daylight from the side. Put the table next to a window, not under a skylight. Cloudy days give the softest light.
- Or two lamps at 45 degrees, one on each side, pointing at the photo from low angles. Same lamps, same bulbs, so the color is even.
- Turn off the ceiling light. Light from directly above bounces straight into the lens.
- No flash. Ever.
If you see a bright patch on a glossy print, move the lamp further to the side. Our guide to photographing framed pictures without glare goes deeper on reflections.
2. Hold the phone parallel to the photo
The phone needs to be exactly parallel to the print, or the photo comes out as a trapezoid. Turn on the grid in your camera settings and line up the edges. Some phones show a level indicator when pointing straight down, which helps a lot.
- Shoot from directly above, at a height where the photo fills about 80 percent of the frame.
- Use the 2x lens and lift the phone higher if your shadow falls on the print.
- Tap to focus on the photo and lock it.
- Hold the phone in both hands or rest it on a stand.
3. Use a scanning app, or the camera
Dedicated photo-scanning apps such as Google PhotoScan or Microsoft Lens take several shots and combine them to remove glare, then crop and correct perspective automatically. They're worth trying for glossy prints.
For matte prints in good light, the normal camera at full resolution often gives sharper results. Crop and straighten afterwards.
Whichever you use, save at the highest resolution available and switch off filters and beauty modes.
4. Work in batches
- Dust each print with a soft brush before shooting.
- Handle prints by the edges. Fingerprints on old emulsion are permanent.
- Shoot the back too if there's writing on it. Names, dates and studio stamps are often more valuable than the image. They also help you date an old photograph.
- Keep albums in order. Shoot page by page so the sequence is preserved.
- Don't force photos out of old "magnetic" albums. If they're stuck, photograph them in place.
5. Name and organize the files
A thousand files called IMG_4821.jpg are almost as hard to use as a shoebox. Rename as you go, or in batches afterwards:
- Start with the year, even if it's a guess: 1962_wedding_aunt-rosa.jpg.
- Use "c" for approximate years: c1955_beach_grandparents.jpg.
- Keep folders by decade or by album.
- Add names of people in the photo to the file name or the photo's description field.
6. Straighten and crop
Even careful shots end up slightly crooked. Straighten photo levels a tilted scan in the browser without uploading it. Then crop away the background around the print, or keep a thin border if you like the look of the original edges.
7. Repair the damage
Scans show every scratch, crease, stain and tear. Photo restoration repairs them while keeping faces and details as they were. It also rebuilds missing corners and damaged emulsion.

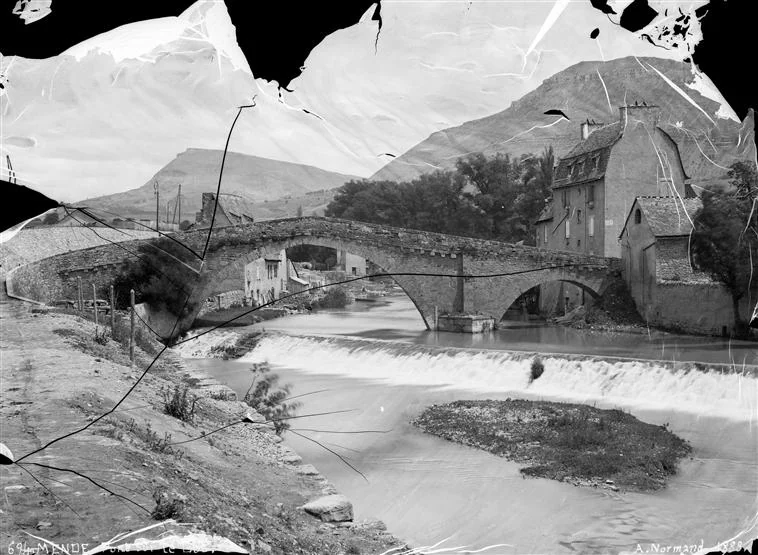
 Photo restorationRepair creases, tears and fading in old photosTry it with your photo
Always keep the untouched scan as well. A restored copy is for sharing and printing. The original scan is the record.
8. Add color, if you want
Black-and-white photos can be colorized for a different view of the past. Colorize photo adds natural color to skin, clothes, sky and buildings. Colors are a careful guess, not a historical record, so mention that when sharing with family. If you know a dress was blue or a car was red, say so in the instructions box.
 Colorize photoAdd natural color to black and white photosTry it with your photo
9. Back up in three places
Digitizing is only worth it if the files survive. Follow the 3-2-1 rule: three copies, on two different kinds of storage, with one copy somewhere else. For example, your computer, an external drive, and a cloud service. Share a folder with relatives so the collection is spread across the family. You can also bundle a scanned album into one printable booklet with PNG to PDF, or extract individual photos from an old family scan document with PDF to JPG.
How long does it take?
With the setup ready, expect about one minute per print for shooting and naming, and a few minutes per photo you choose to restore. A shoebox of 300 prints is two or three afternoons. Start with the oldest and most fragile photos, since they're the ones most at risk.
Phone vs flatbed scanner
A phone is faster and good enough for sharing, screens and prints up to the original size. A flatbed scanner at 600 dpi captures more detail and is better if you want to enlarge small prints, or for fragile photos you only want to handle once. Many libraries and photo shops have scanners you can use. For most family collections, the phone is the practical choice, and the scans can always be redone later for the few photos that deserve it.