









Almost every family has a box of photos with no names and no dates. Who is the young man in uniform? Is the baby your grandmother or her sister? Dating a photo is the first step to answering those questions, and you can usually get closer than you'd think just by looking carefully.
Work from the physical object first, then the image itself, then the people around you.
Step 1: Identify the type of photograph
The material a photo is made on is the strongest clue, because each process was used in a known period.
- Daguerreotype (about 1839–1860): a mirror-like image on silvered copper. It looks positive or negative depending on the angle and usually sits in a small hinged case behind glass.
- Ambrotype (about 1854–1865): an image on glass, backed with black paint or cloth, also in a case. No mirror effect.
- Tintype (about 1856–1900s): an image on a thin iron sheet. A magnet sticks to it. Cheap and popular, especially in the US, and often a little dark and grey.
- Carte de visite (about 1859–1890s): a small paper print, about 2.5 x 4 inches, glued to a stiff card. Families collected them in albums.
- Cabinet card (about 1866–1920s): like a carte de visite but larger, about 4.25 x 6.5 inches. Very common for formal studio portraits.
- Real photo postcard (about 1900–1930s): a photo printed on postcard stock with a divided back for address and message.
- Snapshot prints (1900s onwards): small, unmounted prints from roll film cameras like the Kodak Brownie.
Step 2: Read the card mount
For cartes de visite and cabinet cards, the card itself narrows the date further:
- Thin, plain cards with square corners are generally earlier.
- Thicker cards with rounded corners became common from the 1870s onward.
- Colored cards (black, maroon, dark green) with gold edges were fashionable in the 1880s–1890s.
- Elaborate printed studio logos on the back, with medals and fancy lettering, grew larger and more decorative over the decades.
- Embossed, textured mounts with the image set inside a border are typical of the 1890s–1910s.
Step 3: Check the print edges and format
For 20th-century snapshots, the edges and shape are useful:
- Deckled (wavy) edges: popular from the late 1930s to the 1960s.
- Small square prints with a white border: common in the 1950s–1960s.
- Square prints with rounded corners: typical of the late 1960s and 1970s, from cartridge cameras.
- Date stamped in the border (for example "JUL 72"): photo labs printed the processing month on many prints from the 1950s to the 1970s. That's the developing date, usually close to when it was taken.
- Instant photos: peel-apart prints appeared in the late 1940s and 1950s; the familiar square instant print with a thick bottom border arrived in the early 1970s.
- Color shifts: many color prints from the 1960s and 1970s have faded to orange, magenta or yellow. That fading pattern itself suggests the era.
Step 4: Look at the clothes and hair
Fashion is a reliable clock, especially for women's clothing, which changed fastest:
- 1860s: wide, bell-shaped skirts, hair parted in the middle and pulled down over the ears.
- 1870s–1880s: skirts drawn back into a bustle, tight bodices, high necklines.
- 1890s: huge "leg-of-mutton" sleeves, peaking around 1895.
- 1900s–1910s: high collars, a pouched "pigeon" front, large hats.
- 1920s: dropped waists, shorter hemlines, bobbed hair.
- 1940s: padded shoulders, knee-length skirts, victory rolls in the hair.
- 1950s: full skirts, fitted waists; men in wide ties.
- 1970s: flares, wide collars, big hair.
Men's fashion moved slower, but collar styles, tie widths, beards and moustaches all help.
Step 5: Look at the background
- Cars, buses and trams can often be dated to within a few years by model.
- Shop signs, posters and prices may show names or events you can look up.
- Studio props like painted backdrops, balustrades and fake rocks were fashionable at certain times.
- Street lighting, power lines and paving tell you whether a town had electricity yet.
- Uniforms can identify a regiment, school or company, and sometimes an exact year.
Step 6: Turn it over
The back of a photo is often more informative than the front:
- Studio name and address: look up when that photographer worked at that address. City directories and local history societies often have this.
- Handwriting: names, places and dates, sometimes added years later by someone else.
- Postcard backs: the design of the stamp box and the divided back can date real photo postcards.
- Processing stamps from photo labs.
Always photograph or scan the back as well. Our guide to scanning old photos with your phone covers how.
Step 7: Make the details visible
Damage often hides the very clues you need: a scratch across a shop sign, a stain over a uniform badge, fading that hides the pattern on a dress. A clean copy makes them easier to read.
Photo restoration repairs scratches, creases, stains and missing pieces while keeping faces and details as they were. Work on a copy and keep the original scan untouched.

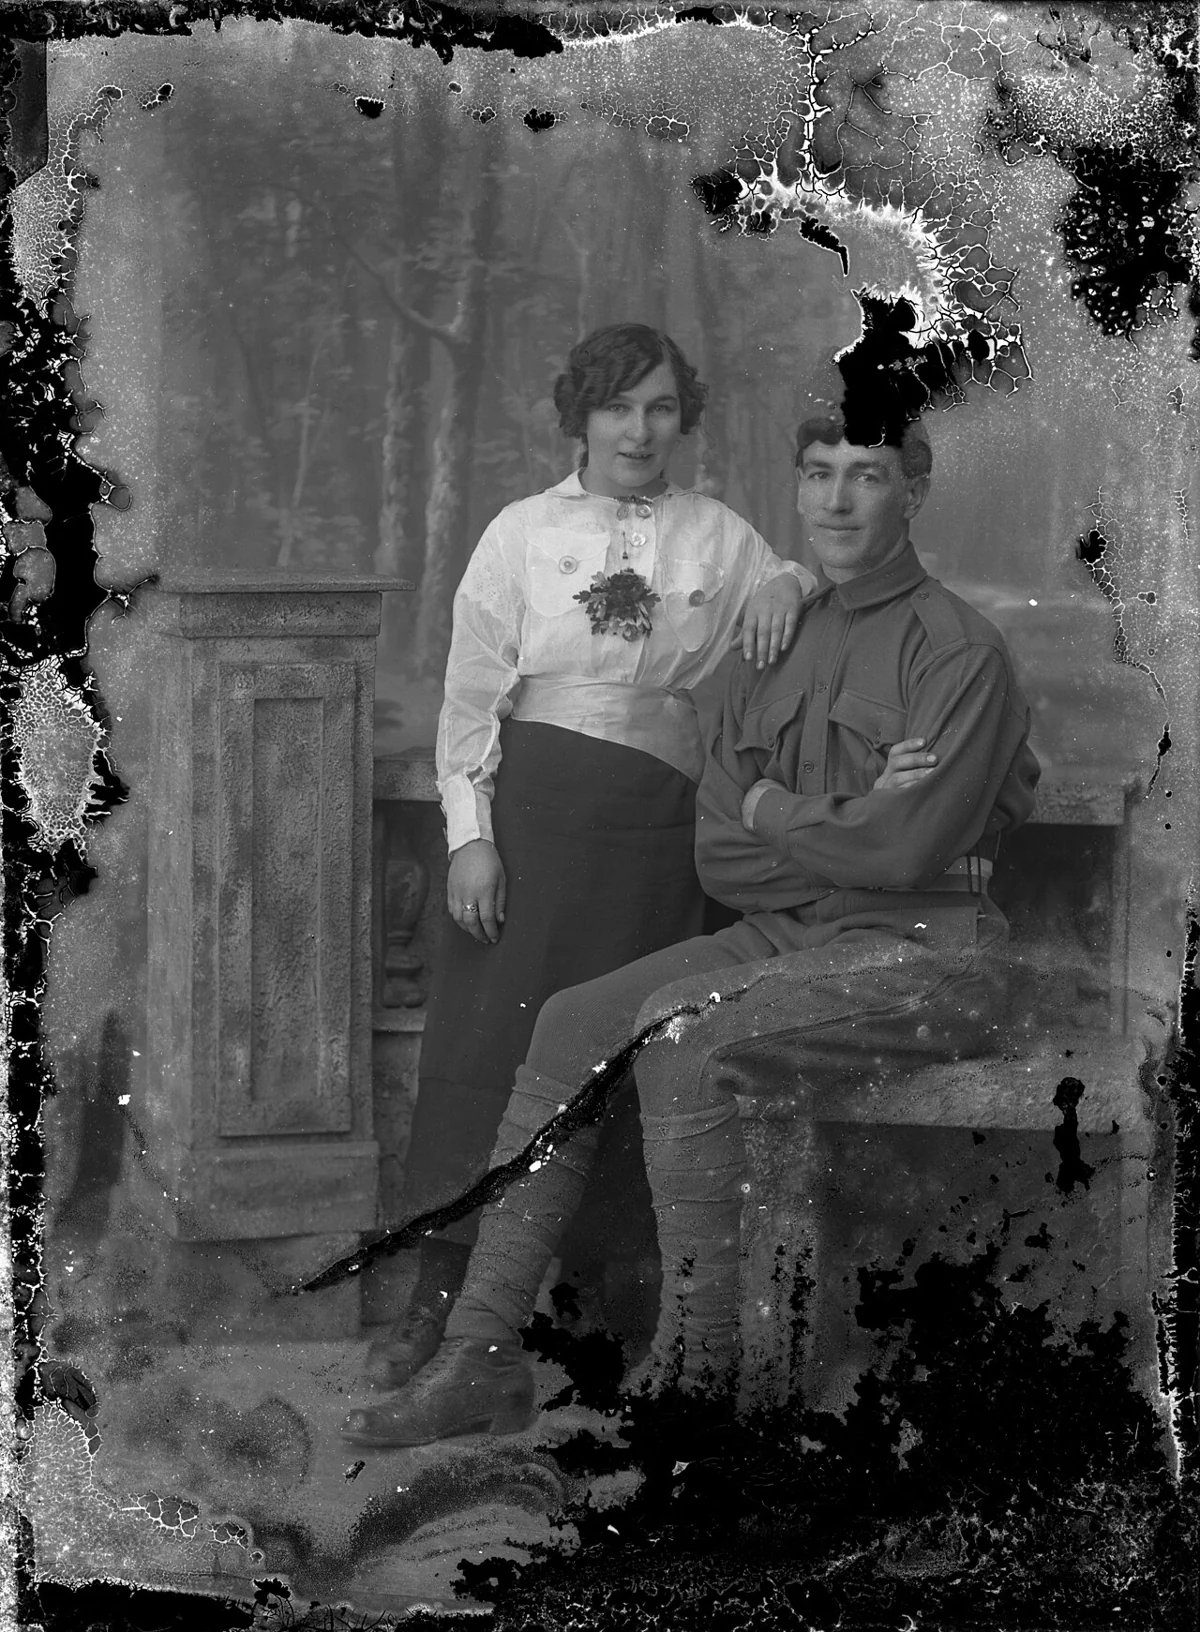
 Photo restorationRepair creases, tears and fading in old photosTry it with your photo
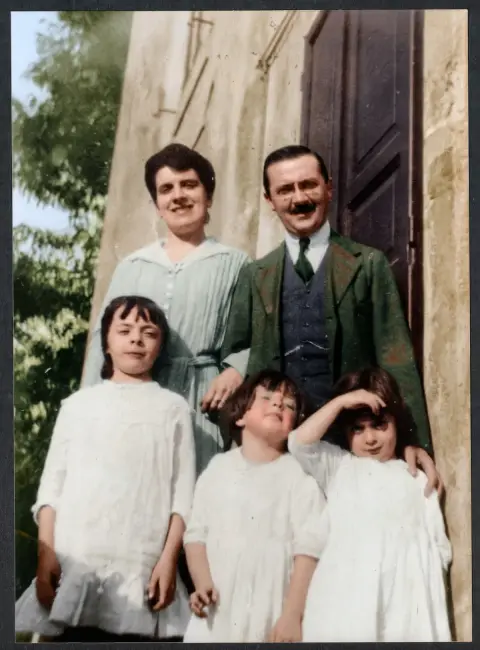
Colorizing can also help you see things you miss in grey, like the difference between a uniform and a suit, or between snow and sand. Colorize photo adds natural color, but treat the result as a likely version, not evidence. The real colors are a guess.
Step 8: Ask and compare
- Older relatives can often recognize a house, a car or a face in seconds.
- Compare with dated photos from the same family. The same person at a known age gives you an anchor.
- Online genealogy groups are generous with help, especially with clothes and uniforms.
- Local archives and museums know their own photographers and streets.
Put it together
Combine the clues into a range. A cabinet card (1866–1920s) with a gold-edged maroon mount (1880s–1890s) of a woman with huge sleeves (around 1895) gives you a narrow window. Write the estimate on the back of a copy, or in the file name as "c1895", and note why. The next person to look at the photo will thank you.