




Old prints fade, crease and lose their corners, and every year in a shoebox makes it worse. The good news is that a lot of the damage can be repaired from a decent scan, and the order you do it in matters more than any single tool.
1. Start with the best scan you can get
Restoration can only work with what the scan captured. A phone photo of a print works, but a flatbed scan is better.
- Scan at a high resolution, so even small prints have enough pixels for faces.
- Take the print out of its frame or album sleeve. Glass and plastic add glare.
- If you use a phone, shoot in daylight next to a window, straight on, with no flash.
- Keep the whole print in the shot, borders included. Crop later.
2. Repair scratches, creases and missing corners
Open photo restoration and upload the scan. It rebuilds torn and missing areas from the surrounding image, removes dust and scratches, and evens out fading, while keeping faces as they were.

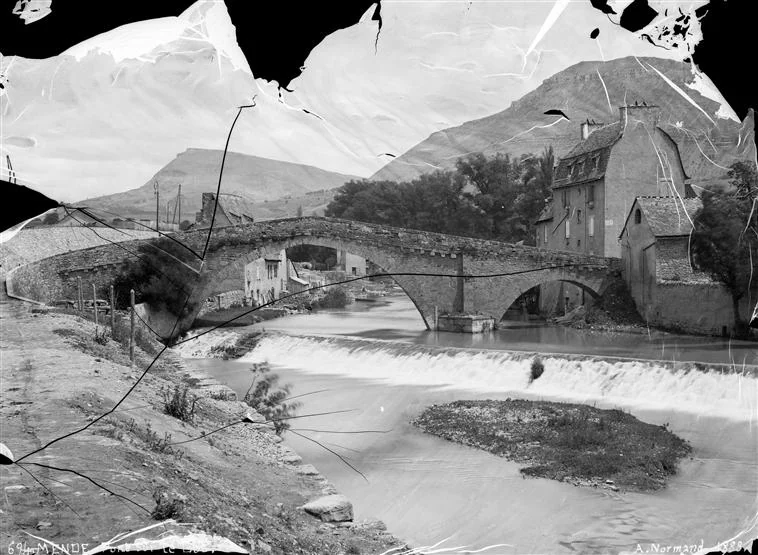
Check the result at full size, especially eyes and hands. If something was changed that should have stayed, say so in the instructions box, for example "keep the original hairstyle", and run it again.
 Photo restorationRepair creases, tears and fading in old photosTry it with your photo
3. Add color, if you want it
Color is a choice, not a repair. Some families prefer the original black and white; others want to see the photo the way it looked on the day. Colorize photo adds natural skin tones, fabrics and skies to black-and-white and sepia prints.

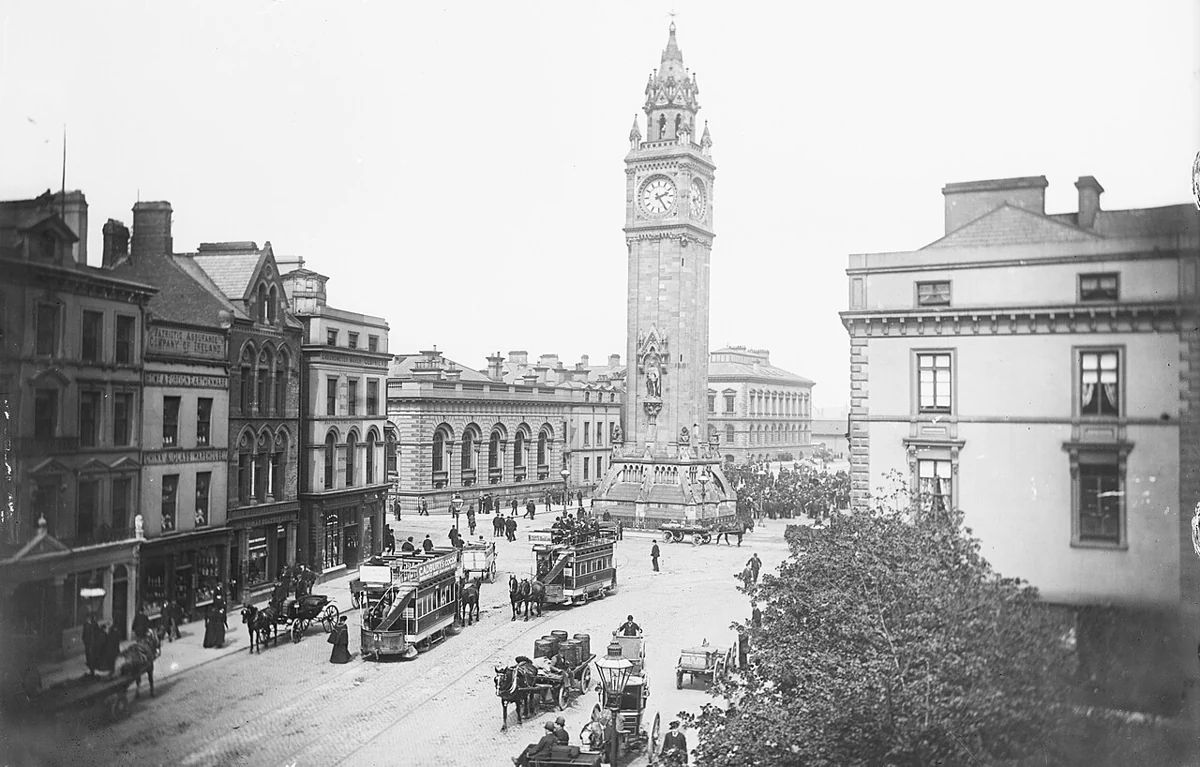
- Restore first, colorize second. Color added over scratches makes them harder to remove.
- If you know a real color, such as a uniform or a car, write it in the instructions: "the coat was dark green".
- Keep the black-and-white version too. It is the closer record of the original.
4. Fix blur from camera shake or focus
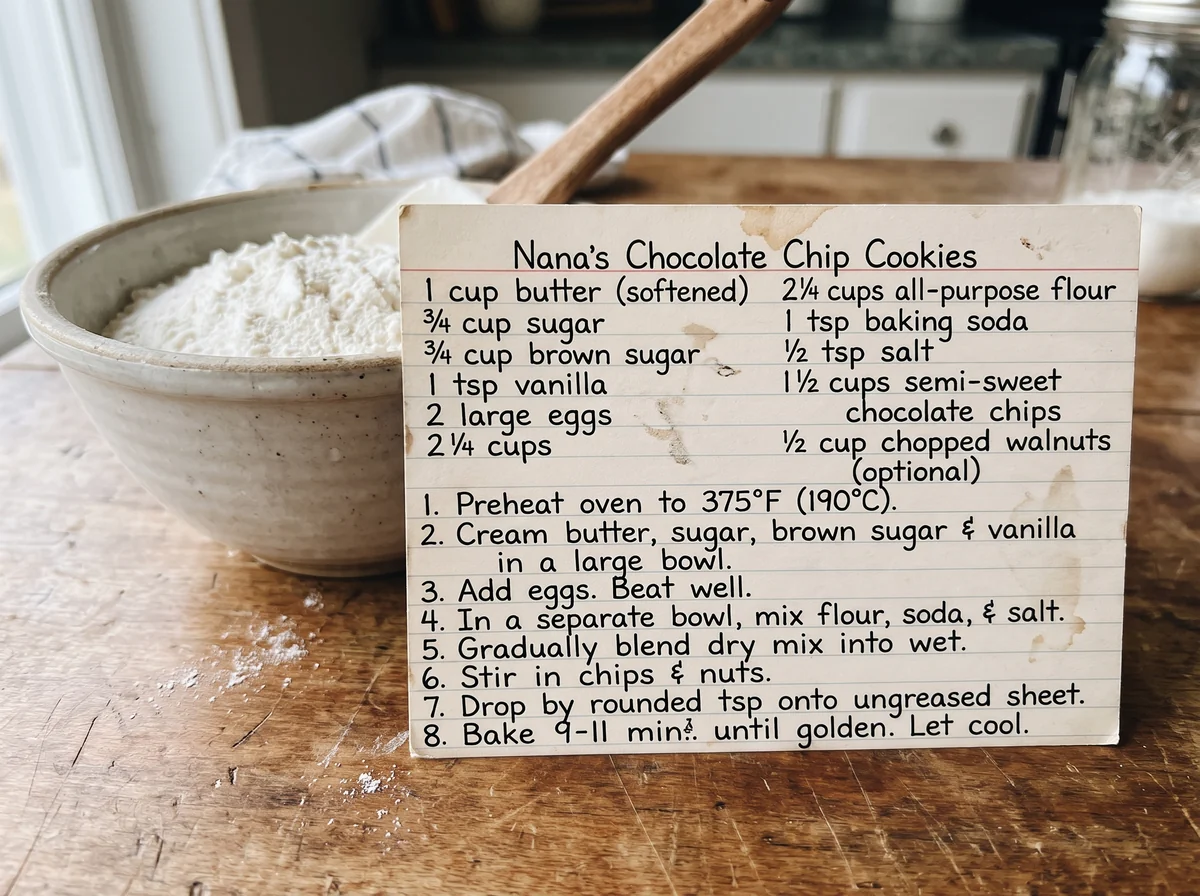
Many old snapshots were simply out of focus. Unblur image sharpens faces, edges and text, so a soft photo or a handwritten note becomes readable again.
What restoration cannot do
- It cannot recover a face that is completely missing. It will fill the gap with a plausible face, which is not the person.
- Very small faces in group photos have little detail to work with. Scan larger before you restore.
- Treat the result as a careful reconstruction. For archives, keep the untouched scan next to it.
Sign in to try it on your own prints; new accounts get 25 free credits to start. See pricing for plans and credit packs.