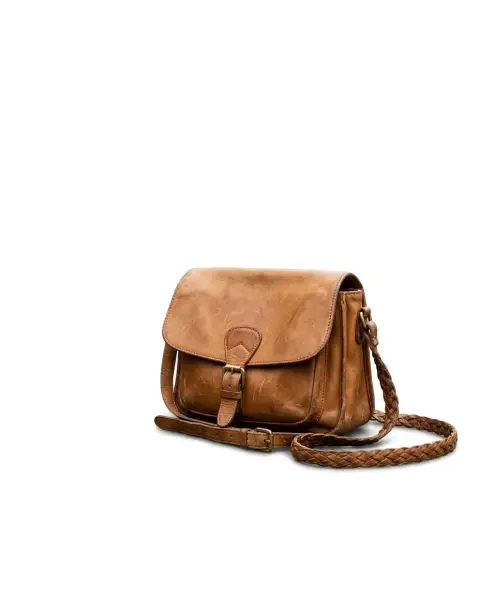










Removing a background used to mean twenty minutes with a pen tool. Today an AI model finds the subject for you, and the only decisions left are what to put behind it and how clean the edges need to be.
1. Cut out the subject with one click
Open the AI background remover, upload a JPG, PNG or WebP photo and press Generate. You get a transparent PNG that drops straight into a slide, a store listing or a design file.

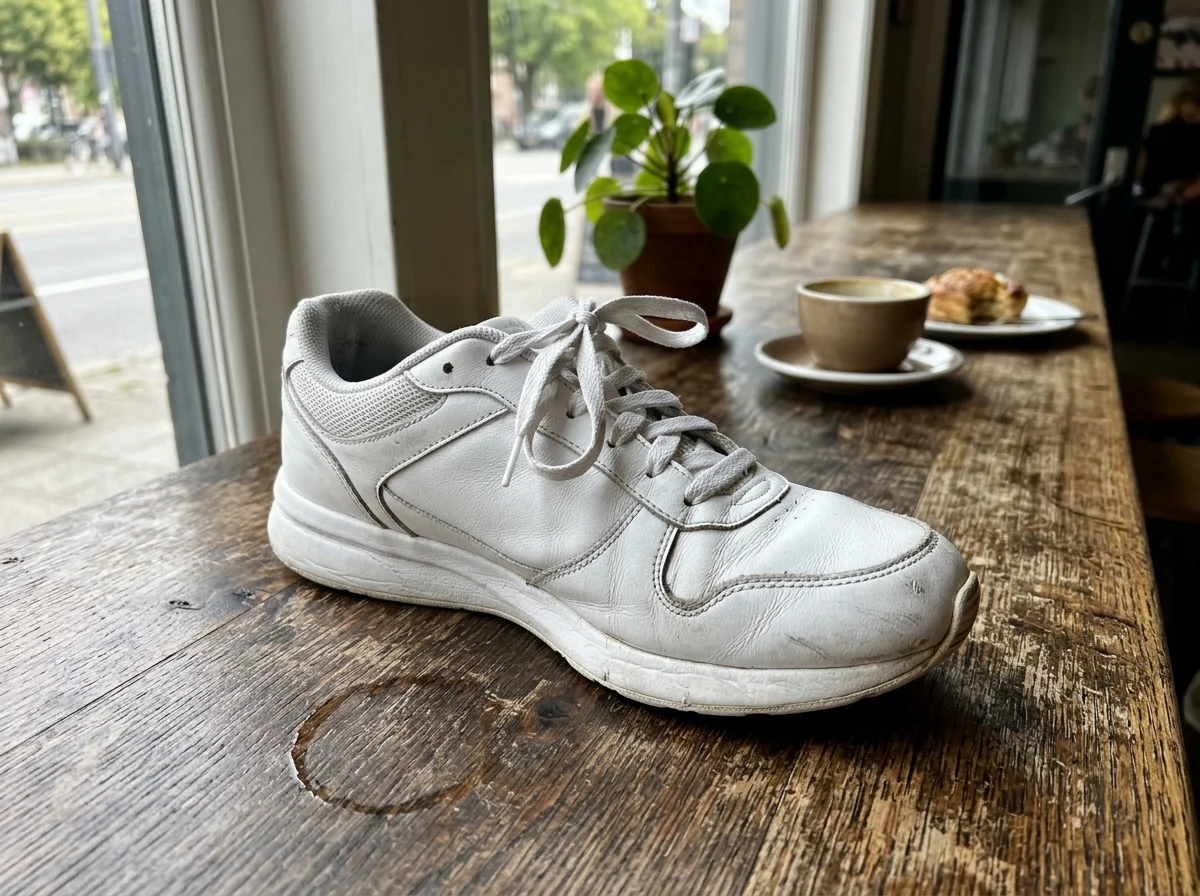
- Use the largest version of the photo you have. More pixels around the edge mean a cleaner mask.
- Make sure the subject is in focus. Blur at the edge is hard to separate from the background.
- If the result trims something you wanted to keep, describe it in the instructions box, for example "keep the handbag".
2. Put the subject on a white background
Marketplaces such as Amazon ask for a pure white background on the main product image. The white background tool removes the original background and places the subject on #FFFFFF in one step, with an optional soft shadow so it does not look pasted on.
 White backgroundPut any product or portrait on pure whiteTry it with your photo
3. Remove people instead of the whole background
Sometimes the background is fine and only a stranger is in the way. Remove people from a photo erases the person and fills the gap with matching scenery, so the rest of the shot stays untouched.
Tips for hair, glass and fine edges
- Hair against a plain wall separates better than hair against leaves or a busy street.
- Glass and smoke are partly transparent. Expect a softer edge and check the result on both dark and light backgrounds.
- For product shots, shoot on a surface that contrasts with the product. A white mug on a white table is the hardest case.
- Pro models handle fine edges better and can export in 4K, which matters for print.
Sign in to try any of these tools today. Every model and 4K output are open to every account, see pricing for credit costs.