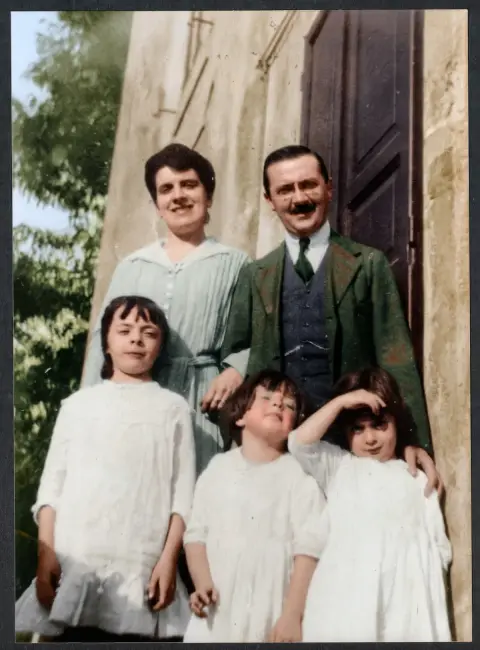









Most family photos worth saving are behind glass: the wedding portrait on the stairs, the grandparents on the mantelpiece, the school photo nobody wants to take out of its frame. Photograph them straight on and you get a bright window, a lamp, or your own silhouette right across the face.
Glare is a reflection, and reflections follow simple rules. The light that hits the glass bounces off at the same angle it arrived. Control where the light comes from and where the camera stands, and the glare goes somewhere the lens can't see.
Take it out of the frame if you can
The cleanest copy is always the one without glass. If the back of the frame opens with a few clips or tabs, take the photo out and lay it on a table. Old photos stuck to the glass are the exception: don't pull them, because the emulsion can tear. Photograph those through the glass using the steps below.
1. Kill the light sources that cause glare
Glare comes from bright things in front of the picture: windows, ceiling lights, lamps, a white wall, even a white shirt.
- Turn off overhead lights in the room. They are the most common source of a bright spot in the middle of the frame.
- Close the curtains on the window opposite the picture.
- Wear dark clothes. A light top reflects as a pale shape in the glass.
- Use side light instead. One window or lamp to the side of the picture, at roughly 45 degrees, lights the photo without bouncing into the lens.
The ideal setup is a dim room with one soft light source off to the side. If you have two lamps, put one on each side at 45 degrees for even light. That's how museums photograph artwork.
2. Find the angle where the reflection disappears
Hold the phone parallel to the picture and look at the screen. If you see a reflection, move the phone slightly left, right, up or down until it slides out of the frame. Often a small tilt of a few degrees is enough.
The catch is that tilting the camera makes the picture look like a trapezoid. That's fine: it's easy to correct afterwards, while a burned-out reflection is not. Keep the tilt small and stand back a little so the distortion stays mild.
Take the picture off the wall
A frame hanging on the wall faces the whole room. Take it down and lean it against a chair back so it tilts slightly backward, facing the ceiling. Now it reflects the dark ceiling instead of the window, and you can shoot from slightly above.
3. Phone settings that help
- Flash off. Flash pointed at glass gives a white spot every time.
- Use the 2x lens if your phone has one, and step back. A longer lens from further away means less distortion and a smaller reflection of you.
- Tap to focus on the photo, then drag the exposure slider down slightly so whites don't blow out.
- Shoot several frames from slightly different angles. One of them will be clean.
- Turn off "portrait mode" and beauty filters. You want an honest copy.
Use a polarizing filter for the toughest cases
A clip-on circular polarizer for phones costs little and cuts reflections from glass. Rotate it while watching the screen until the reflection fades. It works best when the light hits the glass at an angle, which is another reason to use side light.
4. Correct the shape and angle
If you tilted the camera, the copy will be slightly trapezoid or crooked. Most phone photo apps have a perspective or crop tool that fixes this: drag the corners until the frame edges are straight. For a photo that's simply rotated, Straighten photo levels it in the browser in a few seconds.
 Straighten photoLevel a tilted horizon and crop to fillTry it with your photo
Then crop away the frame and mat, leaving just the photo itself.
5. Repair what the glass couldn't hide
Old framed photos often have their own damage: foxing spots, silvering at the edges, scratches in the emulsion, fading from decades of sunlight. A small leftover reflection can sometimes be treated the same way as a stain.
Upload the copy to Photo restoration. It repairs scratches, creases, tears and missing corners while keeping the faces as they were. If the glare left a pale patch, describe it in the instructions box, for example "remove the pale reflection on the left side".

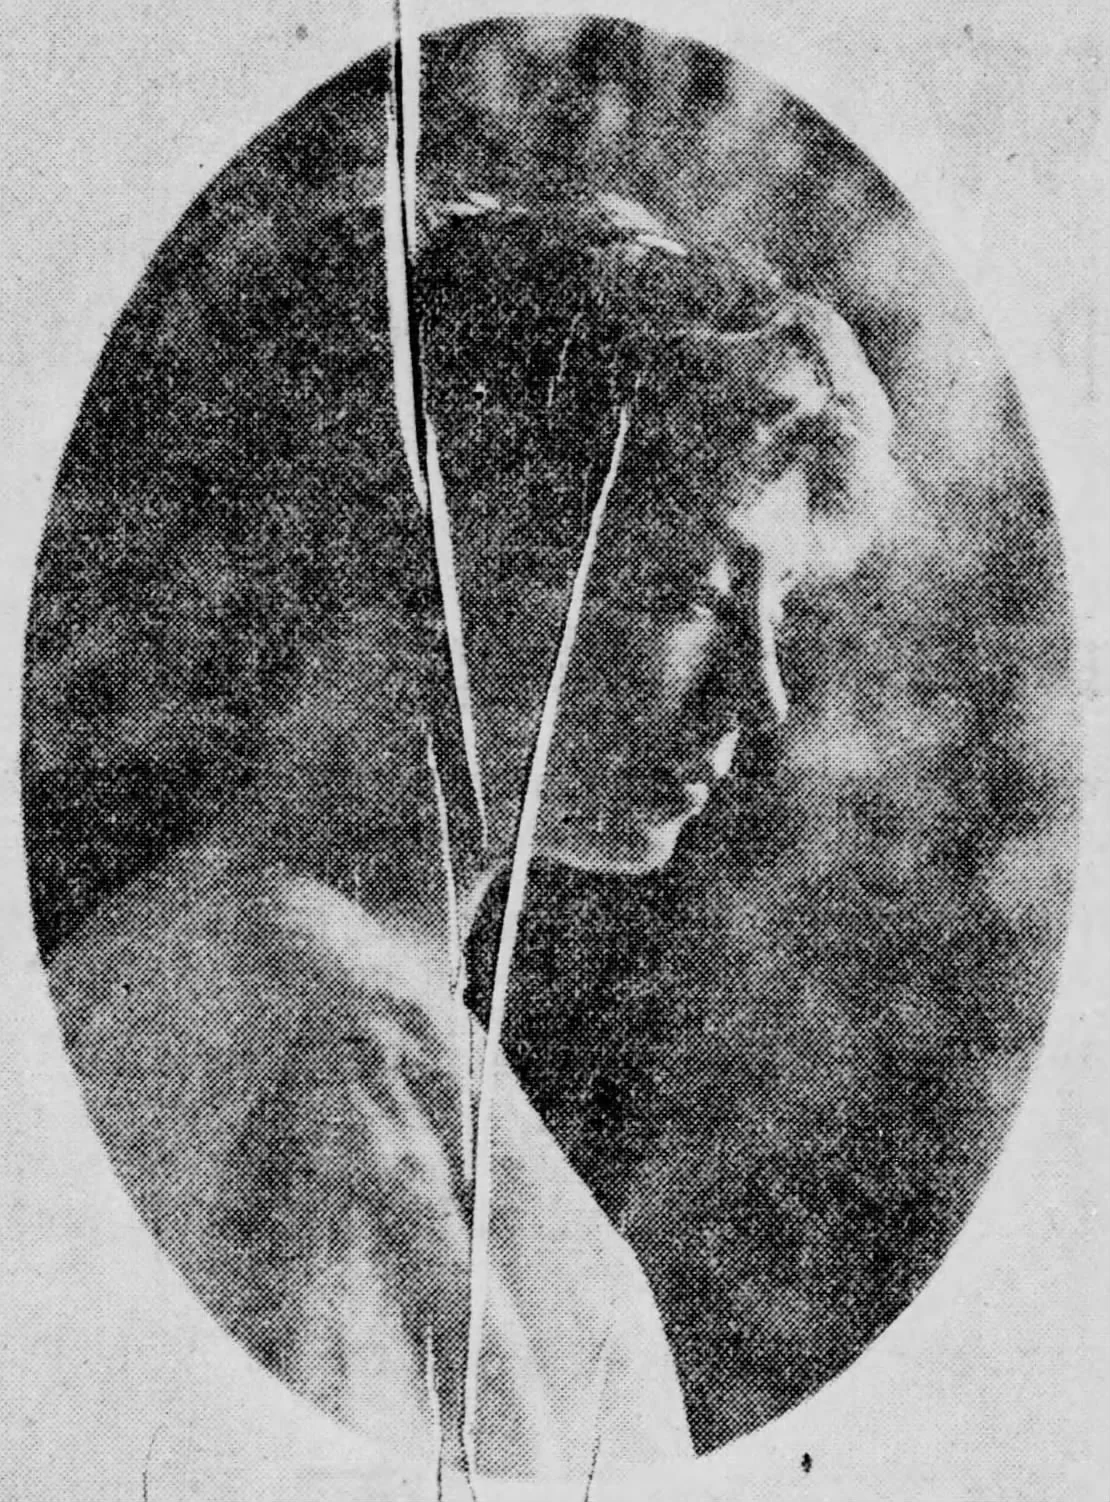
 Photo restorationRepair creases, tears and fading in old photosTry it with your photo
Restoration can't bring back detail that was completely burned out by a reflection, so a clean original shot is still the most important step. Spend the extra minute on angle and lighting.
Quick checklist
- Take the photo out of the frame if it comes out safely.
- Turn off overhead lights and close the curtains opposite the picture.
- Light it from the side at 45 degrees.
- Wear dark clothes and turn the flash off.
- Lean the frame back slightly or tilt the phone a few degrees until the reflection disappears.
- Use the 2x lens from a little further away.
- Shoot several frames and keep the cleanest.
- Fix the perspective, crop, then restore any damage.
Copying artwork and certificates
The same method works for framed prints, paintings behind glass, diplomas and certificates. For paintings, side light also shows the brushstroke texture, which can look great or distracting. If you only want the colors, use two lights, one on each side, for flat, even light.
For a larger collection of loose prints, read our guide to scanning old photos with your phone. It covers a quick setup for copying dozens of photos in an afternoon.