









Blurry photos are frustrating because the moment is usually gone by the time you notice. The fix depends on the kind of blur. A smudged lens, a shaky hand and a fast-moving child all produce blur, but each needs a different solution.
Here's how to read the blur in your photo, prevent it next time, and rescue the shots you already have.
First, look closely at the blur
Zoom into your photo and ask three questions:
- Is everything blurry, or only part of the image? If something in the photo is sharp, the camera worked but focused on the wrong thing or the subject moved.
- Is the blur streaked in one direction? Directional streaks mean movement: your hands or the subject.
- Is there a soft glow or haze around lights? That points to a dirty lens or condensation.
The 8 most common causes
1. Camera shake
What it looks like: the whole image is blurred with a slight double or streaked look, usually in one direction. Bright lights show short trails.
Why: the phone moved while the shutter was open. This happens most in low light, when the camera needs a longer exposure.
Prevent it: hold the phone with both hands, elbows tucked in. Lean against a wall or rest the phone on something. Press the shutter gently, or use the volume button. In dim places, use night mode and stay still until it finishes.
2. Subject motion
What it looks like: the background is sharp but the moving person, pet or car is smeared.
Why: the subject moved faster than the shutter could freeze it.
Prevent it: use more light, so the camera picks a faster shutter speed. Use burst mode for kids, pets and sports. On cameras, use shutter priority at 1/500 second or faster for running subjects.
3. Missed focus
What it looks like: something is sharp, just not the thing you wanted. The background is crisp and the face is soft.
Why: autofocus picked the wrong spot, often the highest-contrast area.
Prevent it: tap on the subject's face on the screen before you shoot. Most phones also lock focus if you hold your finger down.
4. Too close to the subject
What it looks like: the whole image is soft, especially with close-ups of food, flowers or documents.
Why: every lens has a minimum focus distance. Get closer than that and it can't focus at all.
Prevent it: step back a little and crop later, or use the phone's macro mode.
5. A dirty lens
What it looks like: a hazy, low-contrast image with glowing halos around bright lights.
Why: fingerprints and pocket lint on the lens. It's the most common cause of soft phone photos.
Prevent it: wipe the lens with a soft cloth before important shots. Your T-shirt works in a pinch.
6. Low light and noise reduction
What it looks like: smeared, painterly detail, especially in hair, grass and dark areas.
Why: in low light the phone fights noise by smoothing it away, and fine detail goes with it.
Prevent it: add light, move closer to a window, or use night mode on a steady surface.
7. Digital zoom
What it looks like: soft, mushy detail when you zoomed in far.
Why: beyond the phone's optical lenses, zoom is just cropping and enlarging.
Prevent it: use the phone's real zoom lenses (2x, 3x, 5x depending on the model) and walk closer instead of zooming further.
8. Compression from messaging apps
What it looks like: a photo that looked sharp on your phone is soft when friends receive it.
Why: messaging apps compress images to save data.
Prevent it: send as a file or document, or share a link to the original.
How to fix a photo that's already blurry
Classic sharpening filters only boost edge contrast, which makes slight blur look crisper but turns heavy blur into crunchy halos. AI-based restoration works differently. It rebuilds the edges and detail it expects to see in faces, text and textures.
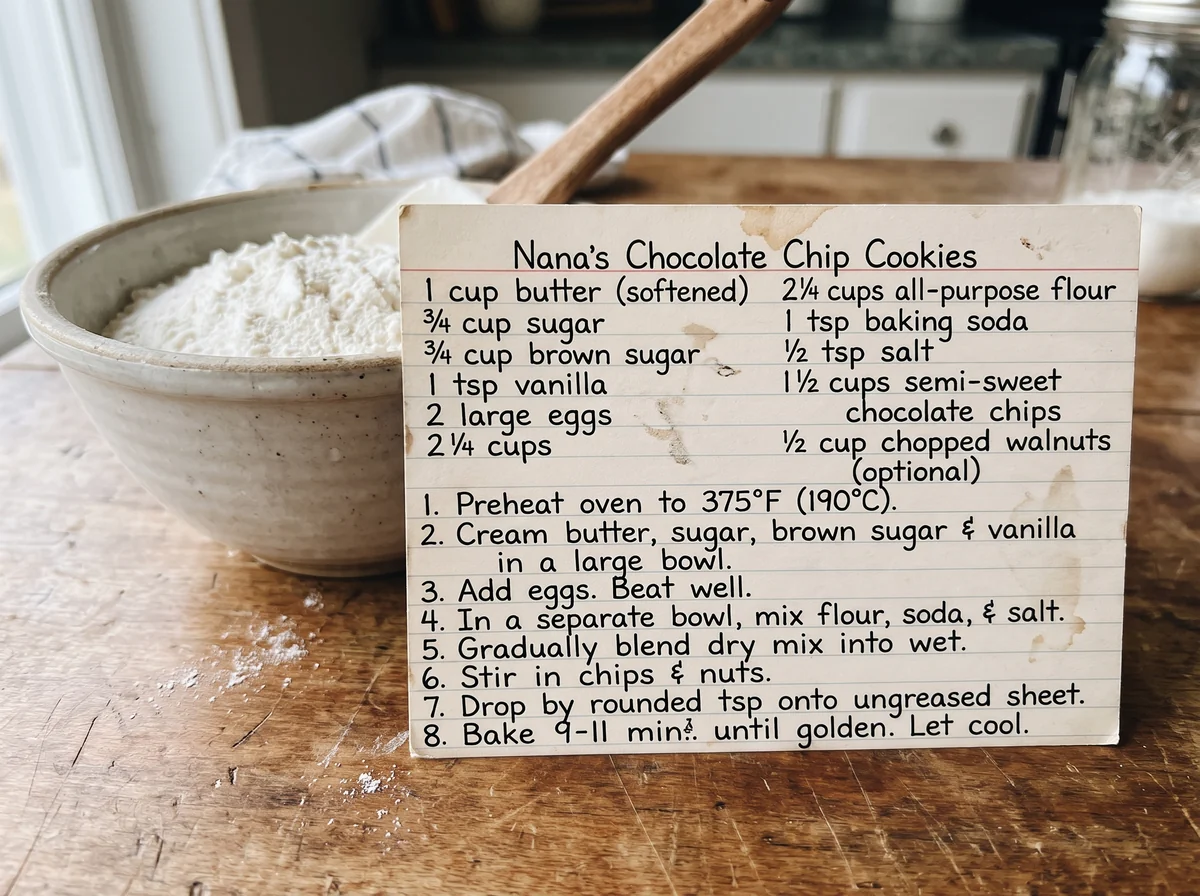
Unblur image handles motion blur, camera shake and soft focus. It keeps the same people, colors and framing and focuses on recovering faces, text and fine detail.
 Unblur imageMake a blurry photo sharp againTry it with your photo
Some limits are worth knowing:
- Mild to moderate blur gives the best results.
- Extreme blur, where you can't tell what the subject is, can't be truly recovered. The tool would have to invent detail.
- Faces are rebuilt to be sharp, but check them closely. If the face changes, try a less blurry frame from the same burst.
- Restored text is very readable but double-check numbers on anything important.
Tilted and blurry at the same time?
Quick shots taken in a hurry are often crooked as well as soft. After sharpening, level the horizon with Straighten photo. It runs in your browser and takes a few seconds.
A quick routine for sharper photos
- Wipe the lens.
- Tap to focus on the subject.
- Hold the phone with both hands, or brace it.
- Use more light whenever you can.
- Use burst mode for anything that moves.
- Use the optical zoom lenses only.
- Check the shot zoomed in before you leave the scene.
Old photos that are blurry
Blur in old prints often comes from the original camera, not the scan. If the scan itself is soft, rescan at higher resolution first. Our guide to restoring old photos walks through scanning, repairing and colorizing them. Blocky or pixelated images are a different problem, covered in why photos look pixelated.