











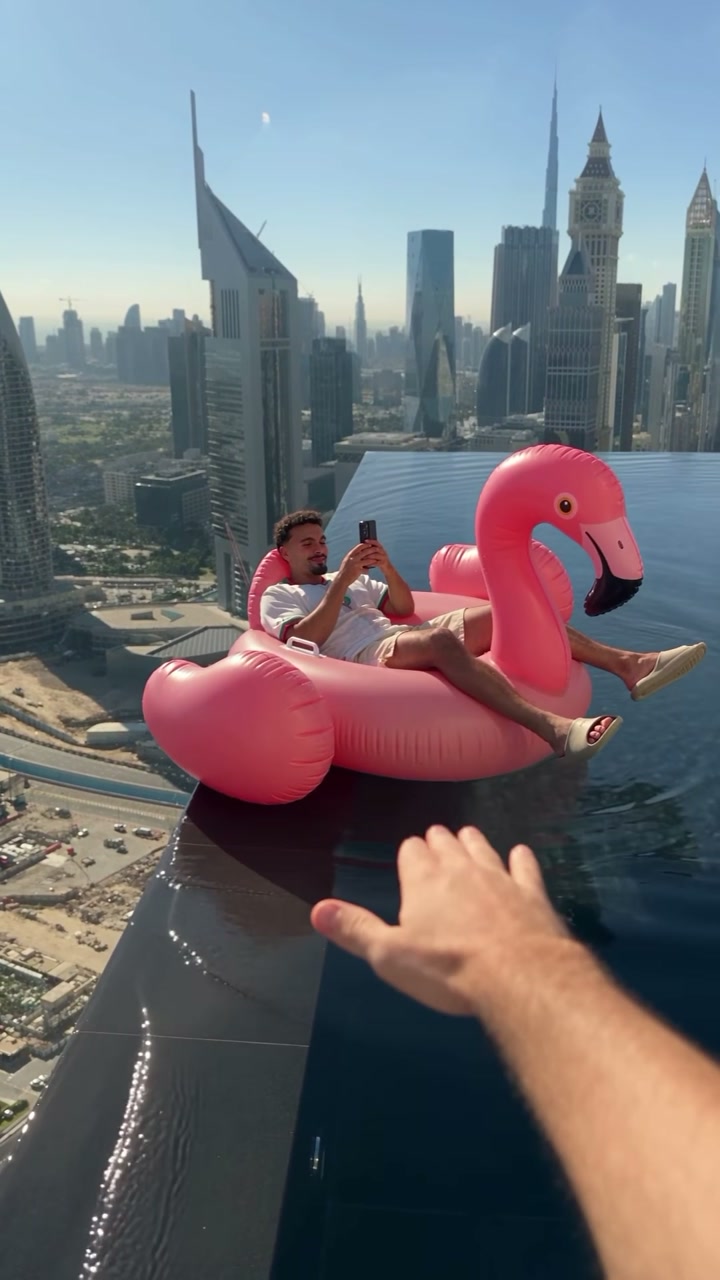
Pixelation is when you can see the building blocks of an image: square pixels, jagged staircase edges, or 8 x 8 blocks of smeared color. It's different from blur. A blurry photo is soft everywhere. A pixelated photo is sharp in the wrong way, with hard, blocky edges.
There are three main causes, and each has its own fix.
Cause 1: Not enough pixels
Every digital image has a fixed number of pixels. A 400 x 300 image has 120,000 of them. A modern phone photo has 12 million or more. If you take a small image and display it large, each pixel gets stretched across many screen pixels and you see squares.
Where small images come from:
- Thumbnails and previews saved from websites or social media.
- Screenshots of photos, especially zoomed-out ones.
- Old phones and early digital cameras (1 to 3 megapixels was normal in the 2000s).
- Heavily cropped photos, where you kept only a tiny part of the frame.
- Profile pictures downloaded from social networks, often 150 to 400 pixels wide.
How to spot it: check the image dimensions. On a computer, look at the file's properties. On a phone, most gallery apps show the resolution under "Info" or "Details". Anything under about 1000 pixels wide will pixelate when shown full screen.
Cause 2: Heavy compression
JPG and other lossy formats save space by simplifying the image in small blocks. At high compression, those blocks become visible: smudged 8 x 8 squares, color bands in skies, and "mosquito noise" (fuzzy halos) around text and edges.
Where heavy compression comes from:
- Messaging apps that shrink photos before sending.
- Images that have been saved, shared and re-saved many times. Each save adds loss.
- Screenshots of screenshots.
- Websites that compress images aggressively.
- Low-quality settings in export dialogs.
How to spot it: look at smooth areas like sky and skin. Visible squares or banding mean compression, even if the dimensions are large.
Cause 3: Over-enlarging and digital zoom
Zooming in past your phone's optical lenses, or resizing a small image to a large size in an editor, spreads the same pixels over a bigger area. Simple resize methods (called "nearest neighbor") produce hard squares. Smoother methods produce a soft, waxy look. Neither adds real detail.
How to prevent pixelation
- Keep the original. Always go back to the first, full-size file instead of a copy that's been shared around.
- Send photos as files. In messaging apps, choose "Document" or "HD" options where available.
- Use optical zoom only. Walk closer instead of zooming further.
- Export at high quality. In JPG export dialogs, 80 to 90 percent quality is a good balance.
- Avoid re-saving JPGs. Edit in PNG or your editor's own format and export to JPG once at the end.
- Download the full image. On many sites, opening the image in a new tab gives the larger version, not the thumbnail.
How to fix a pixelated image
First, look for a better original
The best fix is always a better source. Search your cloud backup, email attachments or the original device. Ask the person who sent it for the original file. A reverse image search can sometimes find a larger copy of a public image.
Then, rebuild the detail
If the small, blocky version is all you have, AI restoration can rebuild the missing detail. Simple upscaling just makes the squares bigger. Unpixelate image removes the blocky pixels and compression artifacts and redraws smooth edges, textures and faces, while keeping the same people, colors and framing.

 Unpixelate imageMake a pixelated image sharp and clearTry it with your photo
It works best on:
- Small images from old phones and early digital cameras.
- Heavily compressed photos from messaging apps.
- Screenshots and thumbnails you want to use larger.
- Portraits where the face is blocky but recognizable.
Keep expectations realistic. When an image has only a few hundred pixels, the rebuilt details are educated guesses. Faces stay recognizable when there's enough to go on, but very tiny faces can come out slightly different. Text that was unreadable in the original may be rebuilt wrongly, so check names and numbers.
Blocky or blurry?
If the image is soft rather than blocky, the problem is blur, not pixelation. Unblur image is built for motion blur and missed focus. Our post on why photos are blurry explains how to tell the two apart.
Print sizes and pixels
If you're printing, here's a simple rule: you need about 300 pixels per inch for a sharp print at normal viewing distance, and around 150 pixels per inch is acceptable for larger prints viewed from further away.
- 4 x 6 in print: about 1200 x 1800 pixels.
- 8 x 10 in print: about 2400 x 3000 pixels.
- A poster viewed from across the room can get away with less.
If your image falls short, restore it first and check the print preview at 100 percent zoom before ordering.
Is the format to blame?
Not usually. JPG, WebP and HEIC can all produce clean images at good quality settings. The problem is resolution and how hard the file was compressed. Converting a pixelated WebP to JPG won't fix it, and neither will saving a JPG as PNG. For more on formats, see what a WebP file is.
Summary
Pixelation comes from too few pixels, too much compression, or stretching an image too far. Prevent it by keeping originals, sending files instead of compressed copies, and avoiding digital zoom. When the blocky version is all you have, rebuild the detail rather than just enlarging it, and check faces and text afterwards.

