

Halftone generator
Give a photo the dotted look of a retro print.
Drop a photo
or paste with ⌘V · JPG · PNG · WebP, stays on your device
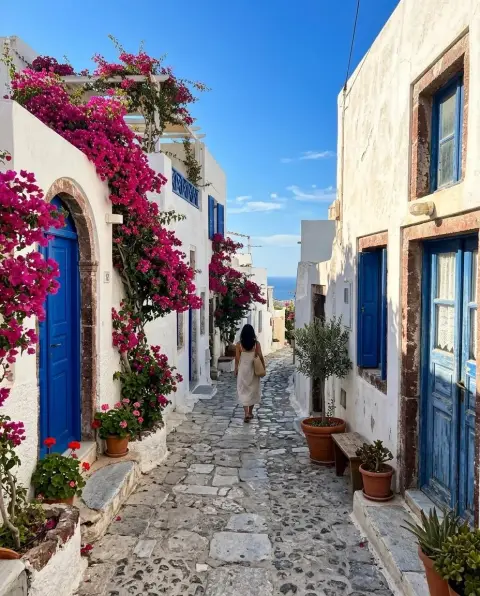
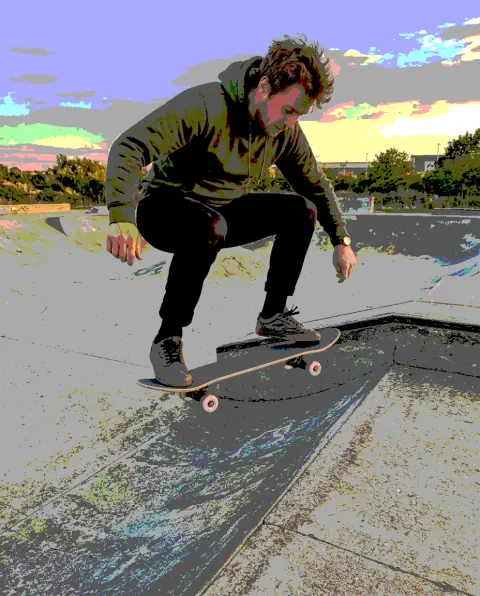
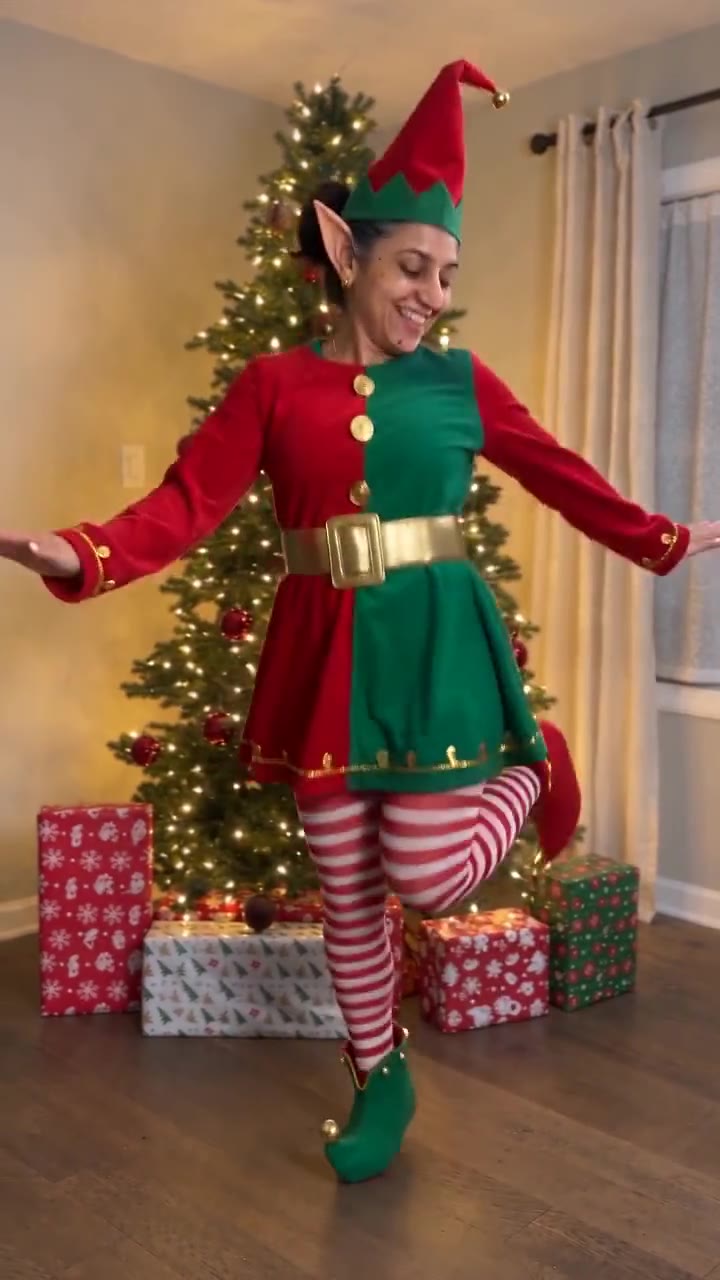
No photo handy? Try one of ours.
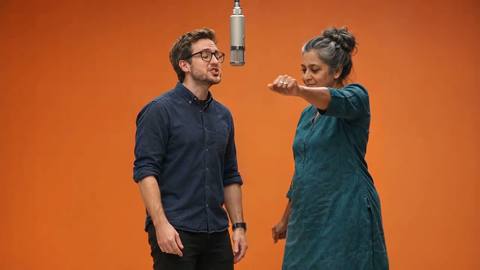
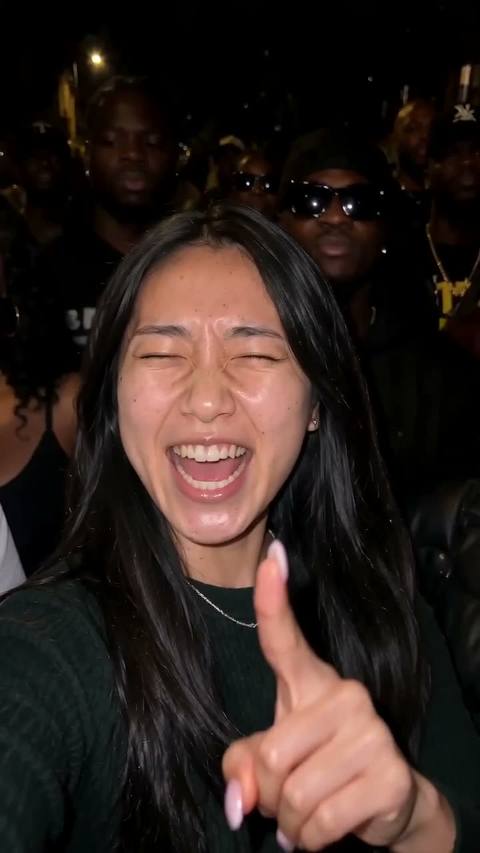
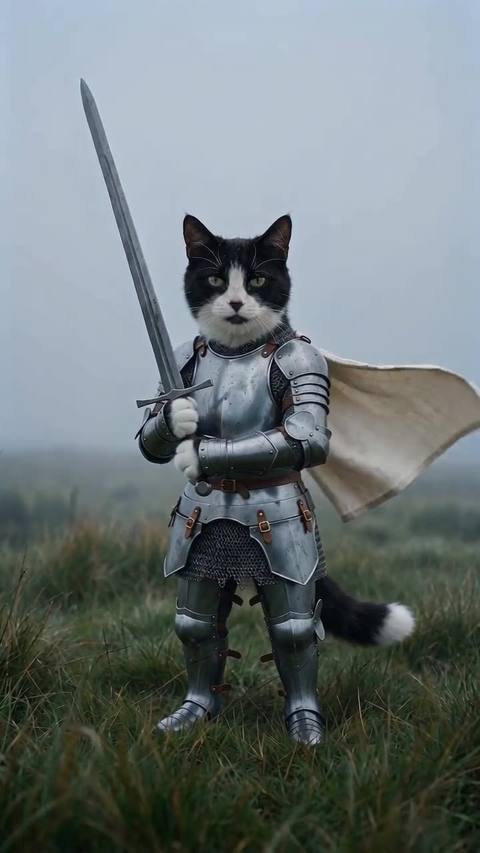
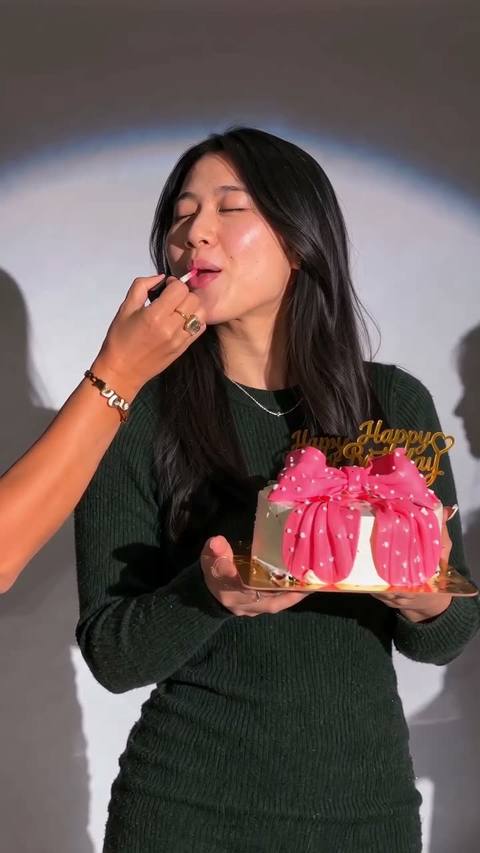
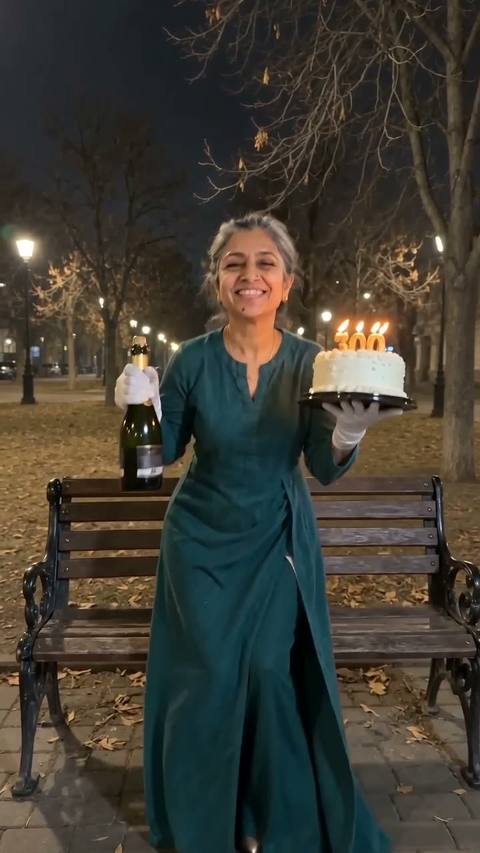
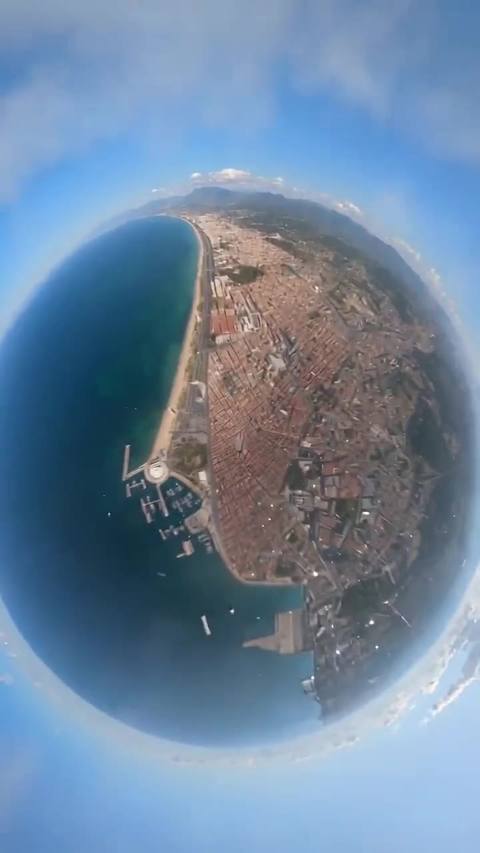
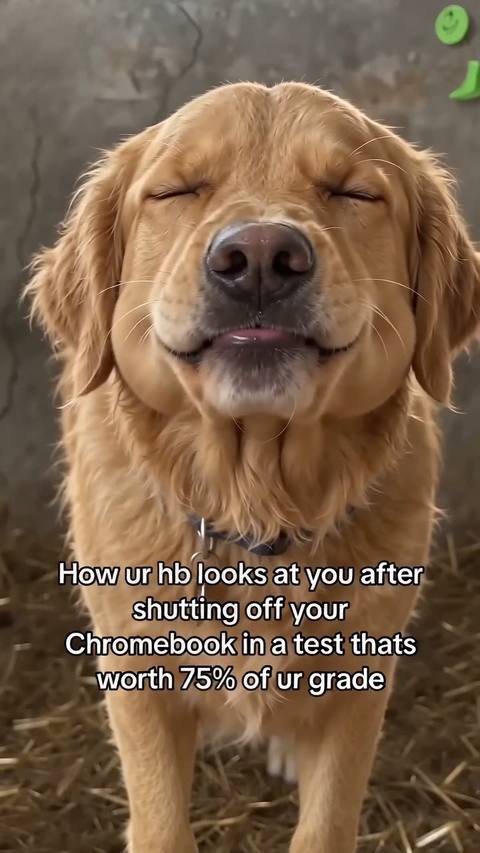
Halftone generator examples.
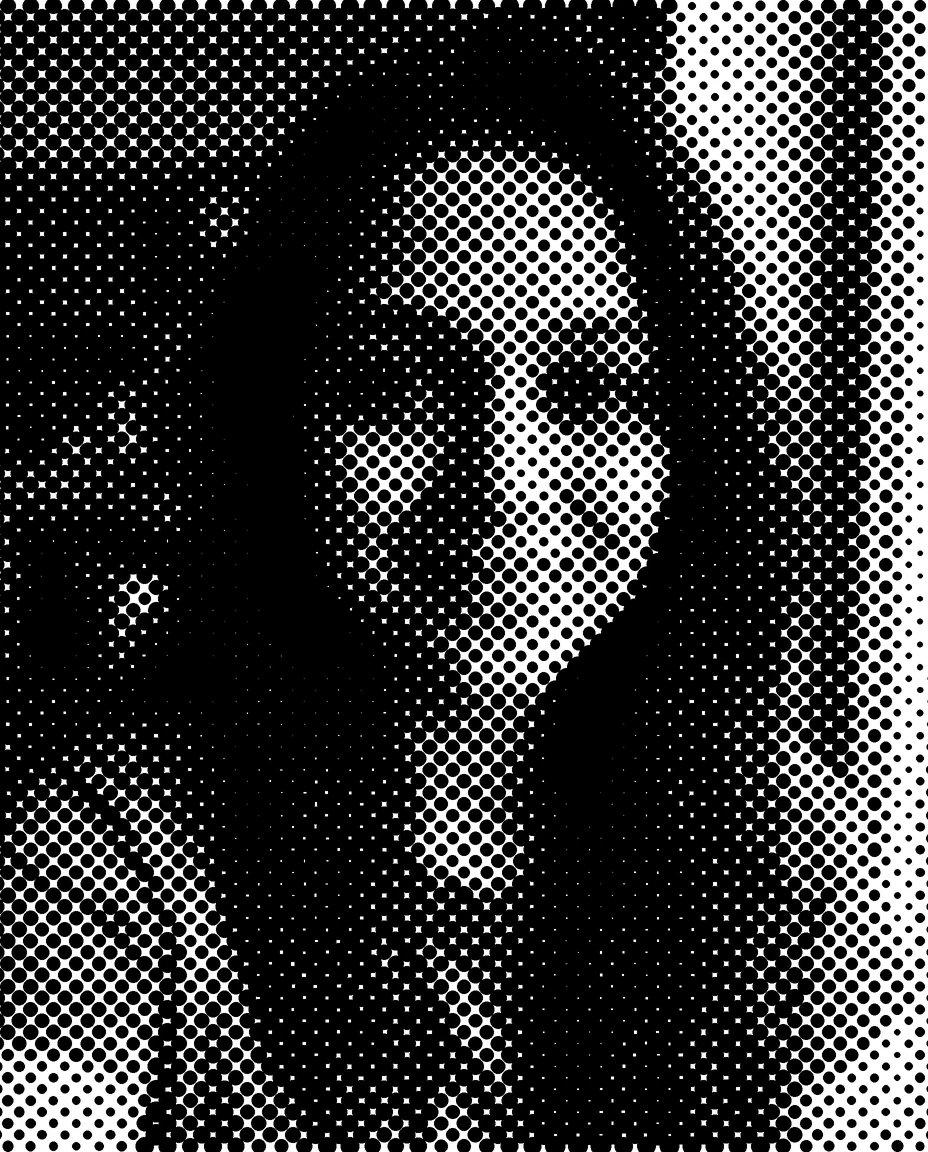
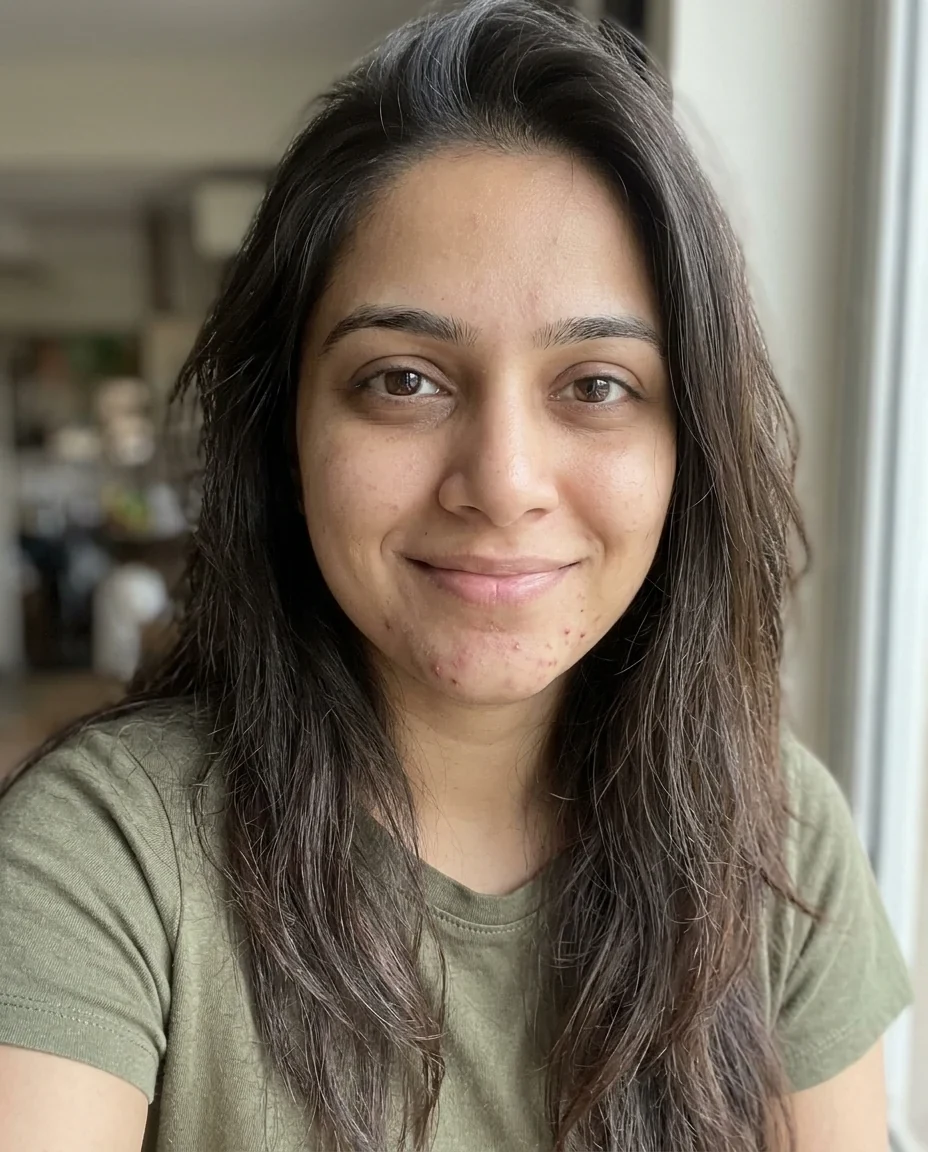
Black dots, 45°
Halftone generator features.
Dot size and angle
Dot size runs from 0.5 to 4 percent of the image width. Angle runs from 0 to 90 degrees.
Black dots or color
Black dots on white for a classic print look, or Keep colors so each dot takes the color beneath it.
Live preview
Watch the dots change as you move the sliders, then save a PNG or JPG at full size.
Halftone generator, step by step.
01
Add a photo
Drop in a picture. Portraits and high-contrast subjects work best.
02
Tune the dots
Adjust the size and angle, and choose black dots or Keep colors.
03
Download
Save a PNG or JPG at the photo's full size.
Halftone generator use cases.
- Posters and album art
- A retro pop-art or comic-print look for a cover or a flyer.
- Profile pictures and avatars
- A stylized portrait that stands out from a normal photo.
- Print-style textures
- Dotted images to use as a background or a design element.
Halftone generator: best photos and fixes.
What halftone is
Early printing presses could only print solid ink, not shades of gray. Halftone solved this by printing a grid of dots: large dots in dark areas, small dots in light ones. From a distance the eye blends them into smooth tones. Newspapers, comics and pop-art posters have that look, and this tool recreates it from any photo. It is a look, not a filter.
Dot size
Dot size is set as a share of the image width, from 0.5 to 4 percent, with 1.2 as the default. Small dots keep more detail and look closer to the photo. Large dots look bolder and more graphic, but lose fine features such as eyes. A large photo can take small dots; a small image needs bigger ones, or the pattern becomes a gray blur.
The screen angle
In print, the dot grid is turned by an angle, and 45 degrees is the classic choice because the eye notices it the least. This tool starts at 45 and lets you choose any value from 0 to 90. At 0 degrees the dots sit in straight rows and columns, which looks more mechanical and digital. Try a different angle if the pattern clashes with lines in the picture.
Black dots or Keep colors
Black dots on white give the traditional single-ink look. Keep colors gives each dot the color found under it, so you get a dotted version of the original photo, in the spirit of pop art. Color dots work best on bright, saturated pictures. A pale or muddy photo can look dull, so try black dots first and compare. Try both before you save.
Choosing a photo
Halftone turns brightness into dot size, so the picture needs real contrast. Portraits with strong light and shadow, silhouettes and bold objects work well. Foggy landscapes, flat indoor snapshots and busy backgrounds turn into noise. If the result looks weak, boost the contrast in your photo app, or crop in tight on the subject before you start. A tight crop helps too.
Output and printing
Download as PNG or JPG at the photo's full size. PNG keeps the dots crisp and suits black dots on white; JPG is smaller. This tool makes a single screen at one angle. It is not a CMYK separation, which print shops use to split a picture into four ink colors, so it will not replace one for professional press work. PNG is the safer choice for sharp dots.
Halftone generator FAQ.
How do I turn a photo into halftone dots?
Add the photo, choose a dot size and angle, pick black dots or Keep colors, then download. The preview updates as you change the sliders.
What is a halftone pattern?
A grid of dots whose size changes with the brightness of the image. Big dots mean dark areas, small dots mean light ones.
What dot size should I use?
Start with 1.2 percent of the width. Go lower for more detail, or up toward 4 percent for a bold, poster-like look.
Why is 45 degrees the default angle?
It is the traditional print angle, since the eye notices a 45 degree dot grid less than rows and columns. You can choose any angle from 0 to 90.
Can I keep the colors of the photo?
Yes. Choose Keep colors and every dot takes the color under it. Otherwise you get black dots on white.
Is this the same as CMYK halftone for print?
No. It makes a single dot screen. CMYK separation splits a picture into four ink layers, which this tool does not do.
Is it free?
Yes. Quick tools are free, need no sign-in and use no credits; your images stay in your browser. The AI tools linked below need an account.