








Clarendon Filter
Brighter highlights, cool shadows and a crisp color boost.
Drop a photo
or paste with ⌘V · JPG · PNG · WebP · up to 8 MB
No photo handy? Try one of ours.
Clarendon Filter examples.


Balanced: coast
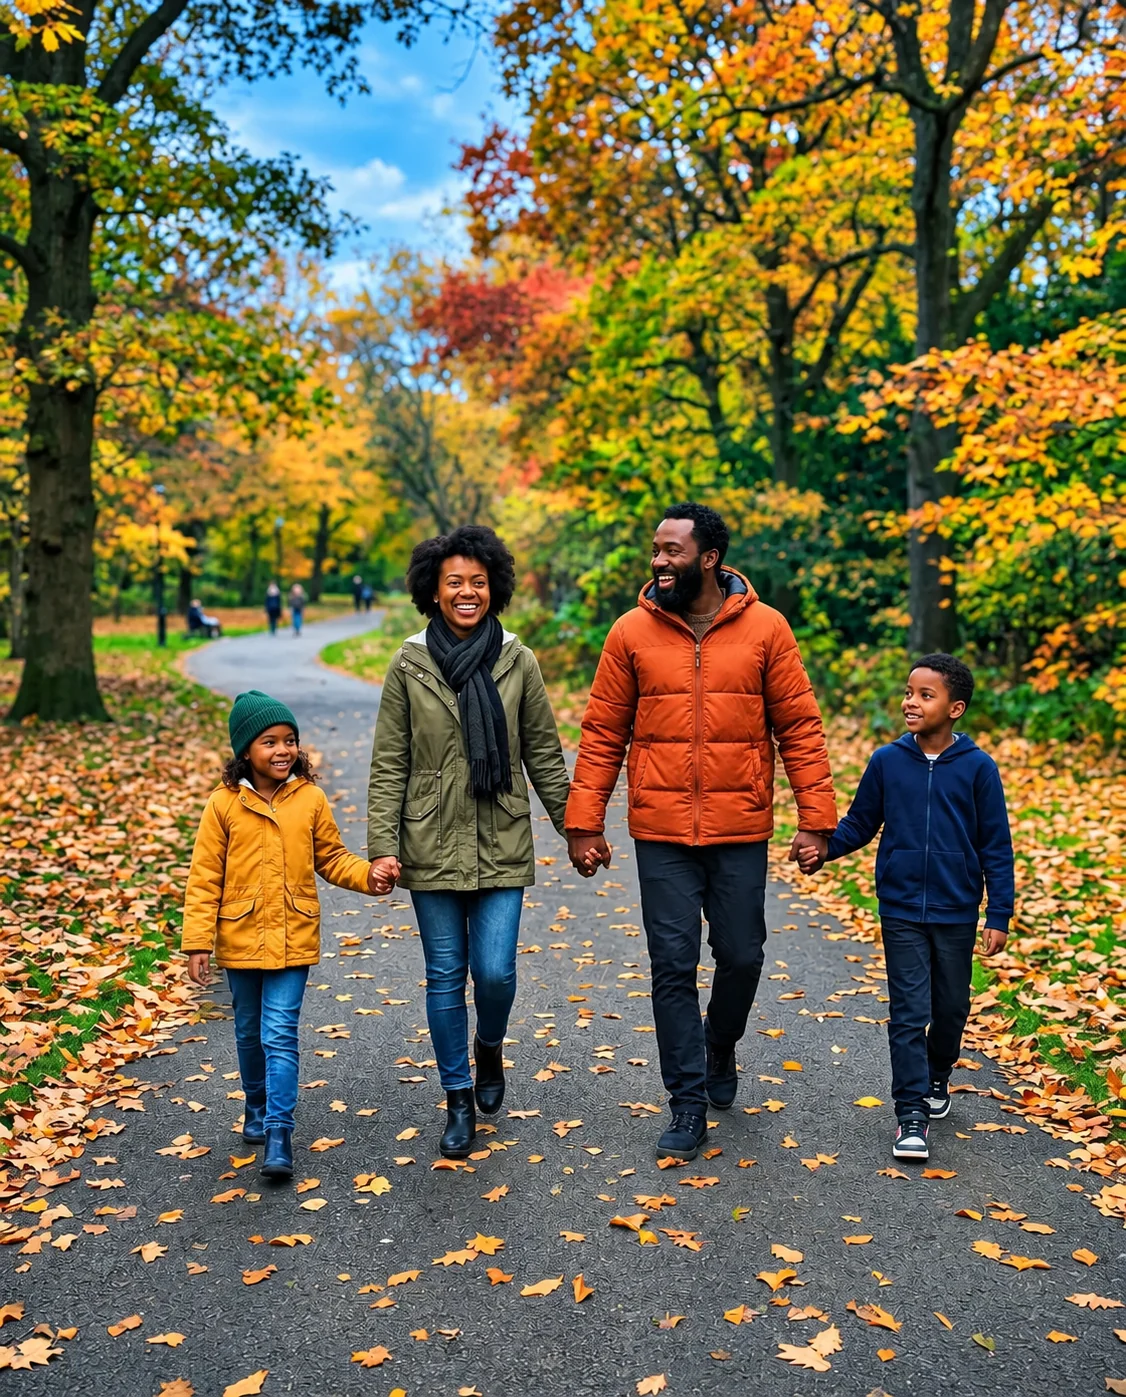
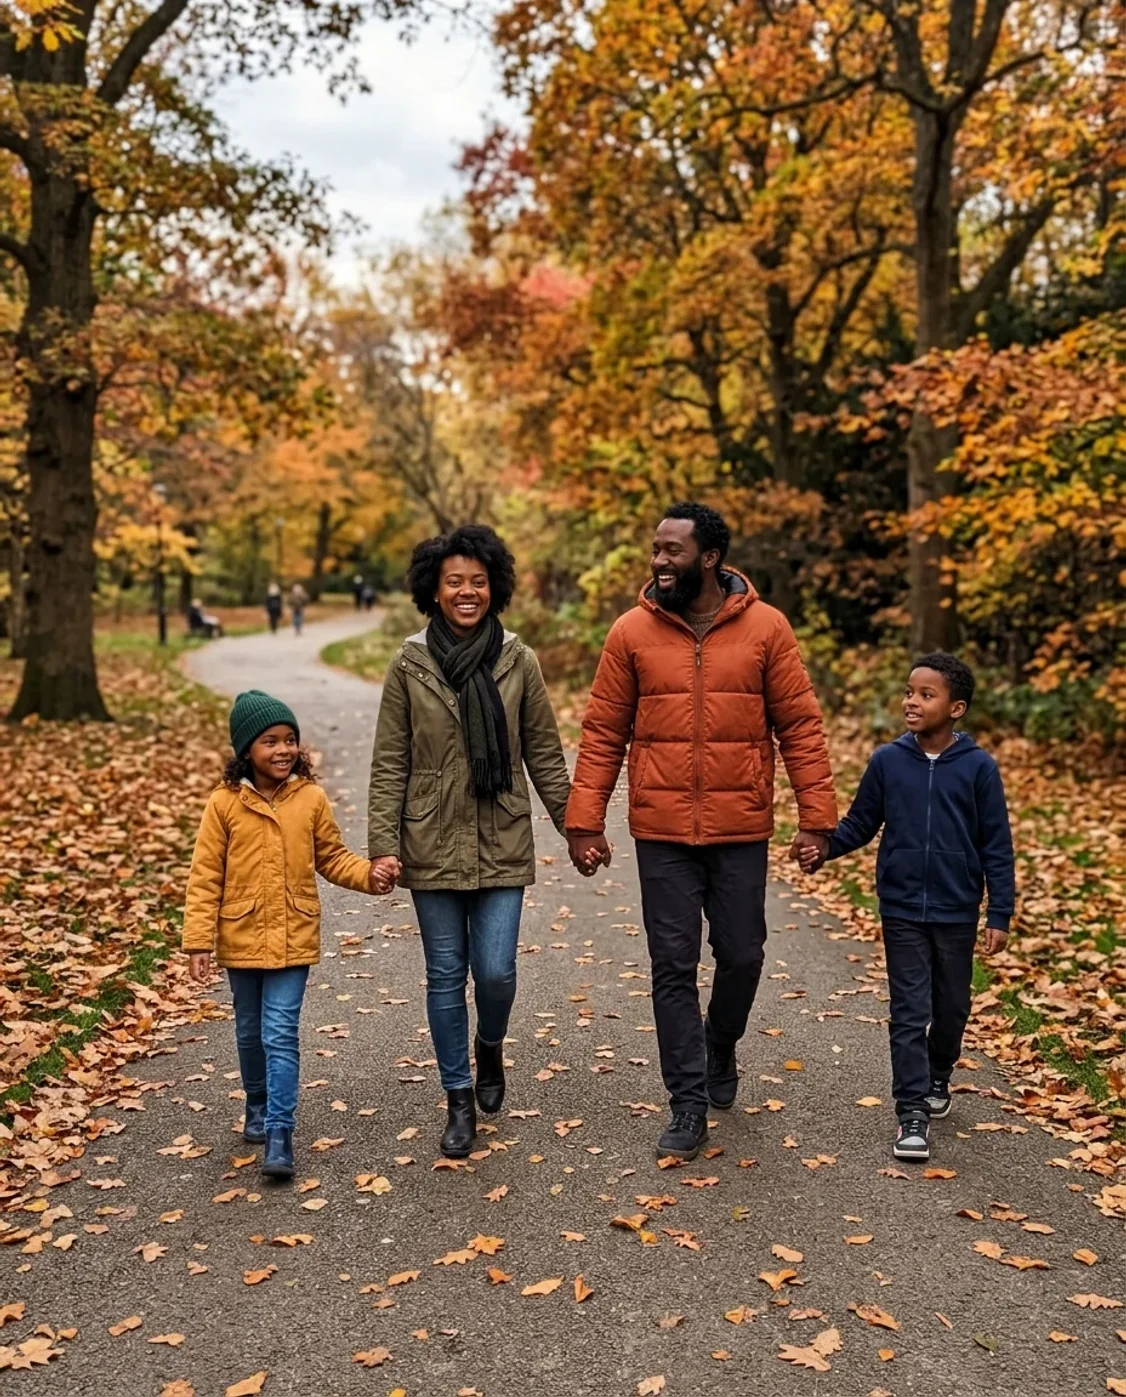
Balanced: park


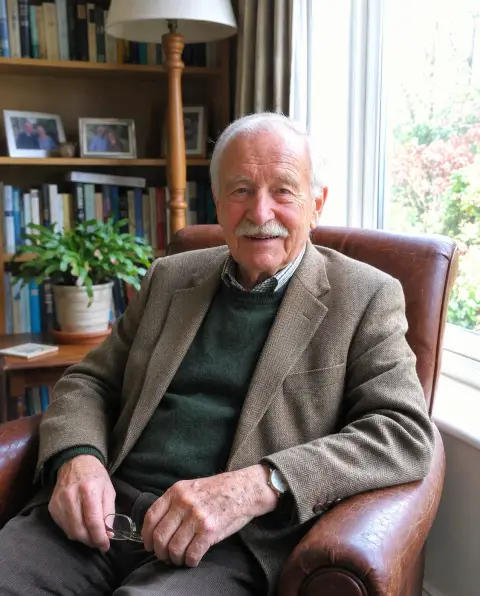
Balanced: portrait
Clarendon Filter features.
A crisp photographic grade
The preset brightens light areas, deepens shadows and adds a cool blue-cyan bias in dark tones. Greens and blues become livelier while highlights stay gently warm. It aims for a recognizable Clarendon-inspired finish without adding decorations or changing the subject.
Three strength choices
Balanced is the default and suits a first comparison. Soft keeps the adjustment restrained for faces or already colorful images. Bold asks for stronger contrast and saturation. These are qualitative AI instructions, not fixed percentages or an exact copy of another app's filter.
Color with a familiar scene
The model is asked to retain people, clothing, objects and composition. The intended change is tone and color. Because this is a generative edit, small details can still change; check text, repeated patterns and facial features when they are important to the photograph.
Clarendon Filter, step by step.
01
Upload an unfiltered photo
A source with natural colors is easiest to grade. Select the original file instead of a screenshot of a heavily edited social post. Portraits, coastlines, streets and everyday objects can all be useful starting points.
02
Choose a strength
Start with Balanced. Use Soft when the source already has deep shadows or bright skin highlights, and Bold when you want a more dramatic finish. Extra instructions can request natural skin or restrained color in a particular object.
03
Compare important details
Check the brightest and darkest parts of the result as well as the main subject. A successful grade feels richer without hiding facial detail or turning dark clothes into a flat black shape. Download the image when that balance works for your photo.
Clarendon Filter use cases.
- Travel and outdoor photos
- Give sea, sky, trees and city scenes a cooler, more contrasty finish. The effect can help separate a bright subject from a darker background, but it does not replace good exposure or add reliable detail to an overexposed sky.
- Color-coordinated posts
- Apply the same strength to a series of images with similar lighting. Compare them as a set before posting, since the model adapts to each picture. A consistent starting exposure matters more than asking every image for the strongest possible contrast.
Clarendon Filter: best photos and fixes.
Check your starting contrast
Balanced works best when the original still has information in both the highlights and shadows. If the source is already heavily contrasted, adding another strong grade may hide dark hair, black fabric or shaded eyes. Choose Soft for a photograph that has deep blacks before editing. An image with very pale colors may tolerate a stronger treatment, but judge the result by readable detail rather than saturation alone.
Protect natural skin color
Cool shadow tones can make a portrait feel fresh, but too much cyan around the jaw or eyes may look unnatural. Use a source taken in relatively neutral light and start with Soft or Balanced. If needed, add a short instruction such as 'keep skin tones warm and natural'. Strong colored lighting in the original cannot always be removed cleanly by a style filter, especially when several light sources overlap on the face.
Watch bright skies and white objects
The filter lifts highlights, so clouds, white shirts and pale walls deserve a closer look. If they become flat bright patches, reduce the strength instead of asking for even more contrast. For outdoor pictures, choose a source where cloud texture is already visible. The model may invent detail during an edit; that should not be mistaken for recovered information from the camera. Keep the untouched source whenever accurate documentation matters.
Avoid stacking competing looks
A photo with a strong warm vintage filter already applied may produce an awkward mix when cool shadows are added. Start from the unedited version when possible. Clarendon-inspired grading is about contrast and color, while the iPhone 4 Filter adds digital-camera texture and Vintage Filter adds period film or print cues. Choosing one main direction usually gives a cleaner result than trying to combine all three in a single instruction.
Review color at a normal size
Look at the result both full screen and at the size of a social post. Reds and greens can feel much stronger when viewed on a bright phone display. If a product's exact shade matters, compare it against the original and avoid treating an AI-filtered image as a color reference. Logos and fine lettering also need checking because a generative color edit does not guarantee that every pixel remains unchanged.
Clarendon Filter FAQ.
Is the Clarendon filter free?
New accounts receive 15 free credits, enough to try one image at the default GPT Image 2 setting of 9 credits. Sign in with your email without adding a payment card. The downloaded result has no watermark. Selecting a different model or resolution can change the cost shown on the generate button.
Is this the exact Instagram Clarendon filter?
No. This is an independent AI interpretation of that photographic look. It is not connected to Instagram and does not use Instagram's original filter algorithm. The precise color treatment varies with the input photo and the selected model.
Can I use it on portraits?
Yes. Soft or Balanced is a useful starting point when skin tone matters. Compare the face with the source afterward. The preset asks for believable skin and preserved facial features, but it cannot guarantee a pixel-identical face.
Is the adjustment reversible?
The downloaded image is a new edited file. Keep your original so you can return to it. The tool does not attach an adjustable filter layer that another photo editor can remove later.