







iPhone 4 Filter
Turn a crisp modern photo into an early smartphone snapshot.
Drop a photo
or paste with ⌘V · JPG · PNG · WebP · up to 8 MB
No photo handy? Try one of ours.
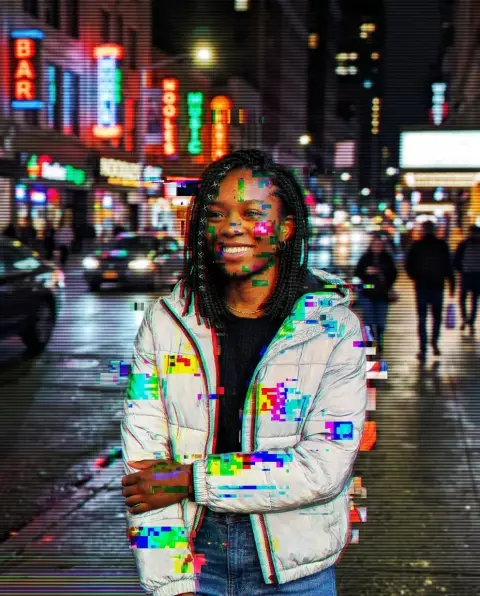
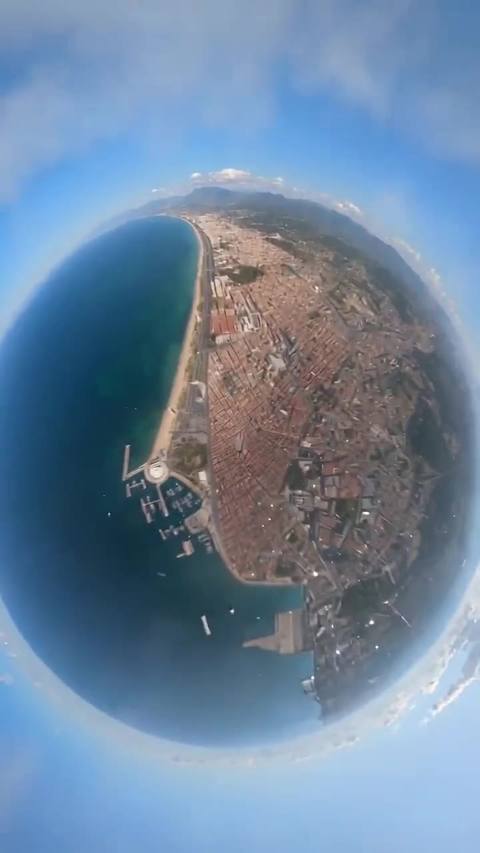
iPhone 4 Filter examples.


Daylight: portrait


Daylight: coastal snapshot
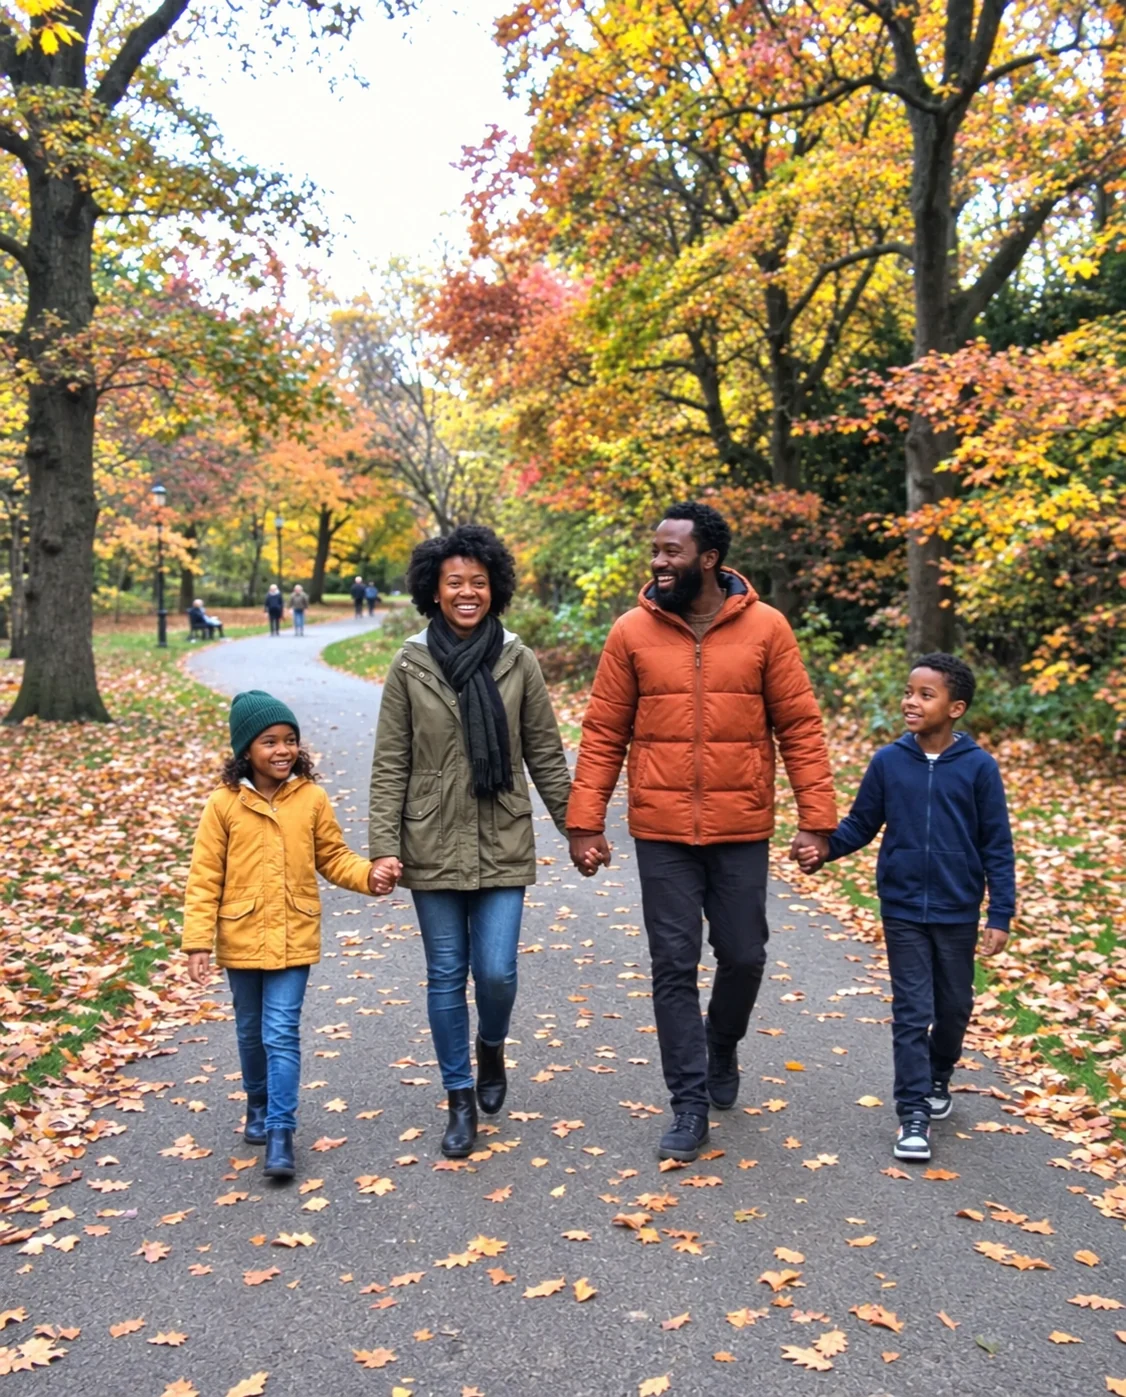
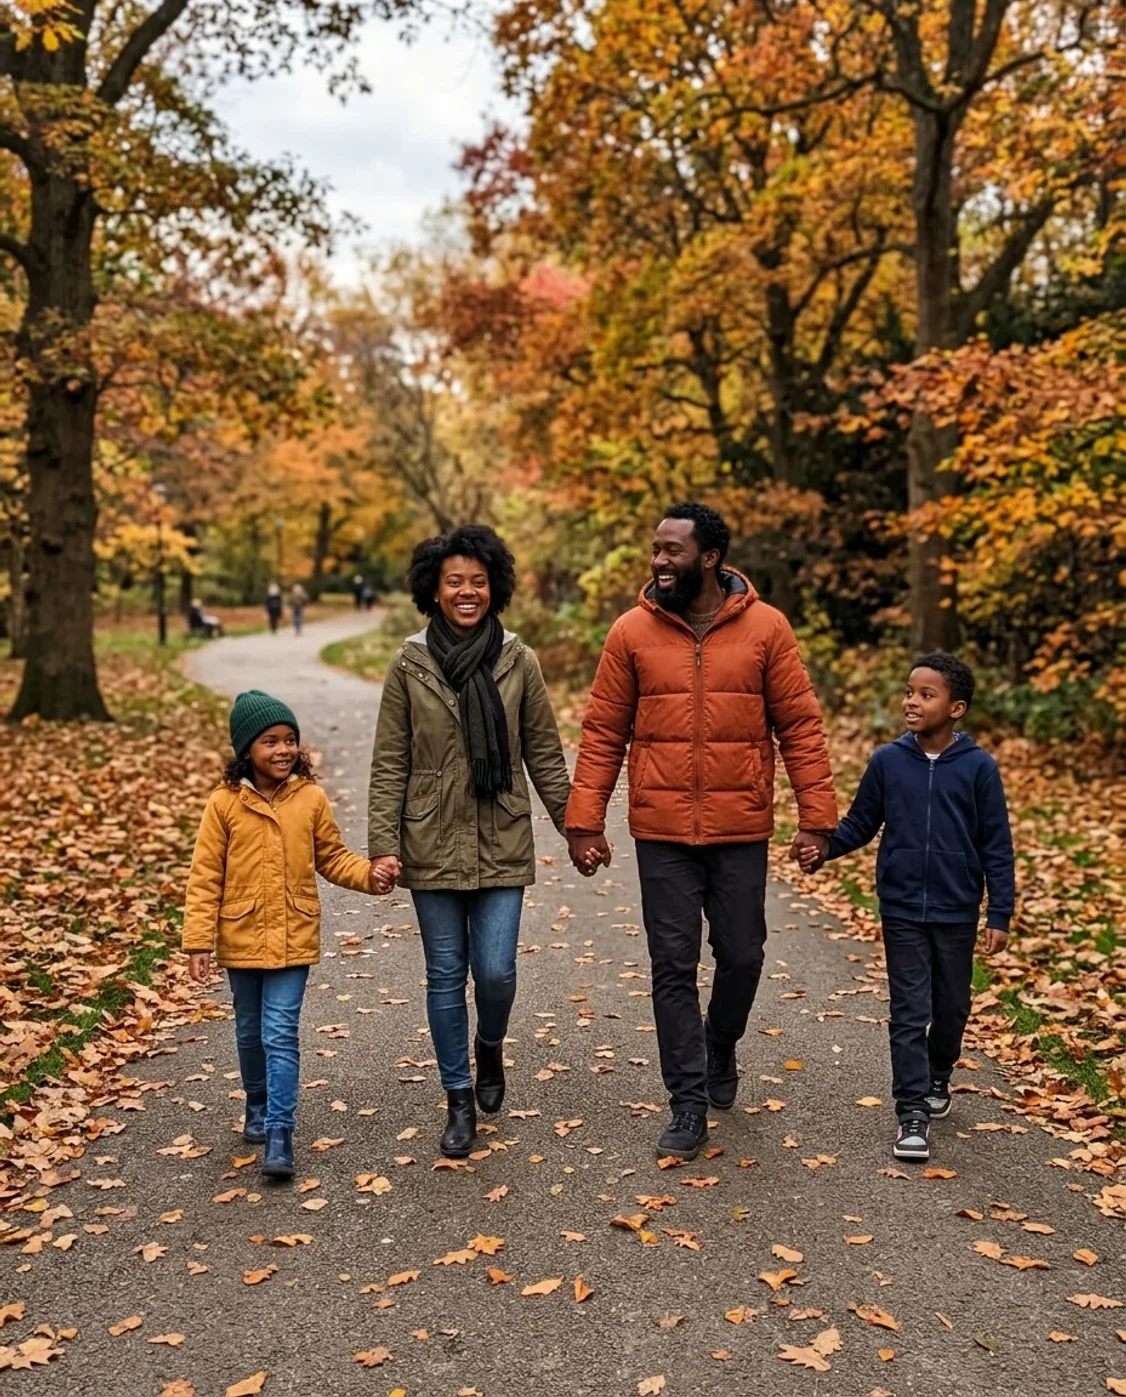
Daylight: park
iPhone 4 Filter features.
Digital camera texture
Soften the overly clean finish of a modern photo with subtle sensor noise, modest dynamic range and early smartphone color processing. The goal is a casual digital snapshot: it does not add the scratches, paper texture or light leaks of an old film print.
Three camera looks
Daylight is the default for bright everyday photos. Direct flash favors a brighter subject and darker surroundings. Low light adds more visible digital texture in the shadows. Choose the look that fits the source lighting before adding extra instructions.
Your original scene
The prompt asks the model to preserve people, clothes, objects and framing while changing the photographic finish. It is still an AI edit, so inspect small faces, signs and intricate patterns before using a result where exact detail matters.
iPhone 4 Filter, step by step.
01
Upload a clear source
Use the original image from your phone or camera. A sharp, well-exposed source gives the effect room to soften detail without losing the subject. Avoid starting with a tiny screenshot or a photo that already has heavy grain.
02
Choose the camera look
Keep Daylight for the first attempt, or choose Direct flash or Low light when those match the scene. Optional instructions can describe the mood or ask for restrained colors. You do not need to imitate a camera model in your instructions.
03
Generate and compare
Check the face, highlights and dark areas against the original. Download the still image when the texture feels right. Try the result at the size you plan to post: fine digital noise looks different in a small feed preview and a full-screen image.
iPhone 4 Filter use cases.
- Everyday throwbacks
- Give a recent trip, a casual portrait or a street photo the feel of an early smartphone album. Keep the scene contemporary if you like: the effect changes the camera look, not the year, clothes or objects shown in the photograph.
- A coordinated photo set
- Use the same camera look for several pictures from one outing. Similar source lighting helps them feel related. Process each photo separately and compare the finished set together; different scenes will not receive an identical pixel-level adjustment.
iPhone 4 Filter: best photos and fixes.
Start with usable highlight detail
The early phone-camera look comes partly from limited dynamic range: bright areas can look pale while shadows retain less detail. A source with some texture in the sky and face gives the model a better starting point. If the original already has a completely white forehead or window, this filter cannot recover a reliable record of what was there. Choose a more balanced exposure when you have several versions of a photo.
Separate digital texture from film grain
An early smartphone snapshot is not the same as a disposable-camera print. Digital noise often appears in dim areas, while fine edges can look soft or slightly oversharpened. The default prompt avoids scratches, sepia paper, light leaks and date stamps. If you want those film features instead, use the Vintage Filter. Keeping these two directions separate makes the intended era easier to recognize without piling every retro effect onto one image.
Match the look to the lighting
Daylight works well for outdoor portraits, street scenes and objects near a window. Direct flash can suit an evening gathering, but it changes the apparent lighting more than the other options. Low light is useful for dim interiors with a visible main subject. Applying it to an already underexposed face can make the face less readable. Start with the closest source-lighting match rather than choosing the strongest-looking option automatically.
Keep faces large enough
A close portrait or a small group is easier to judge than a distant crowd. Inspect the eyes and mouth after generation, especially when the starting photo is small or has been shared through several messaging apps. The preset asks for the original expressions and identity, but generative processing can redraw fine features. For a gentler finish, ask to preserve detail in the face and leave the camera texture mainly in the surroundings.
Export for the actual destination
Compare the downloaded result at the size where it will be viewed. Noise that feels obvious at full resolution may disappear in a small social preview. Avoid repeatedly saving screenshots of the output, because extra compression adds its own artifacts. Keep the original download alongside your source. This is a stylized new image, so retain the untouched photo if you also need a clean version for printing or a family archive.
iPhone 4 Filter FAQ.
Is the iPhone 4 filter free?
You can try it free with the 15 credits included with a new account. The default GPT Image 2 setting uses 9 credits per image. Sign in with your email; no payment card is needed for the trial. Downloads have no watermark. Other models or resolutions can cost more, and the button shows the current cost.
Do I need an iPhone 4?
No. Upload a photo from any supported phone or camera. The tool creates an AI interpretation of the early smartphone look; it does not run Apple's original camera processing or make the image an authentic iPhone 4 photograph.
Will the output be a tiny low-resolution file?
The visual effect and output resolution are separate. The image can have softened early-camera detail while being generated at the resolution selected in the tool. It is not a recreation of the exact sensor dimensions, metadata or file format of the original device.
Does it add a phone frame or a date stamp?
No. The preset produces the photograph itself without a phone body, camera interface, date stamp or border. Use it when you want a camera-style image rather than a mockup of a phone screen.