Whiten Teeth in Photo
A brighter smile that still looks like you.
Drop a photo
or paste with ⌘V · JPG · PNG · WebP · up to 8 MB
No photo handy? Try one of ours.
Whiten Teeth in Photo examples.


Natural white


Brighter


Event photo
Whiten Teeth in Photo features.
Natural or bright
Two strengths, both kept realistic.
Your smile kept
Tooth shape, gaps and gums stay the same.
Matches the light
Whites follow warm or cool lighting in the photo.
Whiten Teeth in Photo, step by step.
01
Upload a smiling photo
Teeth visible and in focus.
02
Pick a shade
Natural or Bright.
03
Download
Compare with the slider to check it looks real.
Whiten Teeth in Photo use cases.
- Profile and dating photos
- A fresh smile without obvious editing.
- Wedding and event photos
- Even out teeth across a whole set of portraits.
- Before you whiten for real
- Preview a lighter shade before booking a treatment.
Whiten Teeth in Photo: best photos and fixes.
Photos it works best on
Smiling portraits where the teeth are visible, in focus and reasonably lit give the cleanest result. Daylight and soft indoor light show the real color of the teeth, so the change looks like a genuine whitening. Very small faces in group photos still get whiter teeth, but there is little detail to work with, so check them at full size. Teeth hidden behind a hand, a straw or a closed smile are left alone.
Choosing a shade
Natural lifts the color two or three shades and keeps a little warmth, which is what most people look like after a good cleaning. Bright is closer to professional whitening and suits close-up portraits and event photos. Very white teeth can look unreal next to warm skin and orange indoor light, so if Bright stands out too much, switch to Natural or write "slightly warmer" in the instructions.
Group photos
Everyone visible in the photo gets whiter teeth by default. If only one person should change, say it: "only the woman in the middle". Describing the person by clothing or position is more reliable than by name. In a set of wedding or team photos, use the same shade on every photo so the smiles match from one picture to the next.
Braces, gaps and crowns
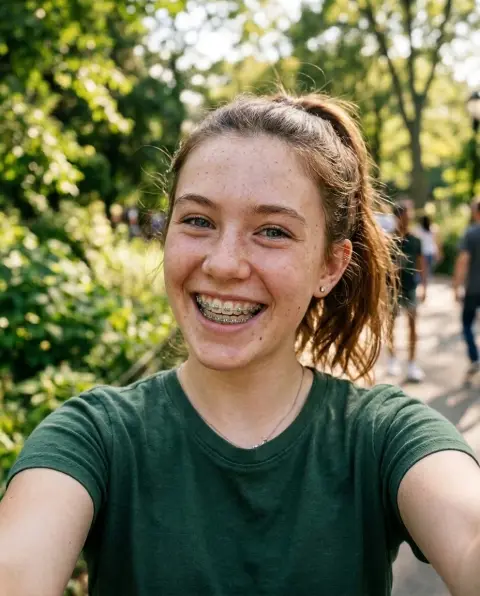
Brackets and wires stay as they are, and only the visible tooth surface is whitened. Gaps, chips and crooked teeth are kept, because this tool whitens rather than reshapes. A crown or filling that was a different shade is evened out with the rest. If you want to see yourself with braces, the braces filter does that; for a wider smile, the smile filter changes the expression.
If it looks fake
Teeth that glow, look like one white block or lose their edges usually come from a blurry or heavily filtered photo. Upload the original camera photo rather than a screenshot with a beauty filter. Regenerate once and compare. Writing "keep the separation between teeth" or "slightly translucent edges" helps in close-ups where every tooth is visible.
Previewing a real treatment
To see what a whitening treatment might look like on you, use a plain front-on smiling photo in daylight and try Natural first, the subtler option, then Bright for a stronger look. The preview is only a picture; how white your teeth can get depends on your teeth, so ask your dentist.
Whiten Teeth in Photo FAQ.
Will it change the shape of my teeth?
It isn't meant to: shape, size, gaps and position are kept and the color changes.
Does it work with braces?
Yes. Brackets and wires stay, and the visible tooth surface is whitened.
Does it work on dark or grainy photos?
Yes, but grain and low light make teeth harder to read, so the result can look flatter. Use the clearest photo you have.
Is the Whiten teeth free?
Yes, you can try it free. New accounts get 15 free credits, and one generation here uses 13 credits. You sign in with your email; no card needed. Results have no watermark. After that, plans add credits every month and credit packs never expire.