









If you sell online, your photos are your shop window. Buyers can't touch the product, so the photo has to show its shape, size, texture and color honestly. You don't need a studio or an expensive camera. A modern phone, a window and a few sheets of card will do.
The gear
- A phone with a clean lens.
- A table next to a window.
- White card or foam board: one large sheet for the background, one or two smaller ones as reflectors.
- Tape or clips.
- Optional: a small tripod or phone stand, and a thin white curtain or baking paper to soften direct sun.
Total cost is usually a few sheets of card from a stationery shop.
Step 1: Build a sweep
A "sweep" is a curved background with no visible corner between the table and the wall.
- Push the table against the wall next to the window.
- Tape a large sheet of white card to the wall, about 50 cm up.
- Let it curve down onto the table without folding, and tape the front edge down.
- Put the product in the middle of the flat part, away from the curve.
The curve makes the background look endless, and the product appears to float on clean white.
Step 2: Set up the light
- Use the window as your main light, to the side of the product. Side light shows texture and shape.
- Soften direct sun. If sunlight hits the table directly, hang a thin white curtain, baking paper or a white sheet over the window.
- Fill the shadows. Stand a white card on the other side of the product, facing the window. It bounces light into the shadow side.
- Turn off room lights. Mixing daylight and warm bulbs gives uneven color.
For glossy products like bottles and jars, watch the reflections. Move the reflector cards until the reflections look like clean, smooth highlights instead of messy shapes. Our guide to avoiding shadows in photos covers more light setups.
Step 3: Phone settings
- Use the main (1x) lens or the 2x lens. Avoid the ultra-wide, which distorts products. The 2x lens from a little further away gives the most natural shape.
- Tap to focus on the product and hold to lock focus and exposure.
- Lower the exposure slightly if the white background looks blown out and edges of the product disappear.
- Turn off filters, portrait mode and beauty modes. Colors need to be accurate.
- Use a timer or the volume button with a stand to avoid shake.
Step 4: Shoot the right angles
Most marketplaces let you upload several photos. Plan a set:
- Hero shot: the product straight on, or at a slight angle, filling most of the frame.
- 45-degree angle: shows depth and shape.
- Back and sides: labels, ports, closures.
- Detail close-ups: texture, stitching, materials, finishes.
- Scale shot: the product in a hand or next to a familiar object.
- In use or in context: worn, on a shelf, in a kitchen.
- Packaging: if it's part of the gift appeal.
Shoot more than you need. Pick the best later.
Step 5: Clean up the background
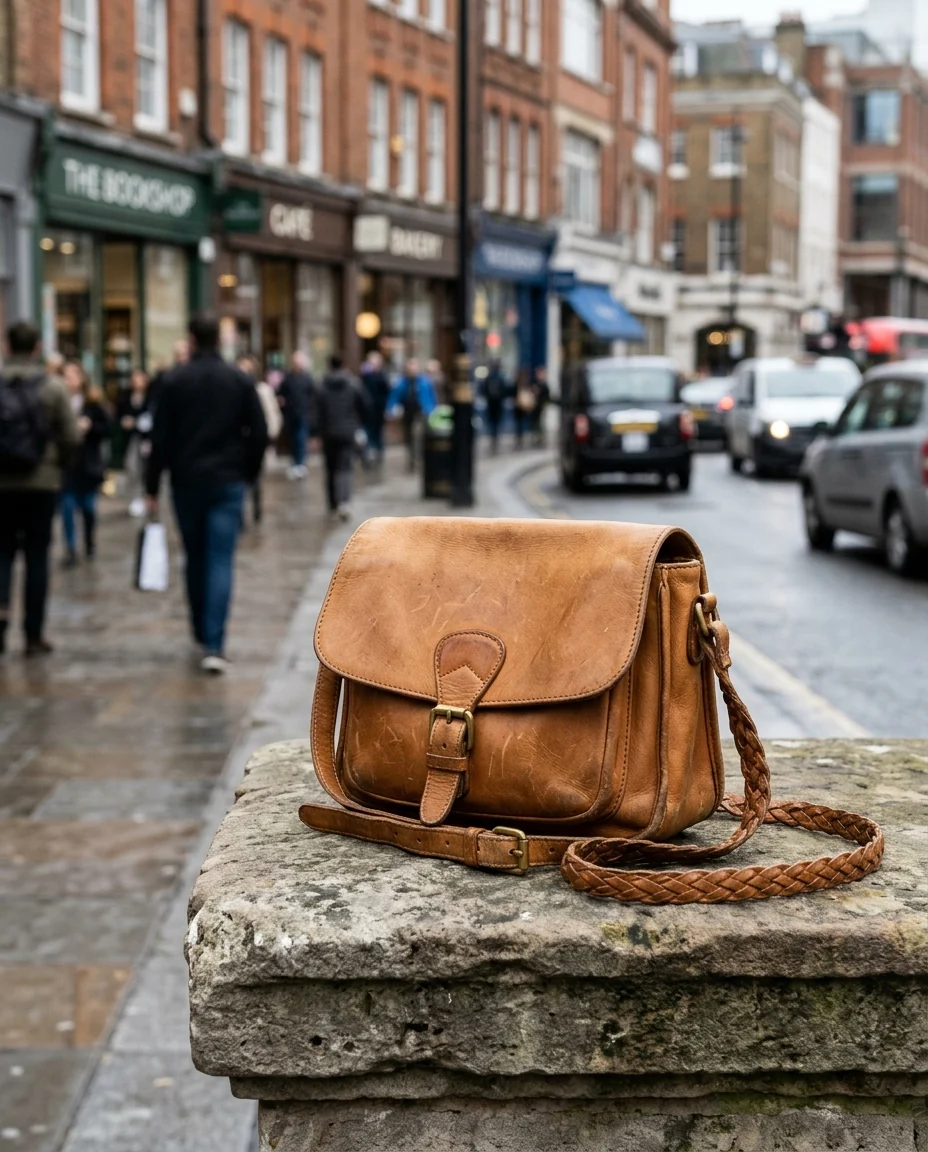
Even with a sweep, home photos rarely end up pure white. Marketplaces like Amazon require a pure white main image, and a clean background looks more professional everywhere.
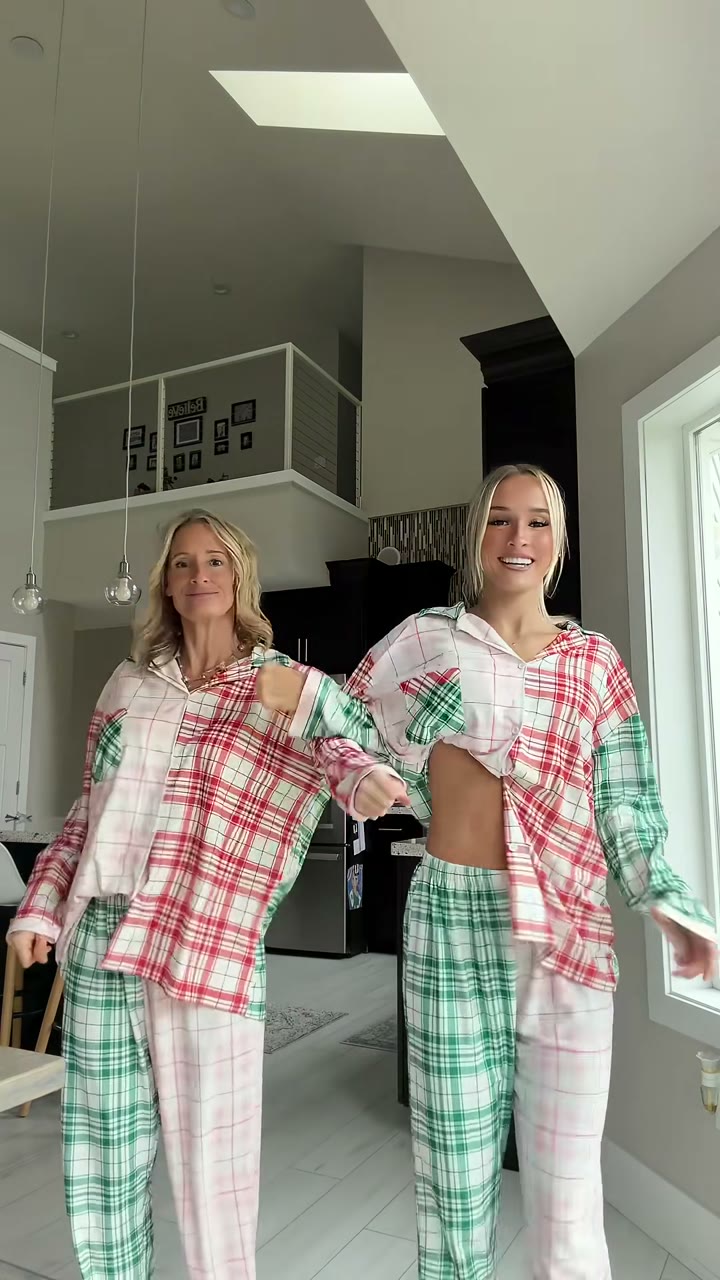
- White background replaces whatever is behind the product with pure white while keeping the product's shape, color and lighting.
- The background remover cuts out the product with clean edges. Choose transparent output to place it on any color yourself, white for a ready listing image, or keep a soft contact shadow so it doesn't look like it's floating.

 White backgroundPut any product or portrait on pure whiteTry it with your photo
Step 6: Add lifestyle images without a photoshoot
Lifestyle images, showing the product in use or in a nice setting, often sell better than white-background shots alone. They're also the hardest to stage at home.
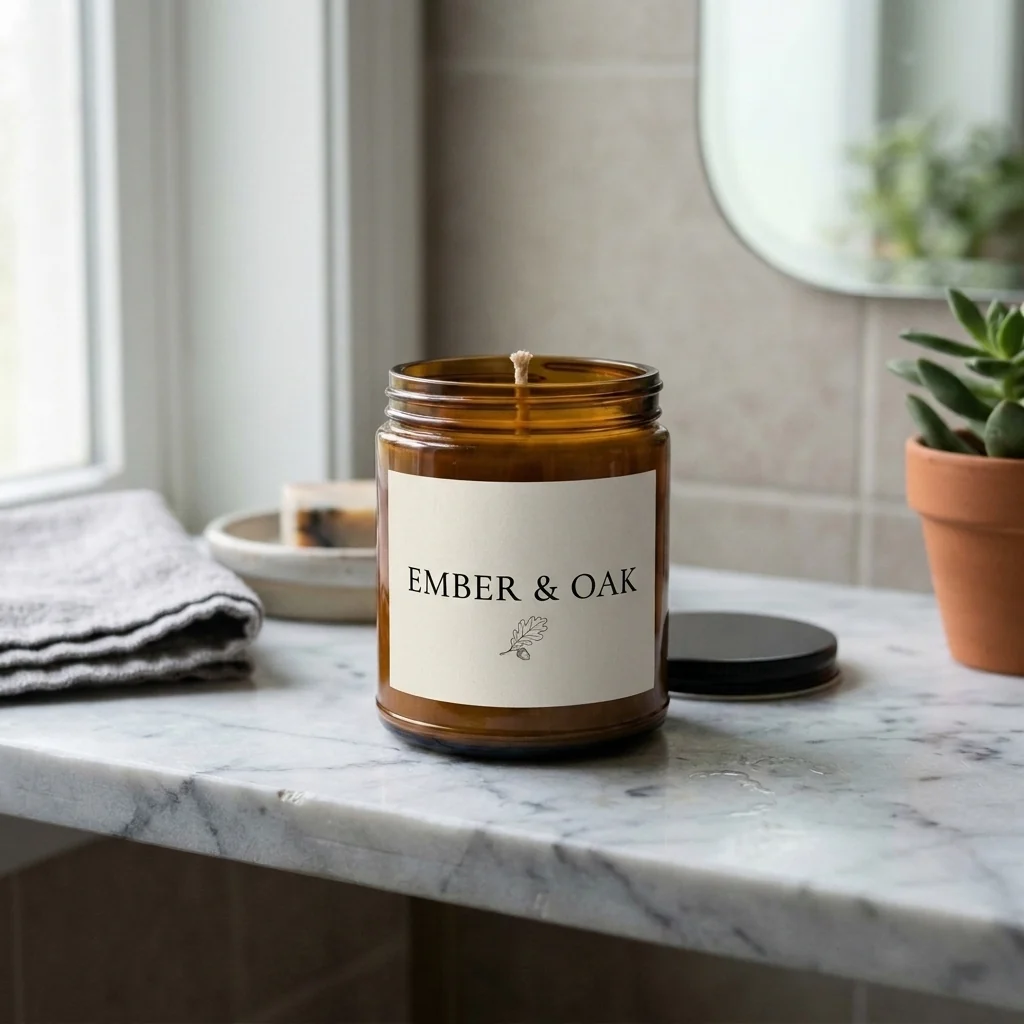
For printed products like mugs, shirts, tote bags and candles, the mockup generator puts your design onto a product photo, following its shape, folds and lighting. Upload the design and a product photo, and it wraps the artwork around the mug or onto the fabric.

 Mockup generatorPut your design on mugs, shirts and packagingTry it with your photo
Step 7: Final edits
- Crop consistently. Use the same aspect ratio and product size across your whole shop. Square (1:1) works on most marketplaces.
- Check color against the real product. If the photo is warmer or cooler, adjust the white balance.
- Straighten. Vertical lines on bottles and boxes should be vertical.
- Export large. At least 1600 pixels on the long side, so buyers can zoom.
Common mistakes
- Using the ultra-wide lens, which makes products bulge.
- Mixing daylight and lamp light.
- Busy backgrounds that compete with the product.
- Photos that make the color look different from reality, which leads to returns.
- Inconsistent crops across the shop.
A repeatable routine
Once you've set up the sweep and reflectors, leave them where they are. A dedicated corner turns product photos from a project into a fifteen-minute routine. Shoot new items in batches, convert iPhone photos with HEIC to JPG if a marketplace rejects .heic uploads, and run exports through Compress JPG so your store pages load fast.