







On Etsy, buyers scroll through a grid of thumbnails. Your first photo has one job: make them click. The rest of your photos have a different job: answer every question a buyer would ask if they could hold the item. A listing with one great thumbnail and weak supporting photos gets clicks but few sales. A listing with a dull thumbnail never gets the chance.
Here's what to shoot, in what order, and how to fill the gaps without a professional studio.
Size and format basics
- Resolution: Etsy recommends images at least 2000 pixels on the shortest side, so buyers can zoom in on details.
- Aspect ratio: search results crop thumbnails to a landscape-ish rectangle. Keep the product centered with space around it so nothing important gets cut. You can adjust the thumbnail crop when you upload.
- Use all the photo slots. Listings with more photos give buyers more confidence. Add a short video too if you can.
- Consistent style across your shop: same background, same light, same crop. Your shop page then looks like a brand instead of a garage sale.
The photo set, in order
1. The thumbnail: clean, bright, instantly readable
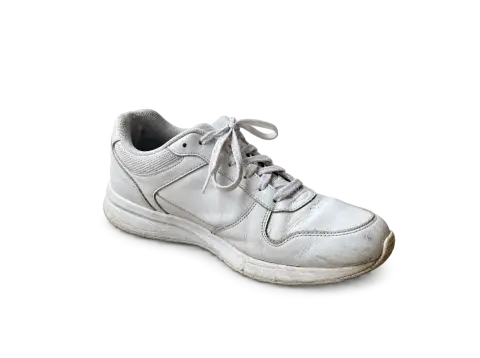
The first photo should show the whole product clearly, large in the frame, with a simple background. In a grid of busy photos, a clean one stands out. Some sellers use a soft colored background that matches their brand instead of pure white. That works well on Etsy, which has fewer strict rules than Amazon.
Avoid text overlays, collages and borders on the thumbnail. They look cluttered at small sizes.
2. The product in context
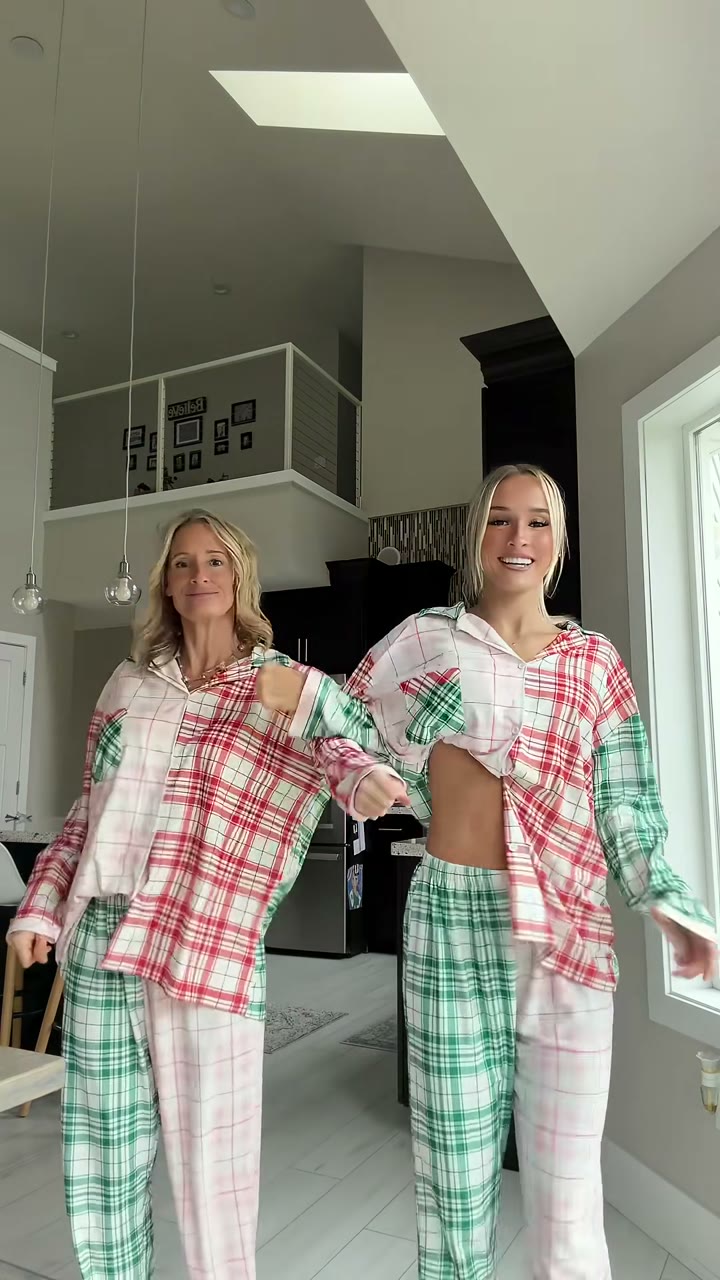
Show the item where it lives: a necklace being worn, a mug on a kitchen table, a print framed on a wall, a candle on a shelf next to books. Lifestyle photos help buyers picture owning it, and this is often the photo that turns a "maybe" into a sale.
3. Scale
Buyers can't judge size from a photo of an object on white. Show it in a hand, next to a coin or a pen, worn on a person, or on a wall above a sofa. This one photo prevents a lot of disappointed reviews and returns.
4. Details and materials
Close-ups of texture, stitching, glaze, grain, clasps and finishing. This is where handmade items beat mass-produced ones, so show the craftsmanship.
5. Options and variations
If the item comes in colors, sizes or styles, show them side by side. One photo with all colorways lined up answers the question before it's asked.
6. Packaging
If you wrap items nicely, show it. Gift buyers care.
7. Process or maker
A photo of your hands at work or your workshop tells buyers a real person made it.
Shooting at home
You don't need a studio. A window, a sheet of white card and a phone are enough for clean product shots. Our guide to product photography with your phone walks through the full setup.
The hard part is lifestyle photos. You'd need the right props, rooms and models for every product. Two tools help fill that gap.
Change the scene behind a real photo
If you have a good photo of the product on your table, the background changer can put it on a marble counter, a wooden shelf or a sunny windowsill while keeping the product and the light the same. Describe the setting you want: "a white marble kitchen counter with soft morning window light".


 Background changerPut any subject in a new sceneTry it with your photo
Mockups for print-on-demand and custom items
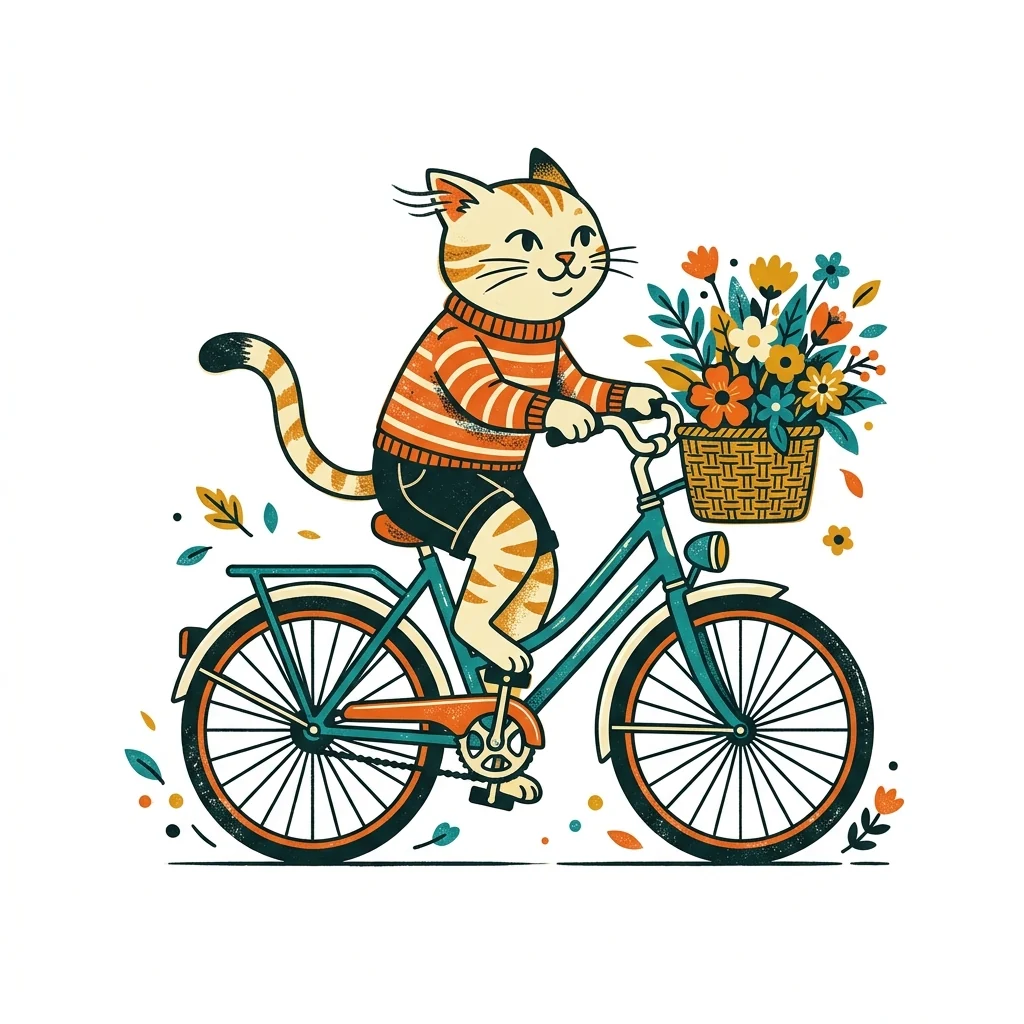
If you sell designs printed on products, such as shirts, mugs, totes or pillows, the mockup generator puts your design onto a product photo. Upload the design and a photo of the blank product, and it follows the folds of the fabric or the curve of the mug.

 Mockup generatorPut your design on mugs, shirts and packagingTry it with your photo
If you don't have the design yet, the t-shirt design generator creates an original graphic from a description, on plain white so it's easy to place.
Be honest with your photos
Etsy expects photos to represent what buyers will receive. Mockups and edited backgrounds are fine for showing a design or a setting, but the product itself must look like the real thing: same color, same size, same details. If an item is made to order and every piece varies, say so in the description. Accurate photos mean fewer returns and better reviews, and reviews matter more than any single photo.
Mistakes that cost you clicks
- Dark, yellow-tinted photos taken under room lights.
- Busy backgrounds that compete with the product.
- A different style for every listing.
- No scale reference.
- Colors that don't match reality.
- Tiny product in a big frame.
- Watermarks across the image.
Test your thumbnail
Search Etsy for your main keyword and look at the results page. Take a screenshot and paste your thumbnail into it. Does it stand out, or blend in? Try a different background color, a tighter crop or a different angle, and check your listing stats after a couple of weeks to see what changed.