





Print on demand (POD) means a printing company prints and ships each shirt only when someone orders it. You upload a design, list it on Etsy, Amazon Merch, your own store or a POD marketplace, and never touch inventory. The design is the product, so it has to be good.
Here's the process from idea to listing.
1. Pick a niche before you pick a design
"Funny shirts" is a crowded category. "Shirts for beekeepers who love puns" is a niche. Niches work because buyers search for them and feel the design was made for them.
Good niches have:
- An identity people are proud of: jobs (nurses, teachers, electricians), hobbies (fishing, knitting, climbing), pets and breeds, places, life stages (new dads, retirees).
- Inside jokes that only that group understands.
- Occasions: family reunions, bachelor parties, team events, holidays.
Search the niche on Etsy or Amazon. Some competition is good, it shows demand. If the top results all look the same, there's room for a different style.
2. Decide on the style
Most selling POD designs fall into a few styles:
- Text only: a phrase in great typography. Cheap to make, depends entirely on the words.
- Illustration with text: a character or object with a short phrase. The most common bestseller format.
- Vintage badge: circular or shield shapes, distressed texture, retro fonts. Popular for places, hobbies and outdoor themes.
- Minimal line art: a single-color drawing. Works on many shirt colors.
- Retro sunset: stripes, sun and silhouette. A classic for beaches, mountains and road trips.
3. Design for printing, not for screens
A design that looks great on a phone can print badly. Keep these rules in mind:
- Limited colors. Fewer colors print more cleanly and look intentional. Two to four colors is a good range.
- Bold shapes and thick lines. Very thin lines and tiny details can break up on fabric.
- No soft shadows or gradients at the edges. Hard edges look crisp, while faded edges look like a mistake.
- Contrast with the shirt. A dark design on a black shirt disappears. Design with the shirt color in mind, or make a light and a dark version.
- Readable at a distance. A shirt is read from across the room. Short phrases, big letters.
- Transparent background. The file should contain only the design, with nothing around it.
4. Generate and refine the graphic
The t-shirt design generator creates an original shirt graphic from a description: one bold, centered illustration with clean edges and a limited palette, on a plain white background. It spells your words exactly as given. Try descriptions like:
- "retro sunset badge with a pine forest and the words CAMP MODE"
- "one-color line art of a coffee cup with steam shaped like a heart"
- "cute kawaii sloth holding a book, text: READING IS MY CARDIO"

 T-shirt design generatorDesign a print-ready graphic for a t-shirtTry it with your photo
Generate several versions, pick the strongest, and refine it in an editor: remove the white background, adjust colors to match your print provider's palette, and clean up any stray marks. Check every letter of the text before you upload.
5. Prepare the print file
Each POD service has its own file requirements, so check theirs first. Common requirements are:
- PNG with transparent background.
- 300 dpi at print size. A 12 x 16 inch print area at 300 dpi needs 3600 x 4800 pixels. Some platforms ask for 4500 x 5400 pixels.
- sRGB color.
- Placed in their template so the design sits at the right height on the chest.
AI-generated images are usually smaller than these sizes. Upscale the design with a good upscaler, or redraw it as a vector in Illustrator, Inkscape or Affinity Designer. Vectorizing simple, flat designs often gives the cleanest prints at any size.
6. Show it on a real shirt
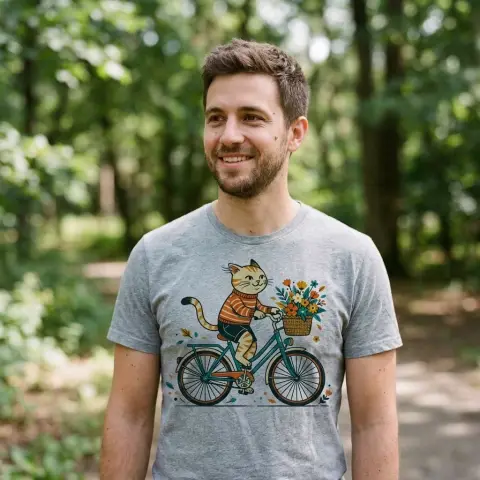
Buyers need to see the design on a shirt, ideally on a person. The mockup generator puts your design onto a photo of a blank shirt, following the fabric folds. Make mockups on every shirt color you offer.

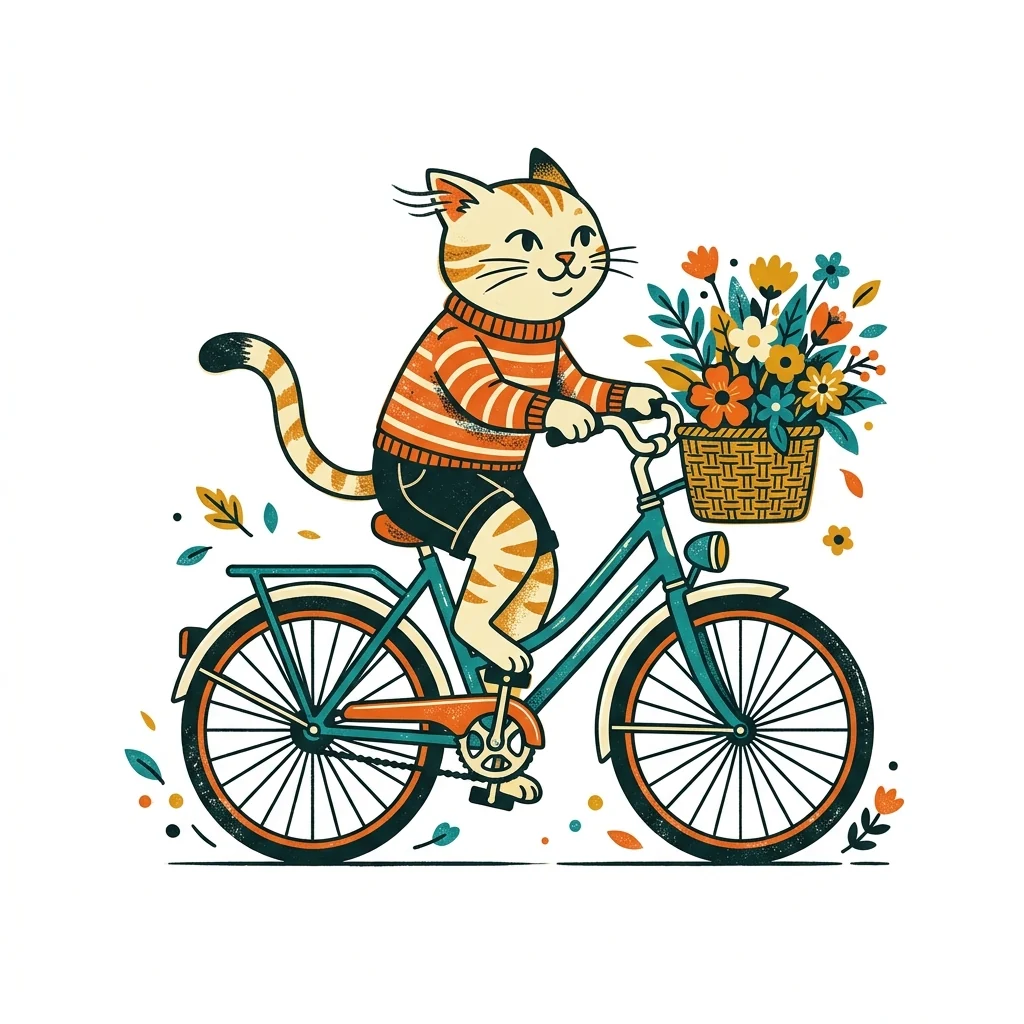
 Mockup generatorPut your design on mugs, shirts and packagingTry it with your photo
Our post on Etsy listing photos covers which photos to add and in what order.
7. Write the listing
- Title: the niche and the product. "Beekeeper Pun T-Shirt, Funny Bee Gift for Beekeepers".
- Tags: every way a buyer would search: the hobby, the joke, the occasion, the recipient.
- Description: the shirt material, fit, sizing and care. Your POD provider supplies these details.
Respect trademarks and copyright
This is where many POD sellers get their shops suspended. Don't use brand names, logos, sports team names, movie characters, song lyrics or celebrity faces. Even common-sounding phrases can be trademarked, so search the phrase in the trademark database of your selling country before using it. Original designs are safer and more valuable in the long run.
Test, then expand
Start with five to ten designs in one niche rather than fifty random ones. Look at which ones get views and favorites, then make variations of the winners: new colors, new phrases, the same style for a related niche. POD is a numbers game, but a focused one.