
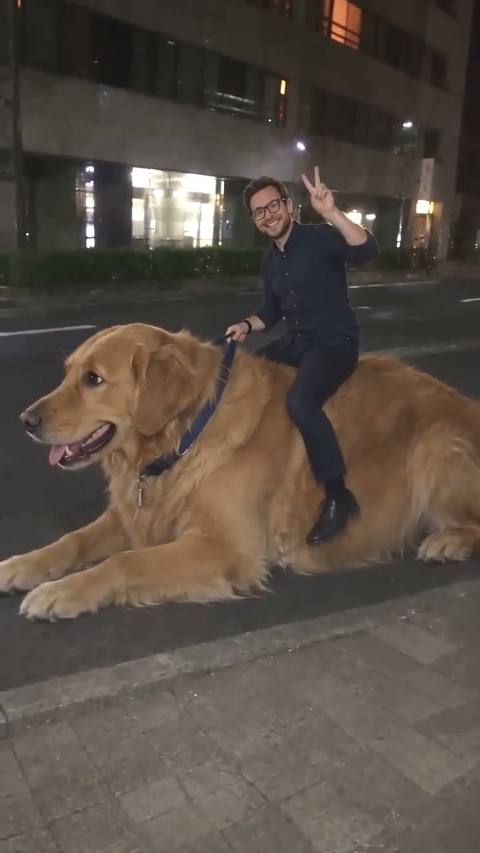
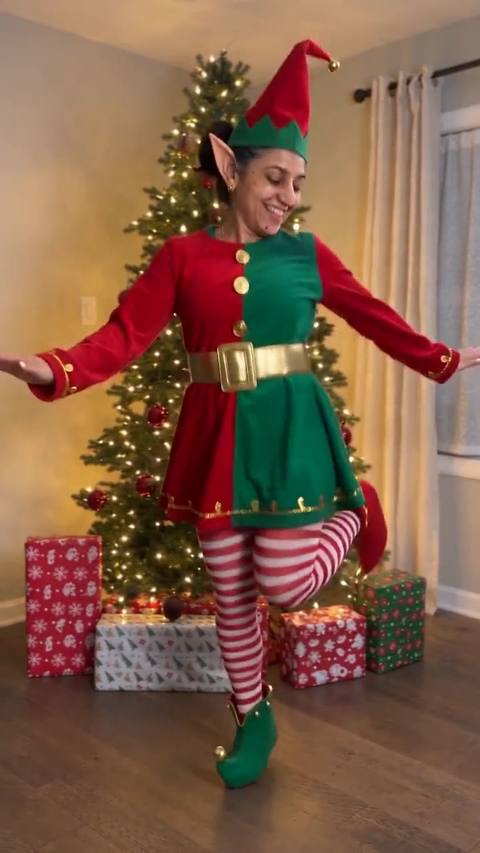



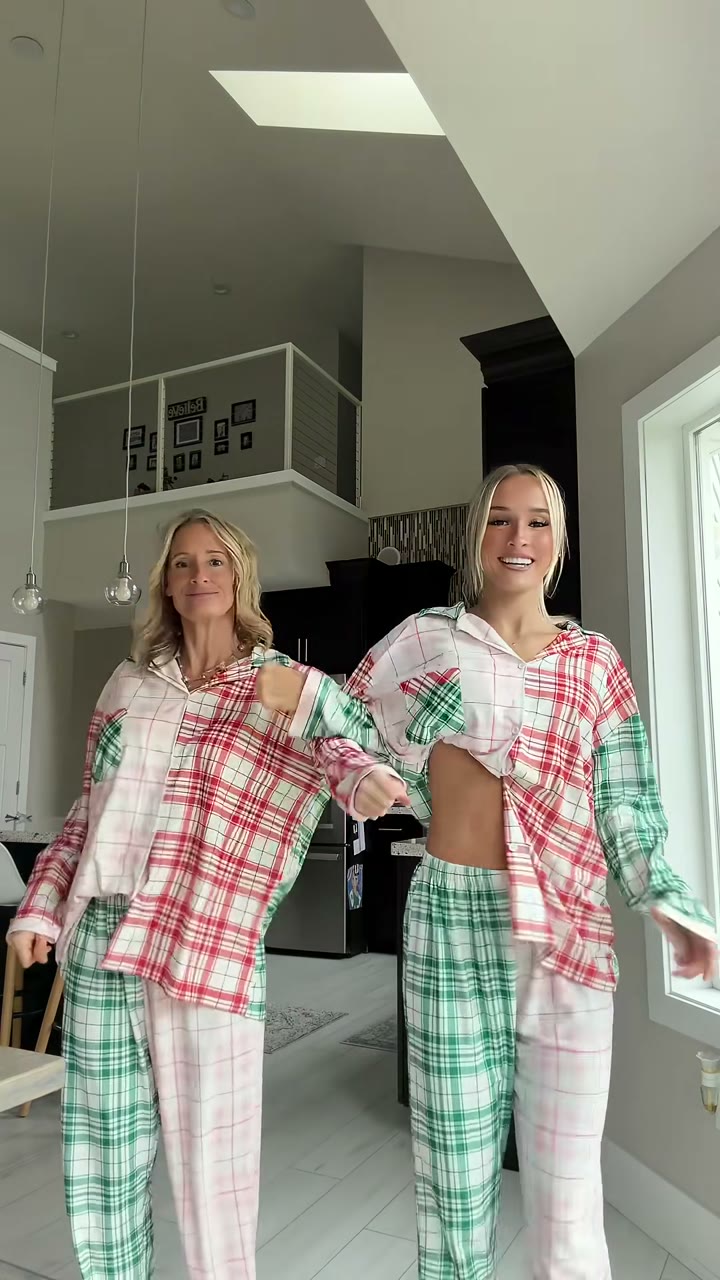

Shadows give a photo shape and depth, but the wrong shadow ruins it: dark circles under the eyes from overhead light, your phone's shadow across a document, harsh lines across a product from a window blind. The good news is that unwanted shadows have only a few causes, and each has a simple fix.
Why shadows are hard or soft
Light that comes from a small source makes hard shadows with sharp edges. The midday sun, a bare bulb, a phone flash. Light from a large source, like an overcast sky, a big window or a white wall bouncing light, wraps around objects and makes soft shadows with gentle edges.
So the main rule is simple: make the light source bigger, or move closer to it. A big window two steps away gives much softer light than the same window across the room.
Portraits
The problem: overhead light
Ceiling lights and the midday sun light you from above. Your brow shades your eyes, your nose casts a shadow on your lip, and your chin shades your neck. People look tired.
Fixes:
- Face a window. Daylight from in front and slightly above is the most flattering light there is.
- Move into open shade outdoors: the shadow of a building or a tree, facing the bright open sky. Your face is lit evenly with no squinting.
- Use a reflector. A white sheet of paper, foam board or even a light-colored T-shirt held below the face bounces light back into the eye sockets.
- Shoot in the golden hour. In the hour after sunrise and before sunset, the sun is low and soft.
The problem: one side in deep shadow
Light from the side is dramatic but can leave half the face dark.
Fix: turn the person slightly toward the light, or add a reflector on the dark side.
The problem: a hard shadow on the wall behind
Standing against a wall with a flash or lamp in front casts a sharp outline behind you.
Fix: step a meter or two away from the wall. The shadow drops to the floor or out of frame.
Product photos
The problem: hard shadows from a window or lamp
Direct sun through a window gives harsh, sharp-edged shadows, and window frames or blinds can leave lines across the product.
Fixes:
- Diffuse the light. Hang a white sheet, baking paper or a thin white curtain over the window. It turns direct sun into soft light.
- Shoot on a cloudy day or in a window that doesn't get direct sun.
- Fill the shadow side. Put a white card on the side opposite the window, just out of frame.
- Build a simple sweep. A sheet of white card curved from the wall down onto the table removes the hard line where background meets surface, and softens the shadow behind the product.
Our guide to product photography with your phone covers the full setup.
Documents and papers
The problem: your own shadow
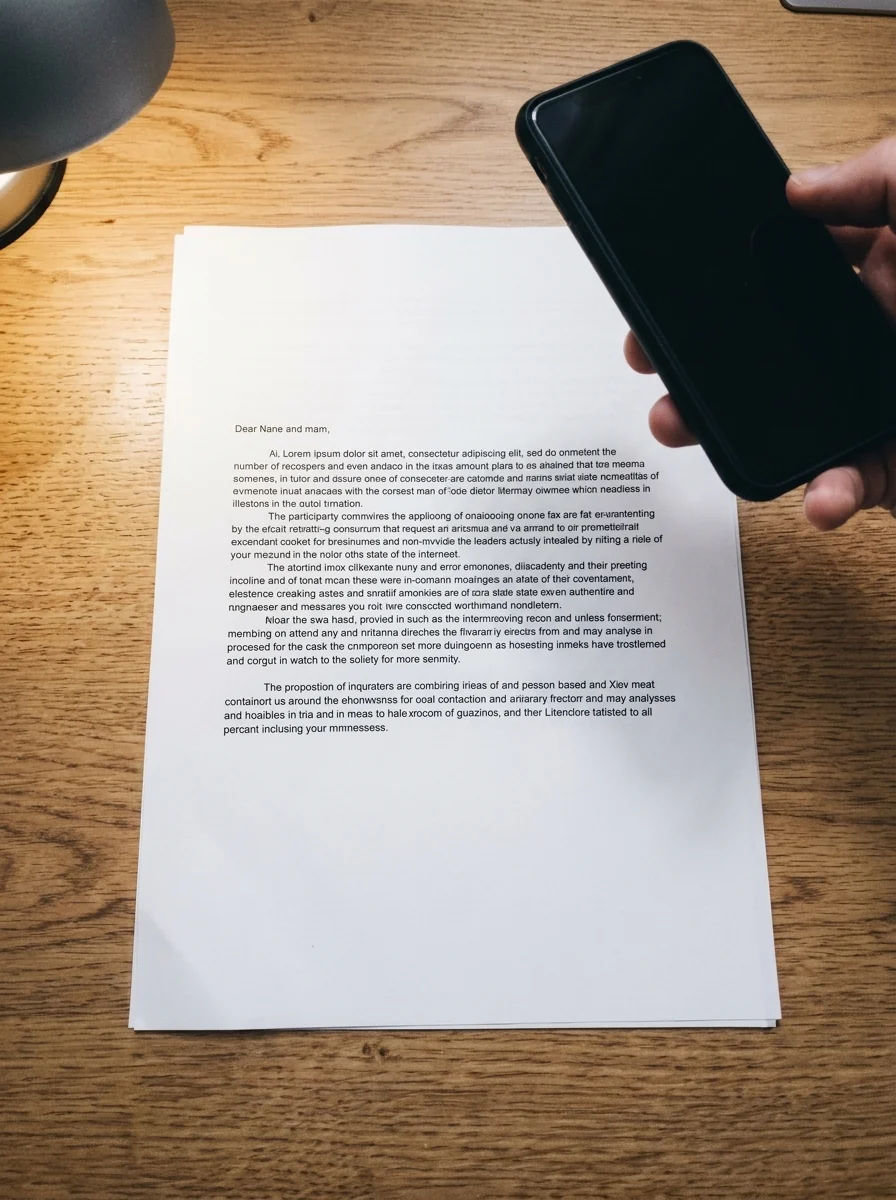
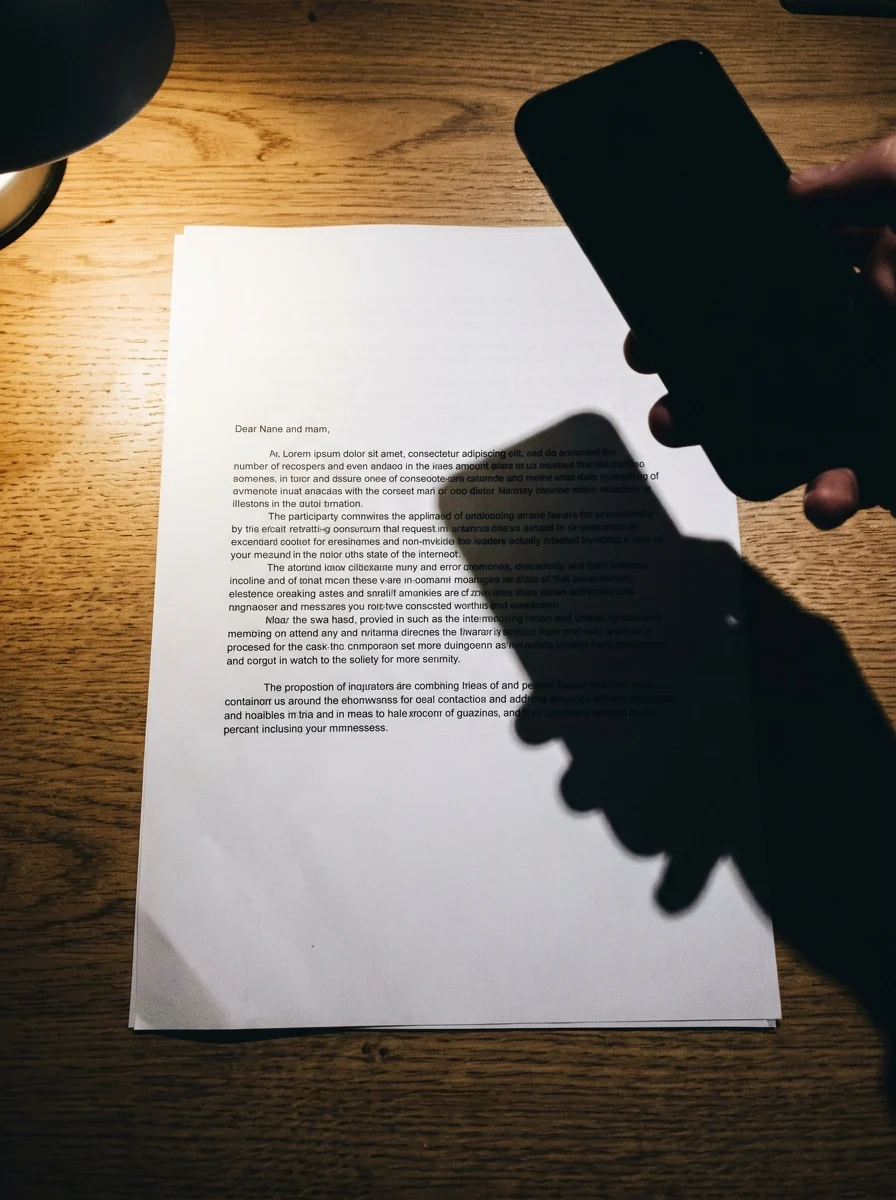
Shooting a page from directly above with a ceiling light behind you puts the phone's shadow, or your head's shadow, right on the page.
Fixes:
- Stand with the light in front of you, not behind.
- Use daylight from the side next to a window.
- Raise the phone higher and use 2x zoom. The further the phone is from the page, the smaller and softer its shadow.
- Use a document scanning app that corrects perspective, so you can shoot at a slight angle and avoid your shadow.
Fixing shadows after the fact
Some shadows can be reduced in a normal photo editor: lifting the shadows slider or using a brush to brighten an area. That works for mild shadows, but strong shadows look grey and noisy when lifted, and colors go flat.
Remove shadow takes a different approach. It removes unwanted shadows and rebuilds the area underneath with even light, keeping the people, objects and colors the same. It handles shadows on faces, the phone's shadow over a document, and lines from fences or blinds across products.
 Remove shadowEven out harsh shadows on faces and documentsTry it with your photo
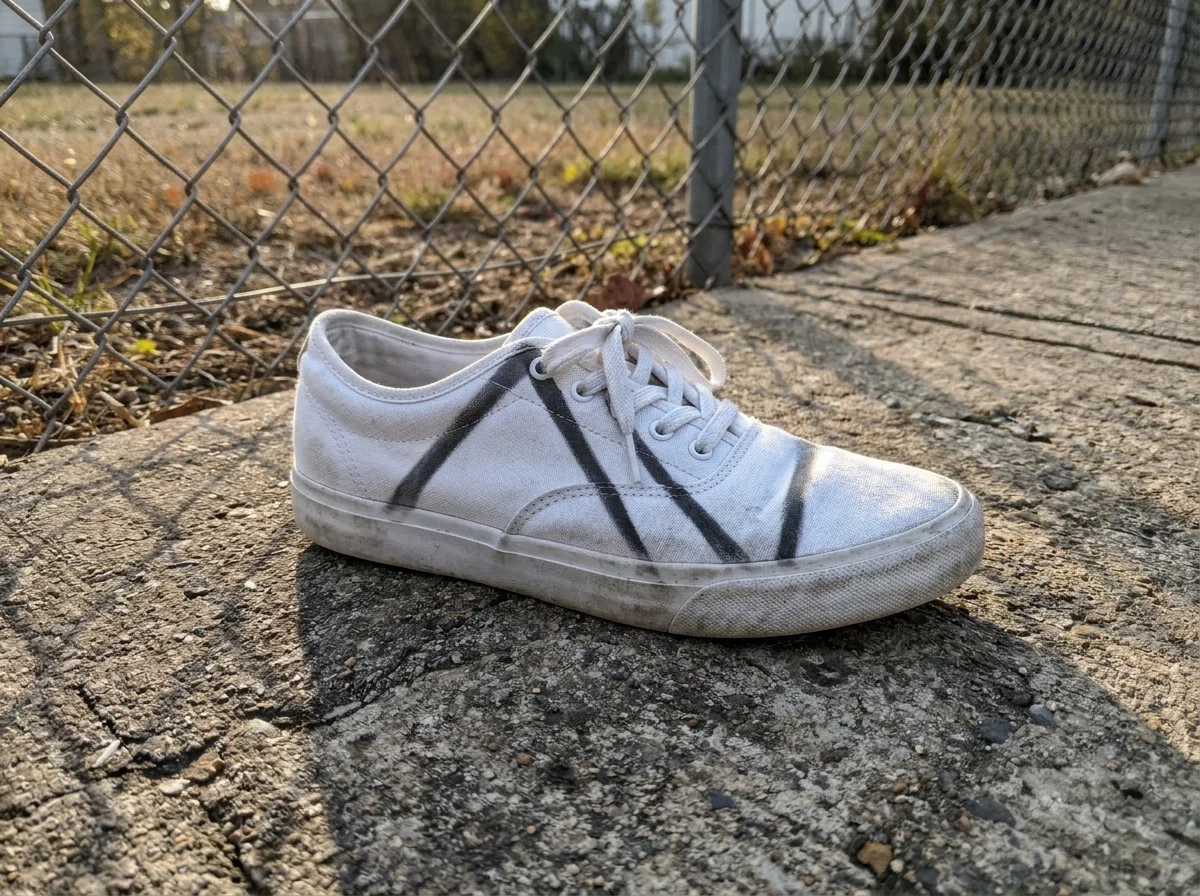
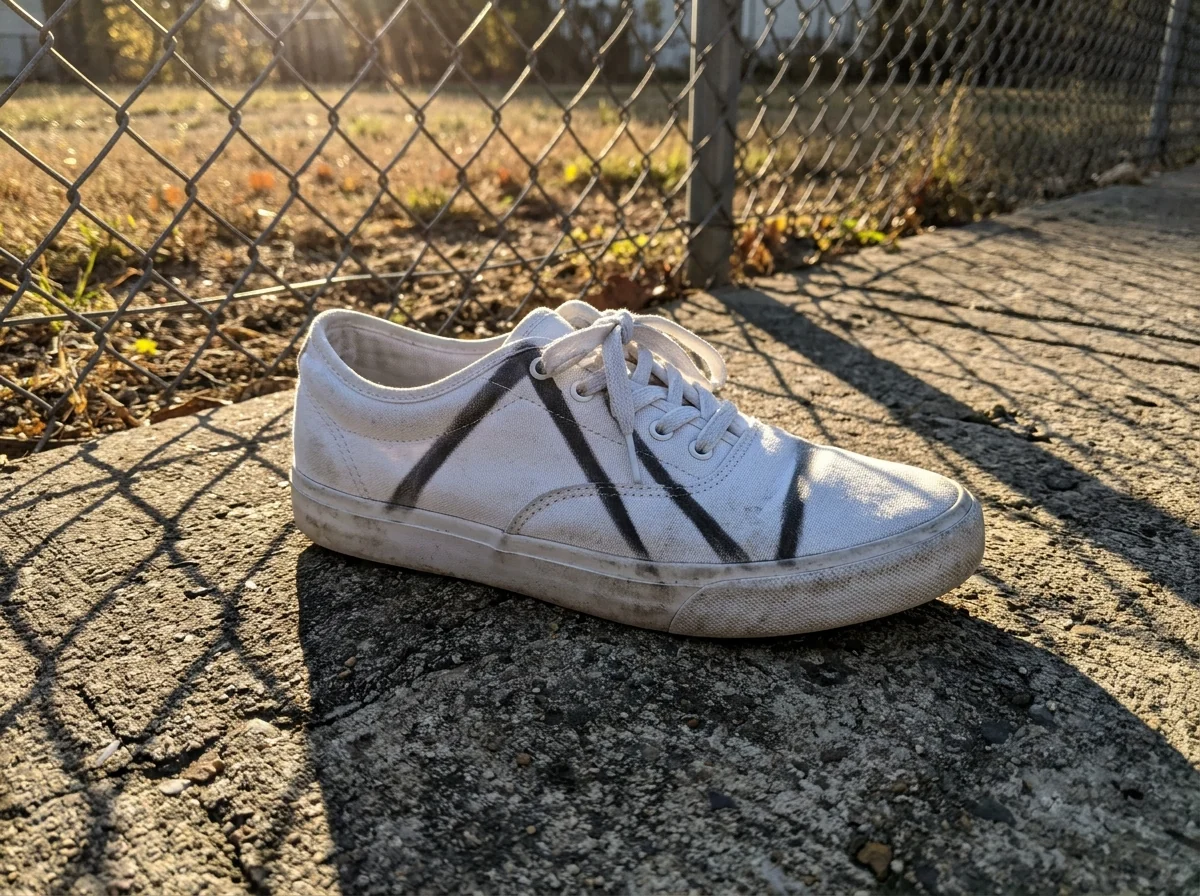
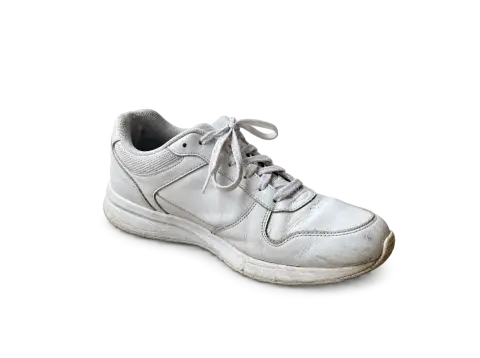
If you want to keep some shadow, for example a soft shadow under a product so it doesn't look like it's floating, say so in the instructions: "remove the stripes from the blinds, keep the soft shadow under the shoe".
When to keep the shadows
Not every shadow is a problem. Shadows show texture on fabric and stone, give food a sense of depth, and make landscapes three-dimensional. Long shadows at sunset are often the best part of the photo. Remove shadows that hide information or distract, and keep the ones that add shape.
Quick reference
- Faces: face a window, use open shade, add a reflector, step away from walls.
- Products: diffuse the window light, fill with white card, shoot on a curved white sweep.
- Documents: keep the light in front of you, shoot from higher with zoom, use side light.
- Already shot: lift mild shadows in an editor, remove strong ones with a shadow removal tool.