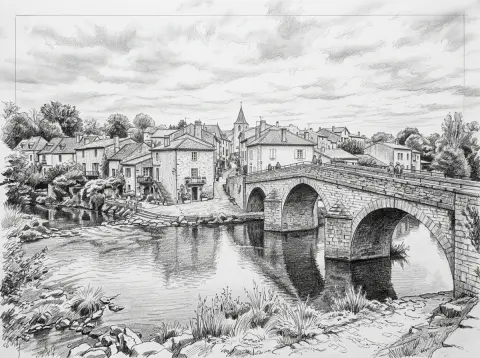

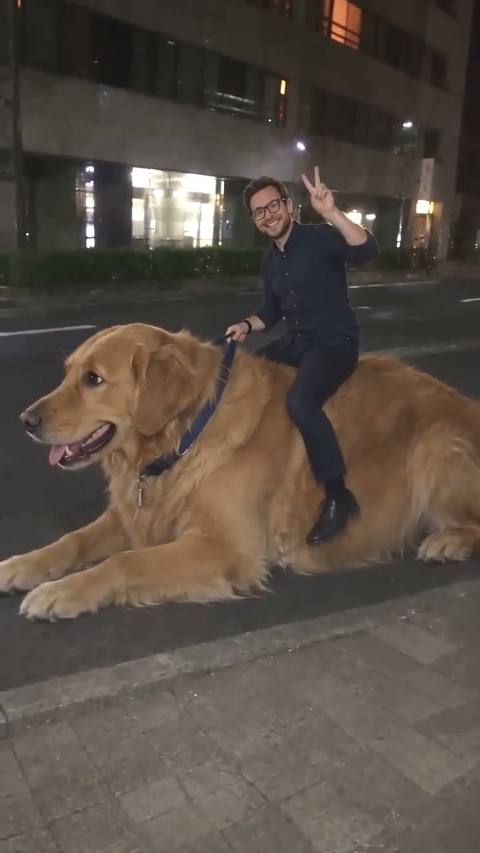
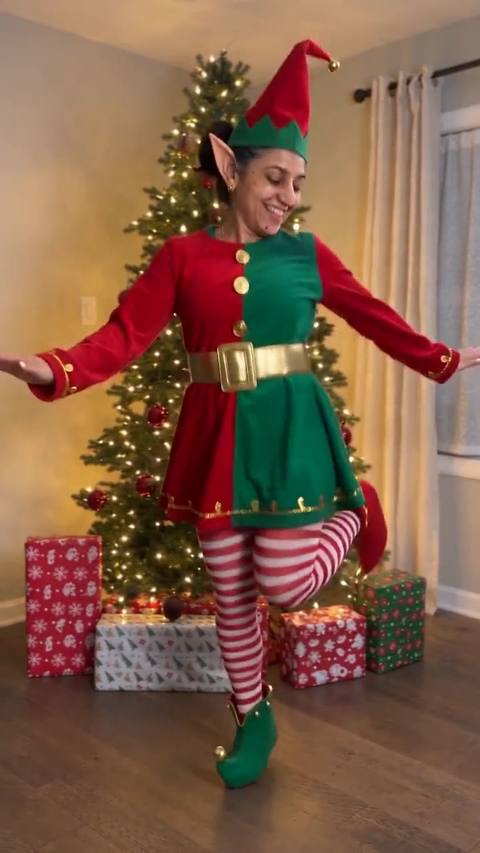



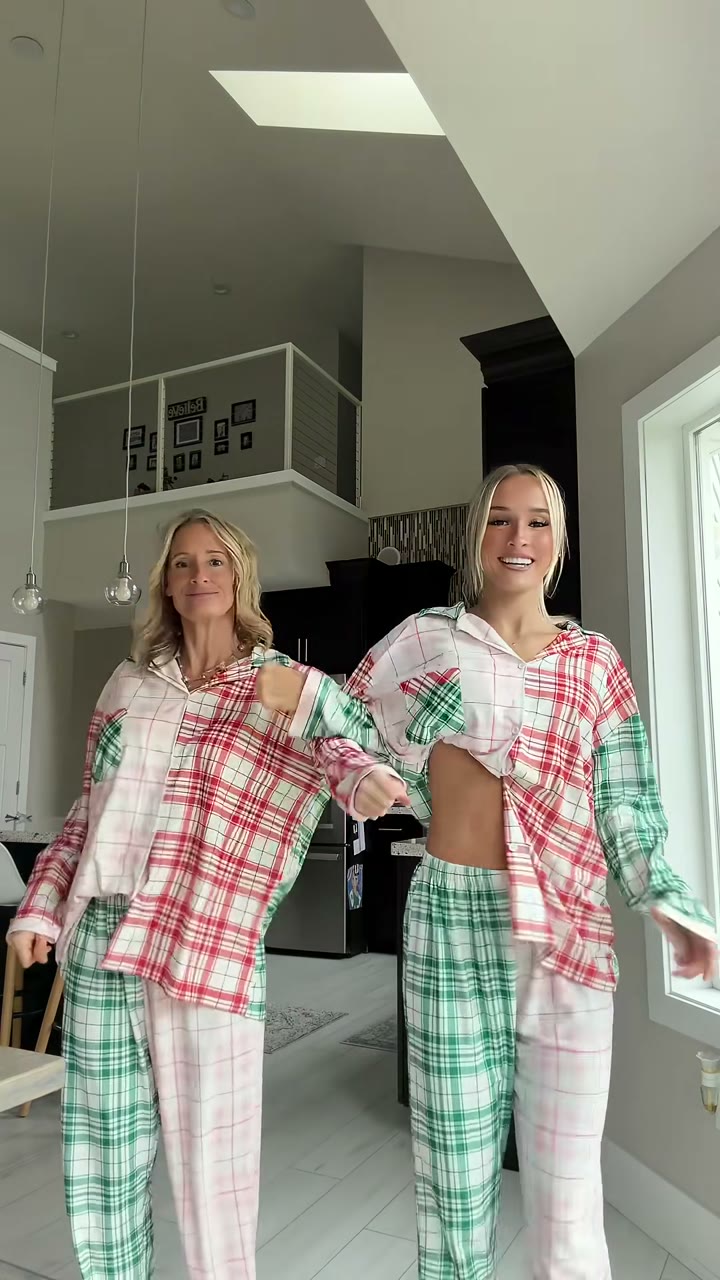
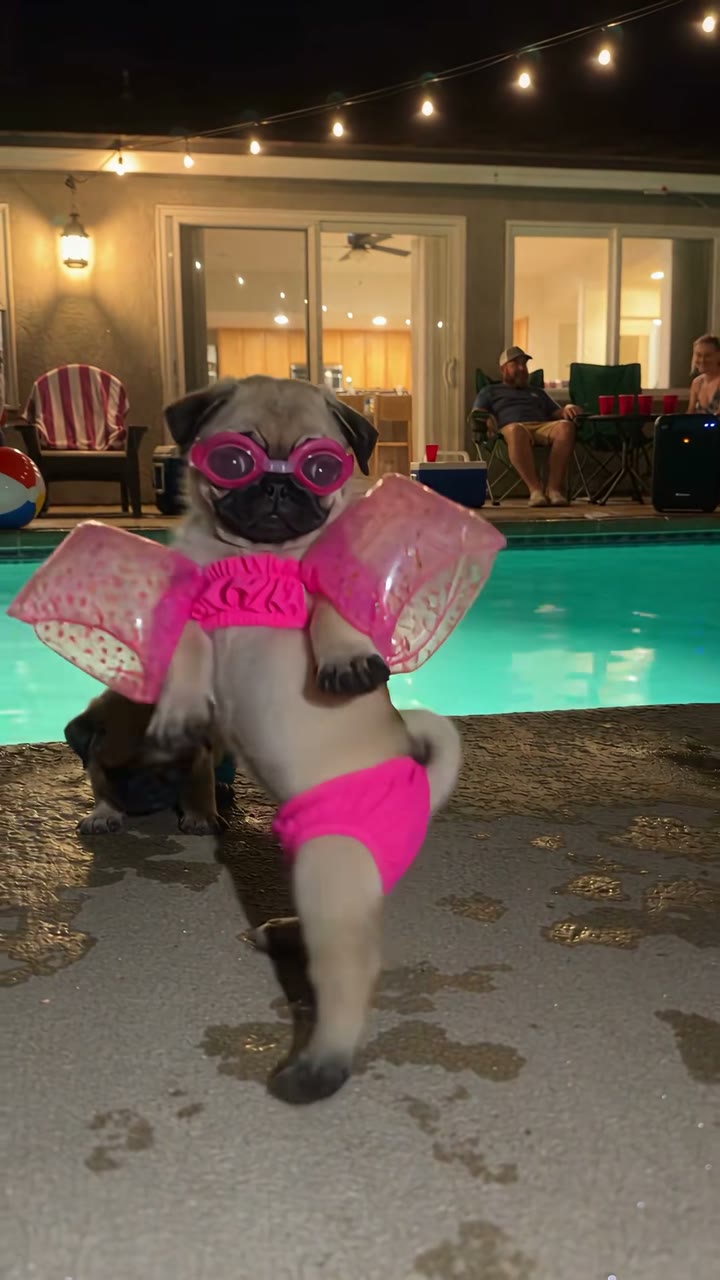
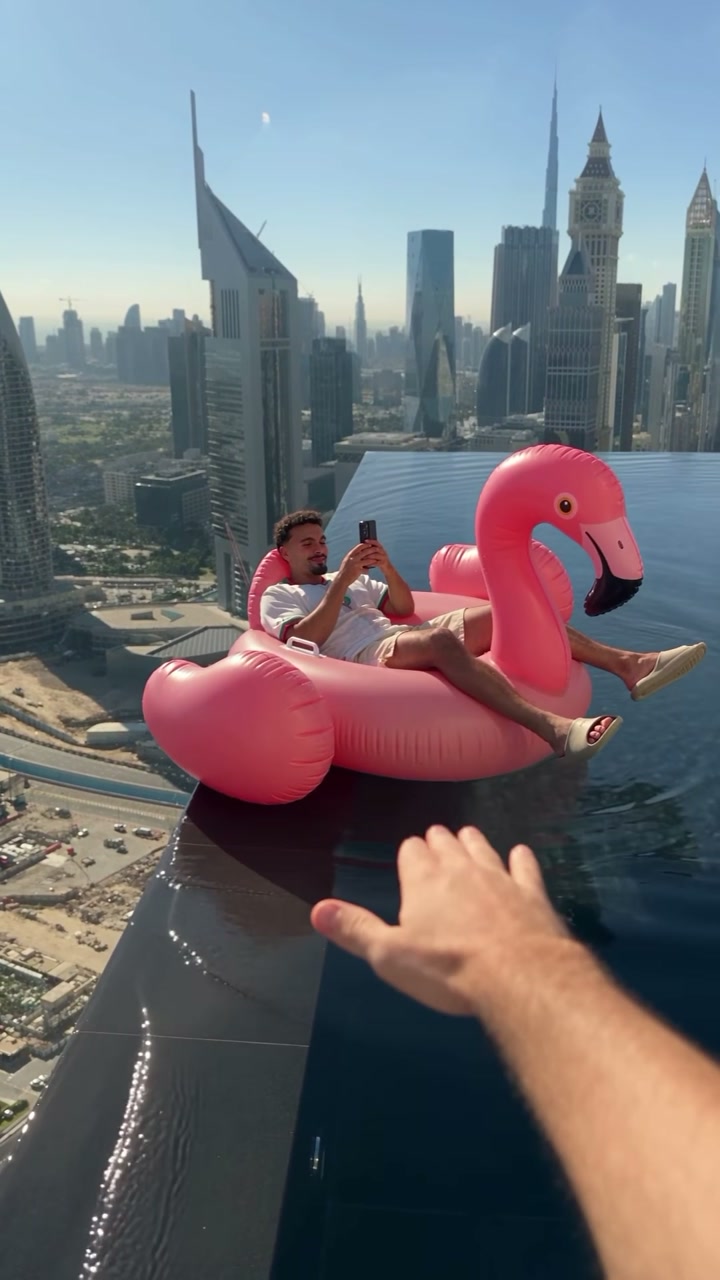

A coloring book made from your own photos is one of the few gifts that gets used straight away. Kids recognize the dog, the grandparents, the beach from last summer, and they want to color it. Adults like it too: a book of your own street, garden or travel photos is a calmer thing to color than generic mandalas.
The work splits into four parts: choosing photos that convert well, turning them into line art, laying out the pages, and printing. None of it needs drawing skills. Plan an evening for a 20-page book.
1. Choose photos that make good coloring pages
Not every good photo makes a good coloring page. A coloring page needs closed shapes with clear edges, enough empty space to fill in, and not too many tiny details. Look for these:
- One clear subject. A dog on a lawn, a child on a swing, a house front. Busy crowds turn into a tangle of lines.
- Strong outlines. Subjects that stand out against the background in the original photo convert into cleaner lines.
- Medium distance. Faces that fill the frame work, and so do whole bodies. Tiny people in a big landscape disappear.
- Good light. A sharp, evenly lit photo gives the converter real edges to follow. Very dark or blurry photos produce guessed lines.
- A mix of difficulty. For young kids, pick simple subjects with big areas. For older kids and adults, buildings, flowers and patterned clothes give more to color.
A good rule of thumb: if you can describe the photo in four words ("cat asleep on blanket"), it will probably work.
2. Turn each photo into line art
Upload a photo to Photo to line drawing. It redraws the photo as black outlines on a white background and has two detail levels:
- Simple keeps only the main outlines. This is the right setting for children up to about seven: big shapes, few lines, nothing fiddly.
- Detailed keeps more of the texture, windows, folds and patterns. Use it for older kids and adults.
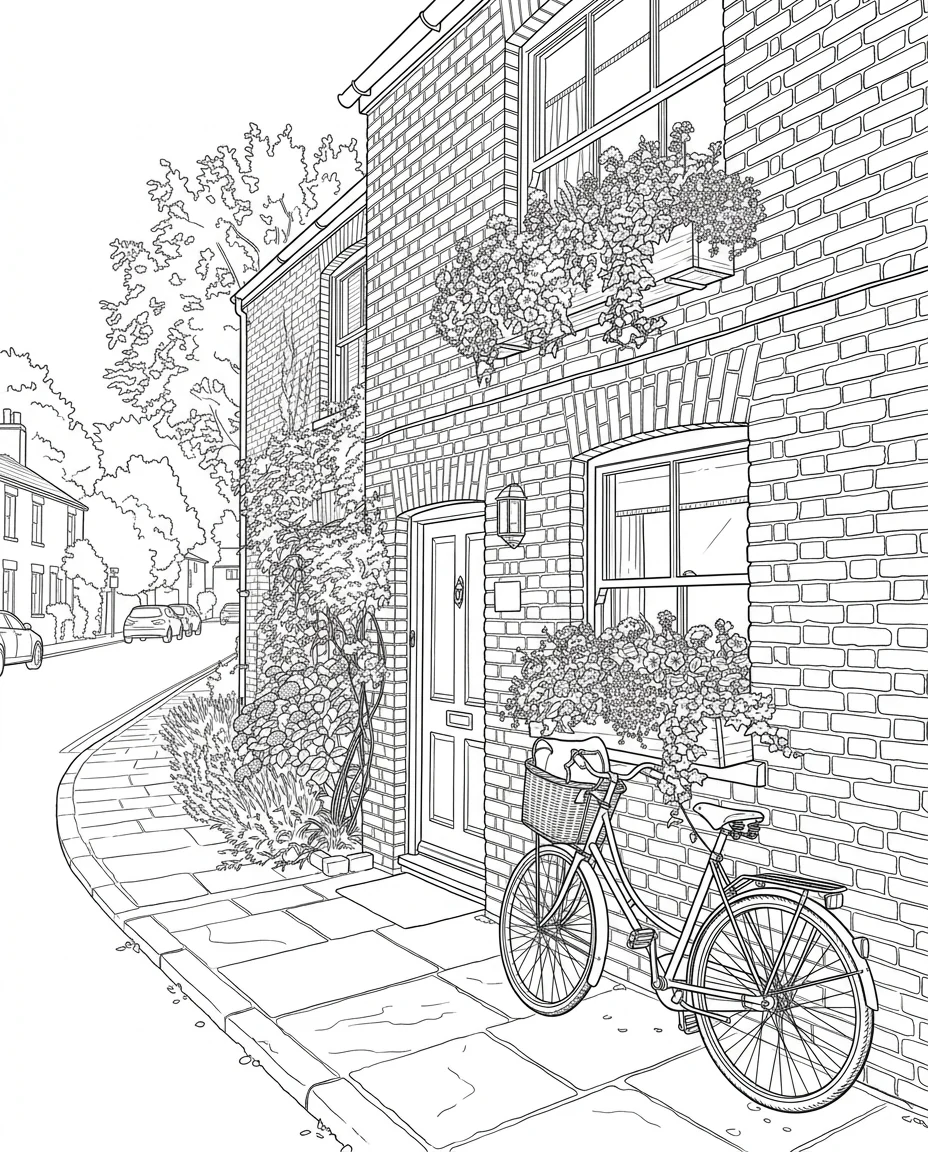
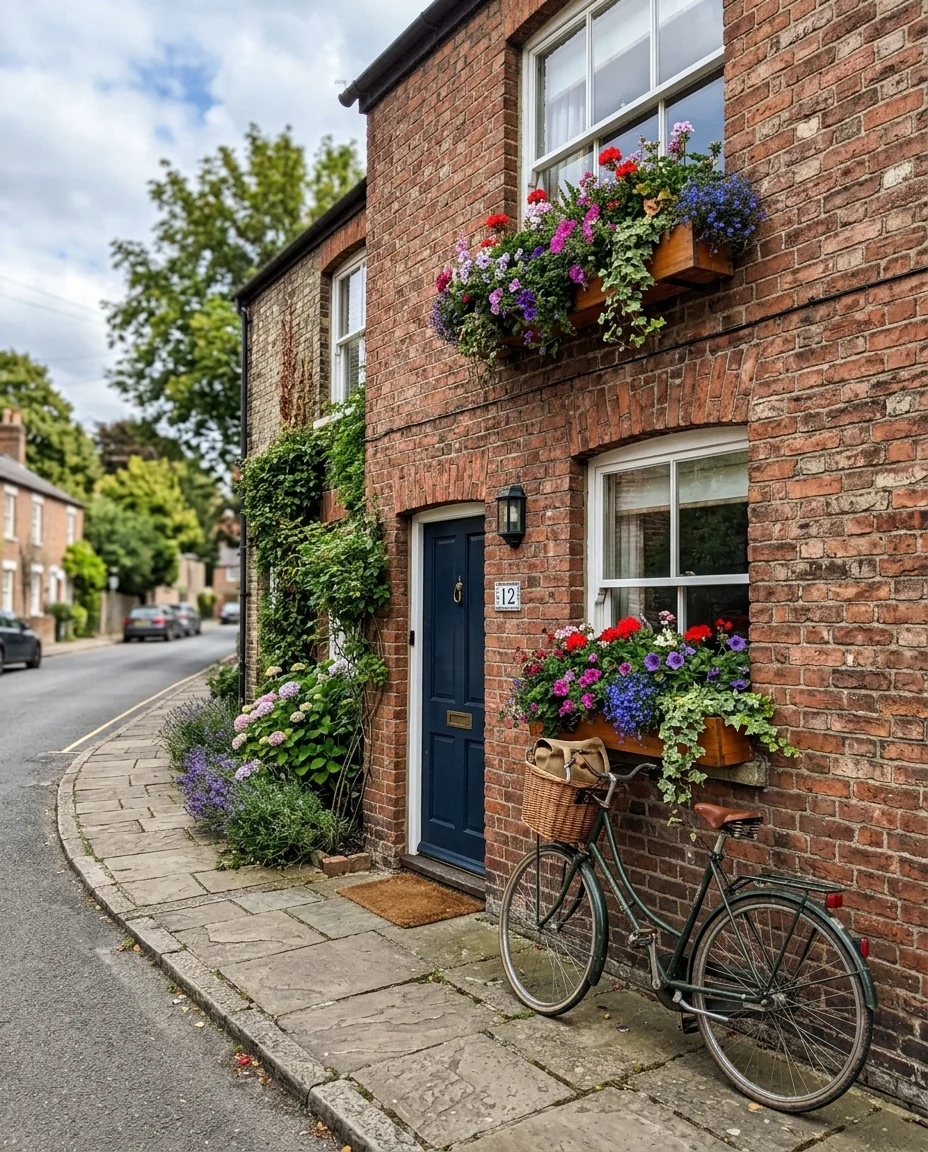
 Photo to line drawingTurn a photo into clean black line artTry it with your photo
If you want shading as well, try Photo to sketch. It produces a pencil drawing with hatching. That looks nice framed, but the grey shading fights with crayons and markers, so for a coloring book the line drawing is usually the better choice. Our post on sketch vs line drawing covers the difference in more detail.
Check each result before you move on. Look for lines that don't close (crayons will leak through gaps), faces that look odd at small size, and text from signs or T-shirts that came out as scribbles. If one result is weak, run the photo again or crop it tighter first. Cropping helps more than anything else: the less background, the bigger and cleaner the subject.
3. Lay out the pages
Most coloring books use one picture per page with a white margin. A few practical settings:
- Page size. US Letter (8.5 x 11 in) or A4 for home printing. 8.5 x 8.5 in square looks nice for photo books, but check that your printer or print service supports it.
- Margins. Leave at least 0.5 in (13 mm) on every side. Home printers can't print to the edge and binding eats the inner margin.
- Resolution. Place images at 300 dpi at their printed size. An image printed 7 inches wide should be at least 2,100 pixels wide.
- Single-sided pages. Markers bleed through paper. Print the picture on the right-hand page only and leave the back blank, or put a short caption on the back.
- Captions. A line under each picture ("Biscuit's first day home, 2024") turns the book into a keepsake.
Any layout tool works: Google Docs, Word, Canva or Pages. Insert one image per page, center it, and export the whole document as a PDF. Add a cover page with a colored version of one picture so the book looks finished.
Order the pages like a story
A random stack of pictures feels like a printout. Order them by time (a year in the family), by place (a trip from day one to the end), or by difficulty (simple pages first, detailed ones last). It costs nothing and makes the book feel planned.
4. Print the book
You have three realistic options.
Print at home
Use 100–120 gsm (24–32 lb) paper if your printer handles it. Normal 80 gsm paper works for crayons and colored pencils but markers bleed. Set the printer to its "best" or "high quality" mode so thin lines stay solid. Bind with a long-arm stapler, a ring binder, or by punching holes and tying them with ribbon.
Use a local print shop
Copy shops can print on heavier paper and add comb or coil binding, which lets the book lie flat on the table. Bring the PDF on a USB stick and ask for single-sided printing.
Use print-on-demand
Services such as Amazon KDP, Lulu or Blurb print and ship single copies. They have their own templates for page size, bleed and cover dimensions, so download the template first and size your PDF to match. This is the best route if you want several copies for grandparents or a class.
Ideas for themed coloring books
- A year in the family: one page per month, from birthdays to the first snow.
- Our pets: every pet the family has had, with names and dates.
- Our town: the house, the school, the playground, the favorite café.
- A trip: landmarks and funny moments from a holiday.
- A birthday party book: photos of the guests, colored in at the next party.
- A wedding activity book: the couple, the venue and the dog for the kids' table.
Common problems and fixes
- Too many lines: switch to Simple, or crop the photo so the background is smaller.
- Faces look strange: use a photo where the face is bigger in the frame, or pick a photo where the person is turned slightly to the side.
- Grey areas in the drawing: the source photo was too dark. Brighten it or use a different shot.
- Lines look fuzzy in print: the image was too small for the page. Use a larger original, or print the picture smaller.
- Background clutter: remove distracting people or objects from the photo before converting it.
A coloring book from your own photos takes one evening, costs the price of paper, and gets more use than most store-bought ones. Start with five pages, test-print them, and adjust before you make the full book.